
Overview : Advanced color accuracy solution, with room lighting settings for optimal monitor brightness, to help you get true colors on screen and in print. Advanced-featured, interactive calibration for laptop and desktop monitors.
Features :
- Advanced color accuracy solution for all of your laptop and desktop monitors
- Fast and easy, full calibration takes only about five minutes to ensure color accuracy and less than half the time for monthly re-calibrations
- Room light monitoring determines optimal monitor brightness so you see fine shadow detail and highlights in your photos, ensuring your edited images match your prints
- "Before and After" evaluation of your calibration results using your own photographs, to focus on details that are important to you
- Display Analysis feature lets you evaluate and compare the performance of all of your laptop and desktop monitors.
- Next generation Spyder5 is compact and portable with a built-in lens cap.
- Guaranteed color accuracy with industry's only patented 7-detector optical engine resulting in more accurate shadow detail and smoother gradients.
- See, share and print your images just as you intended with confidence.
- Windows 7 32/64, Windows 8.0, 8.1 32/64, Windows 10 32/64
- Mac OS X 10.7, 10.8, 10.9, 10.10, 10.11
- Monitor resolution 1280×768 or greater, 16-bit video card (24 bit recommended), 1GB of available RAM, 500 MB of available hard disk
- Internet connection for software download
- USB port
Quality/Usability : Towards the end of 2013, we reviewed the Datacolor Spyder4PRO. For any photographer or anyone that requires accurate color reproduction, calibrating your monitor's color is very important.
Fast forward over 2 years later and we the review of the Datacolor Spyder5PRO. We calibrated both a Mid-2014 15" Macbook Pro Retina running 10.11.3 and a Dell PC/Monitor running Windows 10.
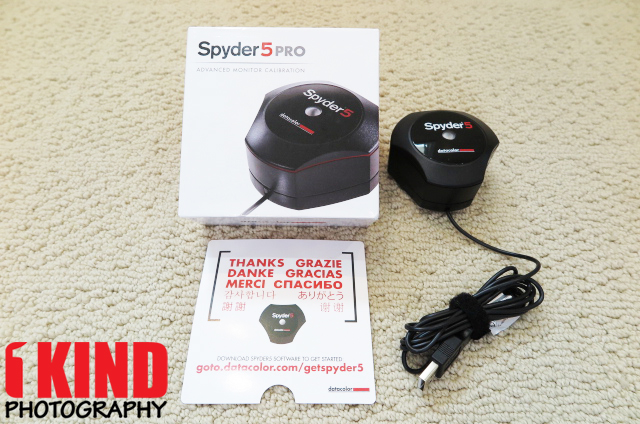
Compared to Spyder4PRO, everything is a lot smaller. The packaging is a lot smaller as well as the colorimeter. A CD containing software is no longer included. On the welcome card is a link to download the software at Datacolor Spyder.

Inside the box is a tray that houses the colorimeter is your serial number. During the installation process, you'll be given a license code that you'll need write down or print out for your reference.
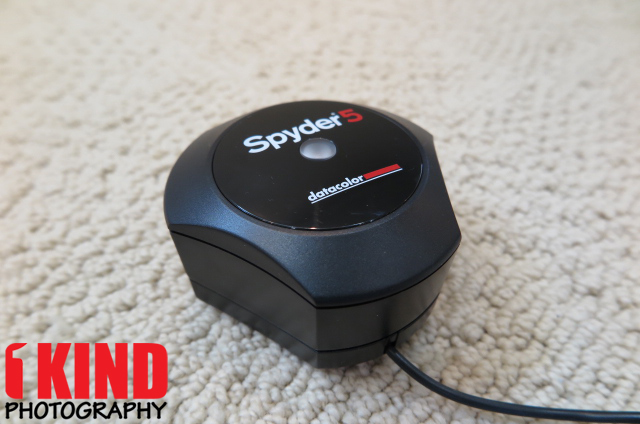
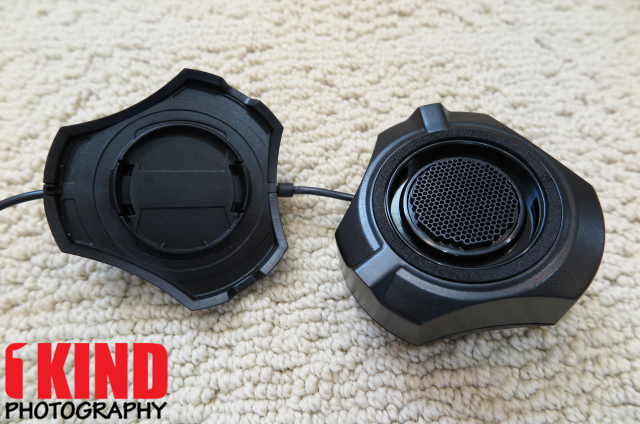
The Spyder5PRO colorimeter no longer looks like boomerang or spaceship. The new colorimeter is smaller and looks rounder. The top of the colorimeter has a sensor in the center to measure the ambient light in the room.
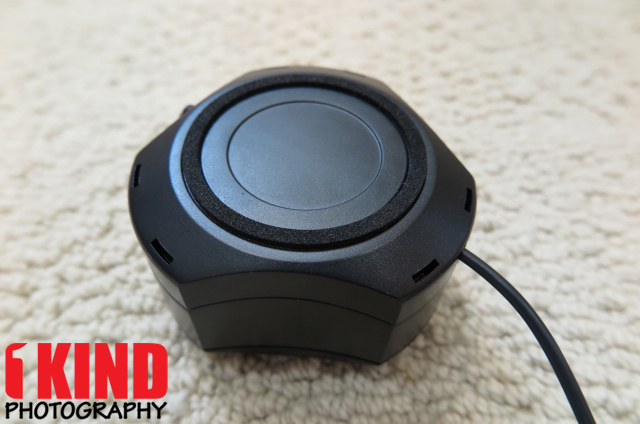
The back is a cover that protects the sensor and can be taken off. It can also be adjusted by sliding it down on the wire so that when you place the colorimeter over the monitor, it acts as a counterweight.
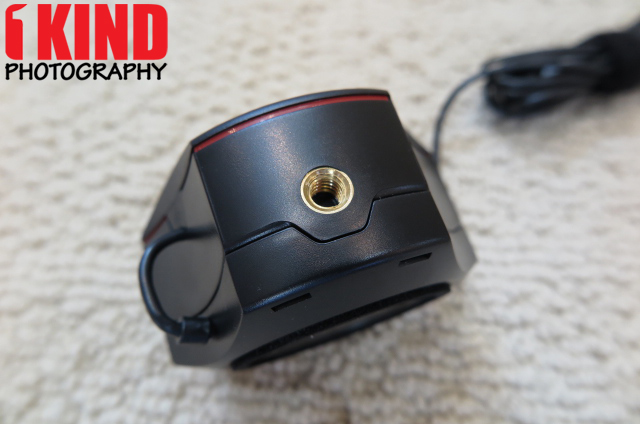
On the side is a tripod mount. This allows you to attach the colorimeter to a light stand or tripod.
The following images are of the software and the steps to calibrate your monitor.
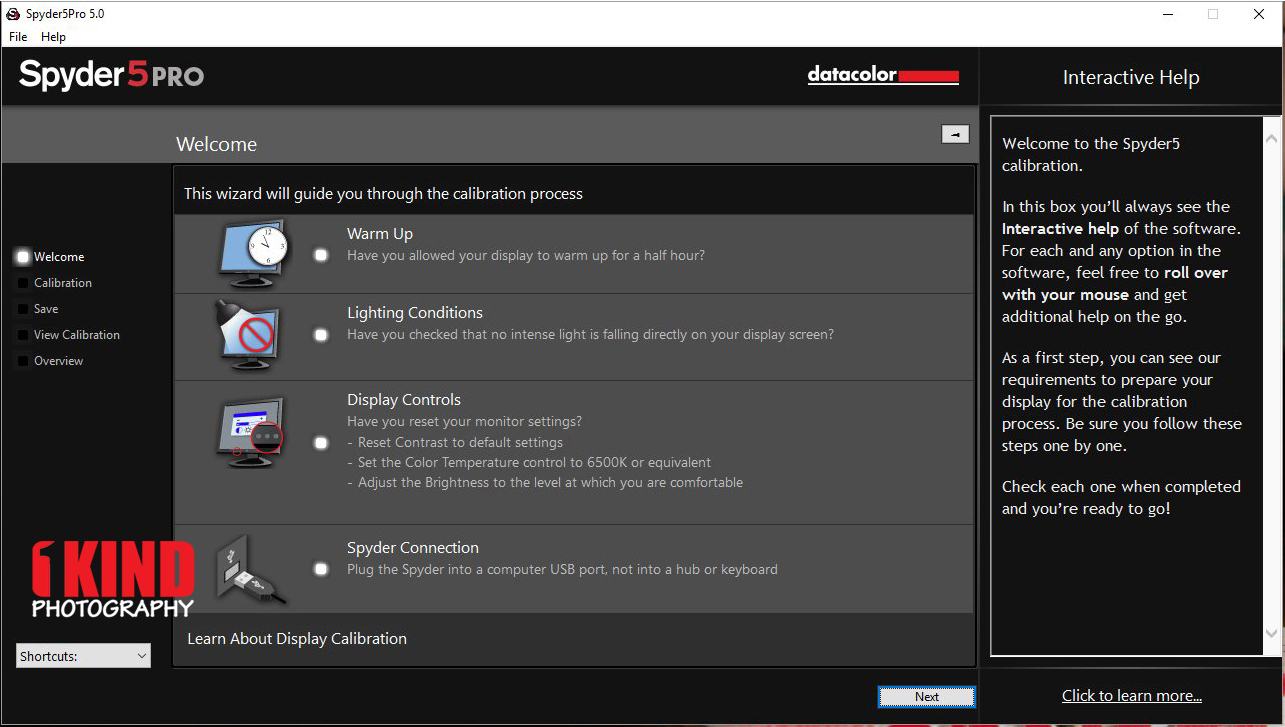
Once you downloaded and installed the software and registered the colorimeter like shown in the video above, you're taken to the "Welcome" screen. Ensure that the monitor has been turned on for at least 30 minutes before you begin the calibration process. Also be sure that there is no direct light shining on your display and your display has been reset to default settings.
Once all those have been done, you can now plug the Spyder4 into a powered USB port.
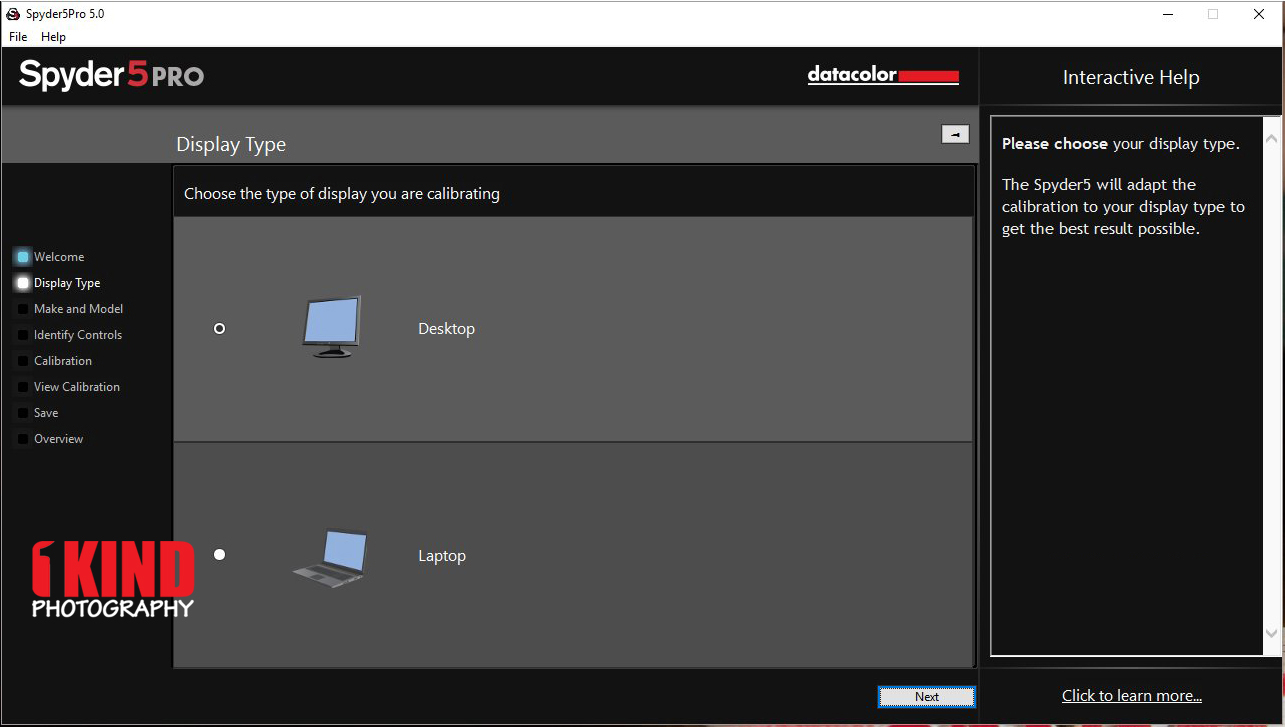
The next step will ask you about which display type you are using.

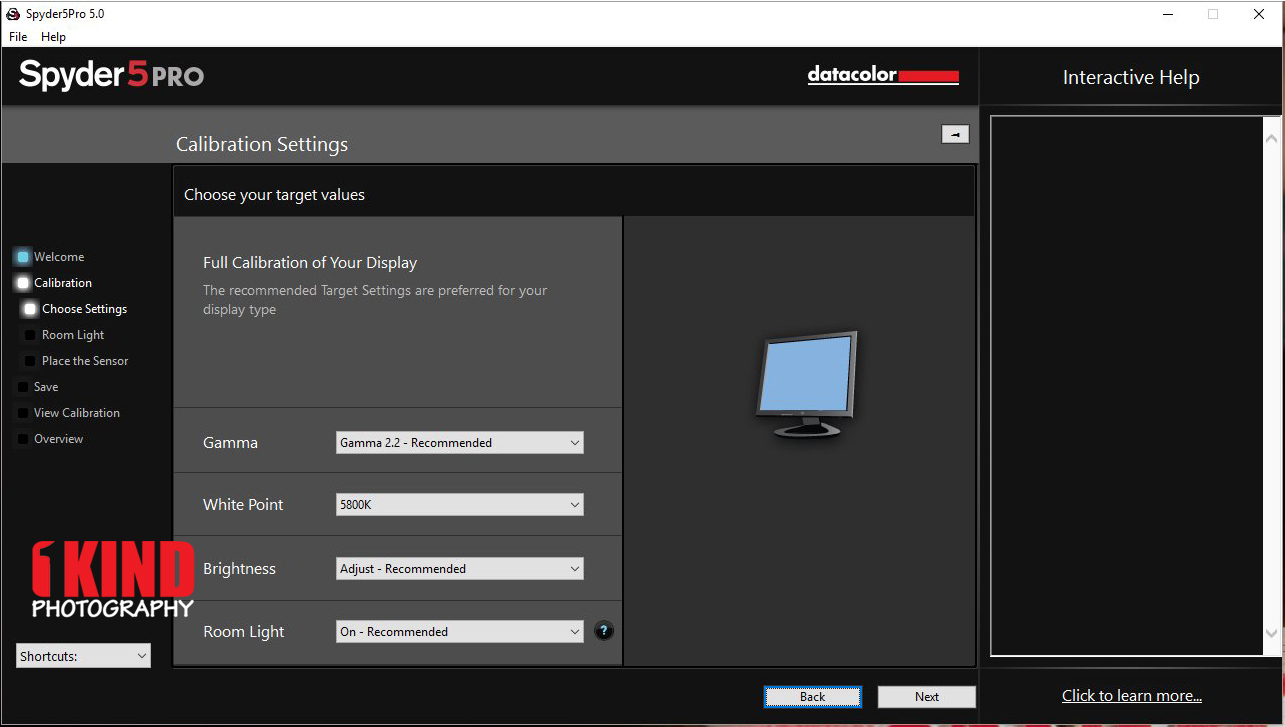
The Calibration Settings allows you to choose how to calibrate your display such as Gamma, White Point, Brightness and Room Light. During our installation process, we left it all on the default settings.
As mentioned before, the top of the colorimeter has a sensor that measures the ambient light in the room. Make sure there is no intense light falling directly onto your display monitor or this would cause the calibration to not work properly.
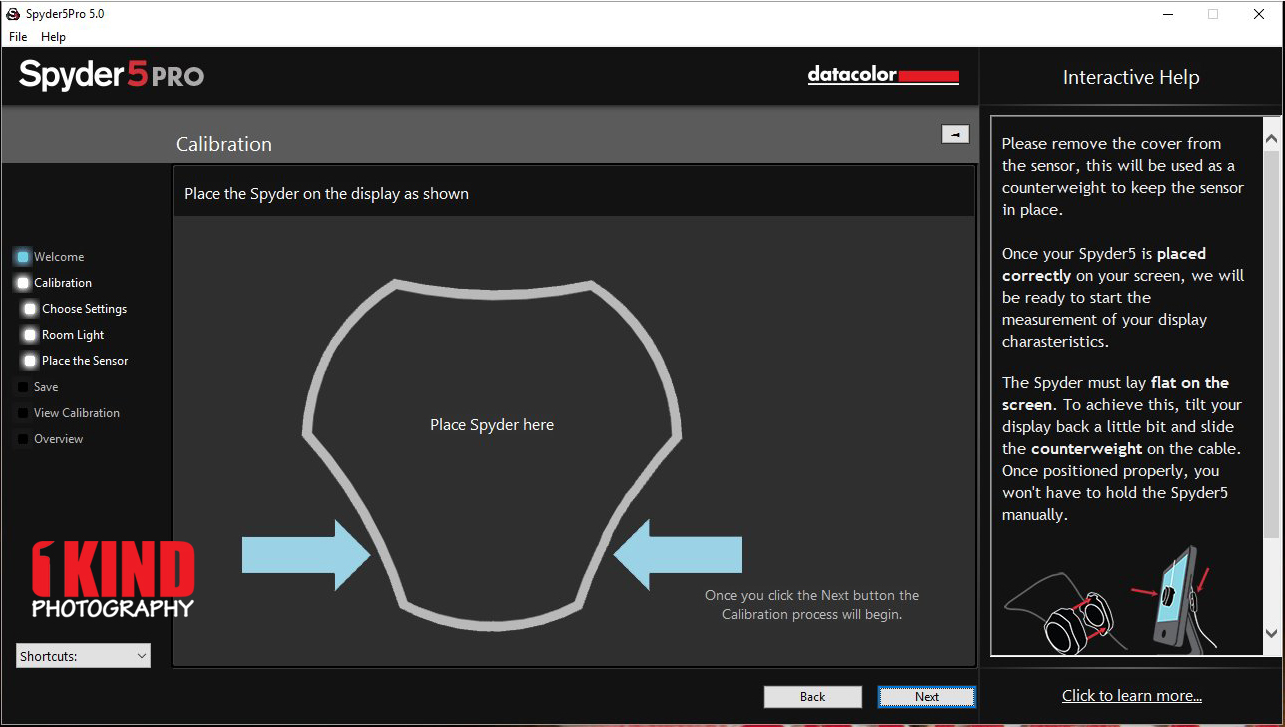
The software will tell you when to place the colorimeter on the display.
This is how the Spyder5PRO looks when it is dangling from your monitor. You may need to angle the monitor to assure the Spyder sits flat on the screen.
Before the process started, on our Macbook Pro, we didn't have to adjust the brightness but on our PC monitor, we had to adjust the brightness to their recommended settings before we were able to move onto the next process.
During the automated calibration, a series of colors will display on the screen.
Once the calibration is completed, you can see the uncalibrated and calibrated view. Click "Next" and your calibration will be saved.
Here is more detailed video of the calibration step.
Conclusion : Overall, the Datacolor Spyder5PRO S5P100 Display Calibration System is a necessary tool. I always thought that what I had from the factory was OK. But after looking at the uncalibrated and calibrated it was a big difference in terms of color. Setup was straight forward and easy.
The Spyder5PRO is usually on sale for about $150 so you can definitely get it cheaper than the retail price.

