
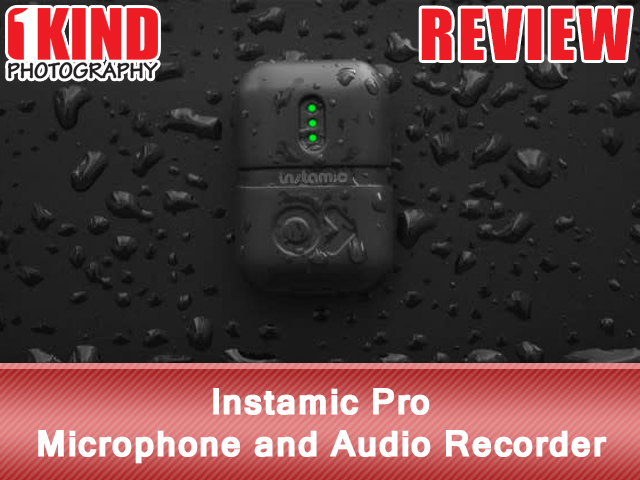
Overview : The smartest, smallest, and most affordable microphone and audio recorder that's easy to operate.
Features :
- Record in 48 kHz / 96 kHz - 24bit
- Mono & dual-mono; Pro has stereo
- Omnidirectional polar pattern
- Frequency response of 50 to 18,000 Hz
- Multiple clips for recording
- Sticky, magnetic, velcro and lanyard for adhering
- Instamic is splashproof; Pro is waterproof
- Works with OR without mobile app
- Turn on Instamic with one button
- Sync it to your bluetooth device
Quality/Usability : Instamic was first introduced to the world in June 2015 via Indiegogo. Without the backers, the Instamic may not have come to fruition and that's what I love about crowdfunding. It gives entrepreneurs a way to bring their dream to reality. This also gives enthusiasts a way to support these new innovative products at a discounted price. There's always risks and challenges with any campaign and production but that's for a different topic.
Instamic is a tiny audio recorder that can be easily placed on subjects or objects to record sound that a wireless lavalier, bulky portable records or long range shotguns may be impossible to use. This is great for weddings, documentaries, musicians.
Happy to say that Instamic is in full force and being used by many producers and enthusiasts. So lets get on with the review of the Instamic Pro.
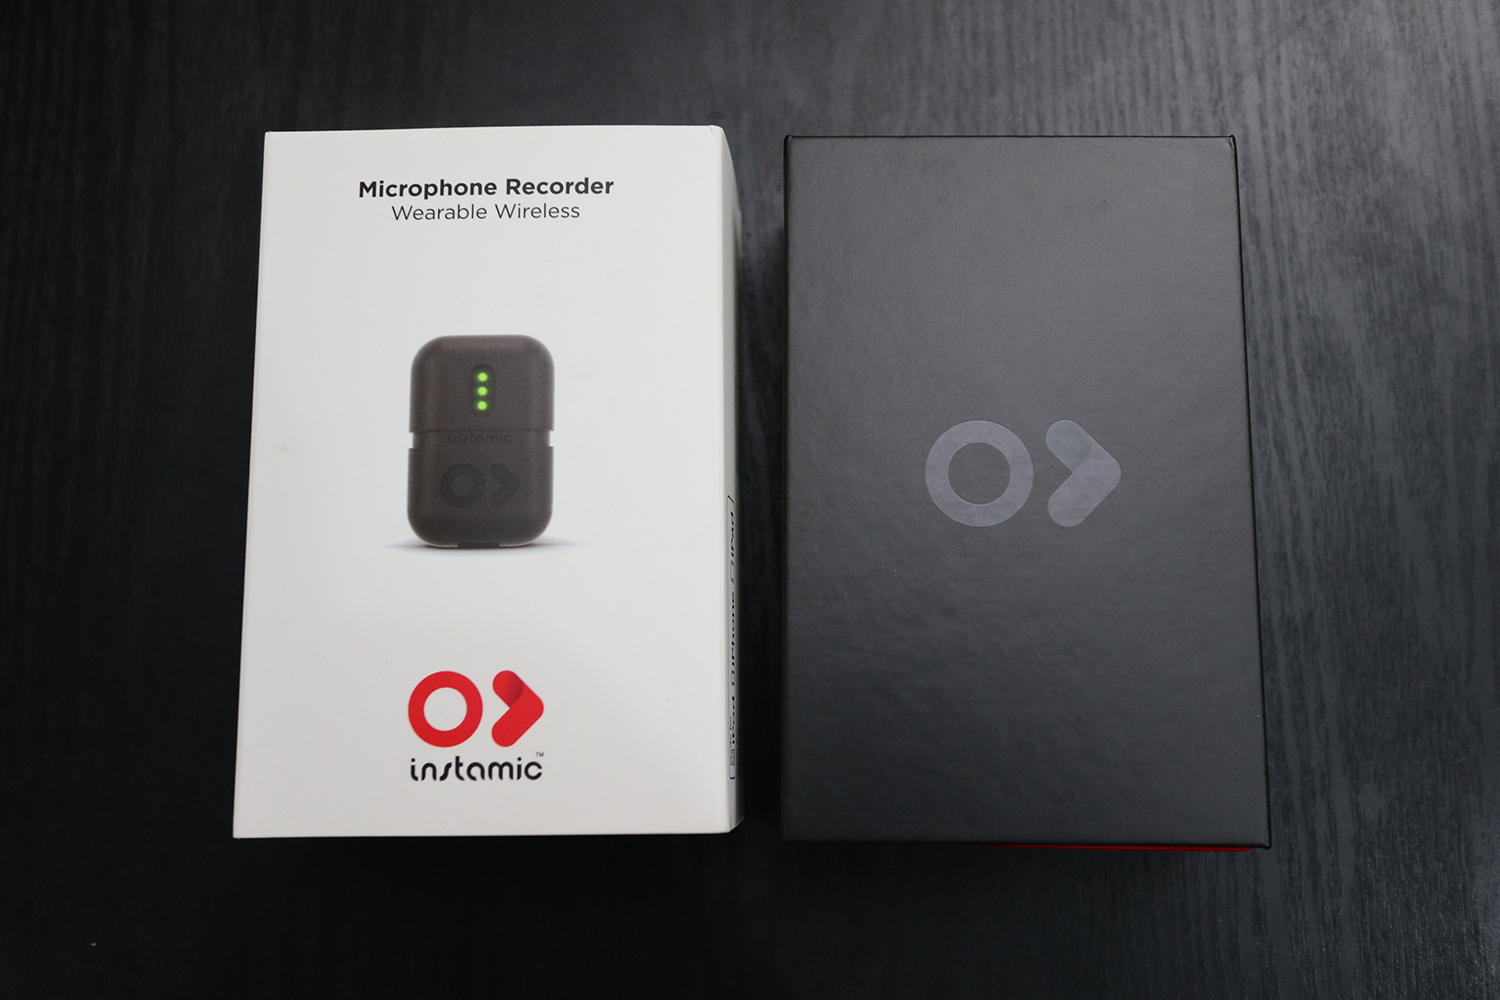
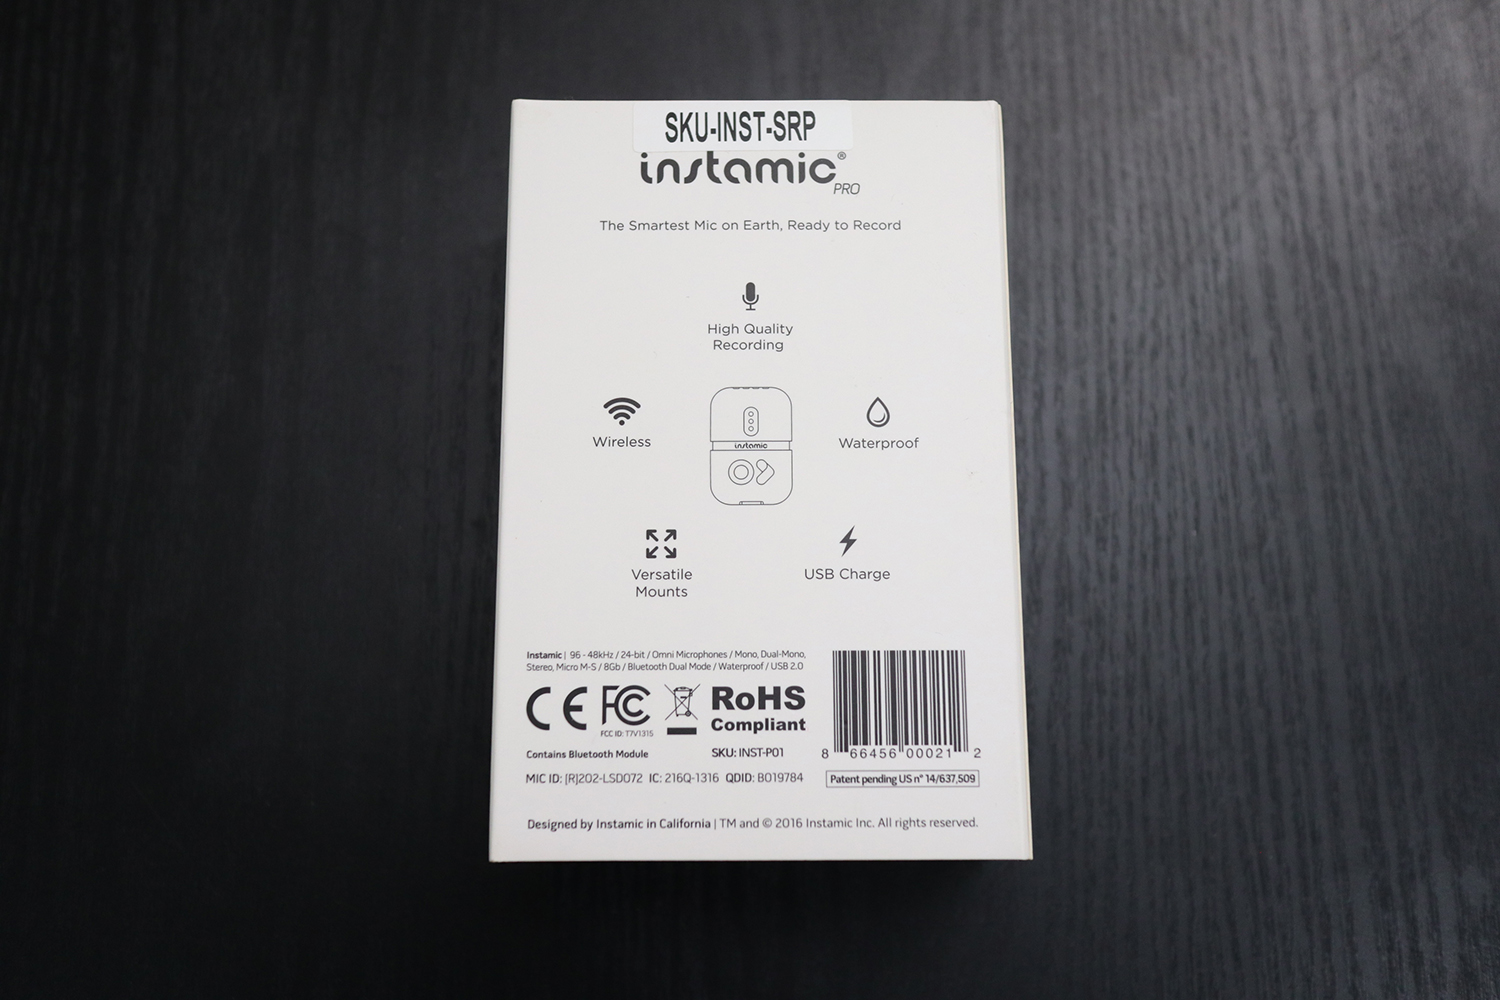
The Instamic is nicely packaged with a sleeve. The front sleeve simply shows the Instamic. The back has your basic features of the Instamic with UPC barcode.

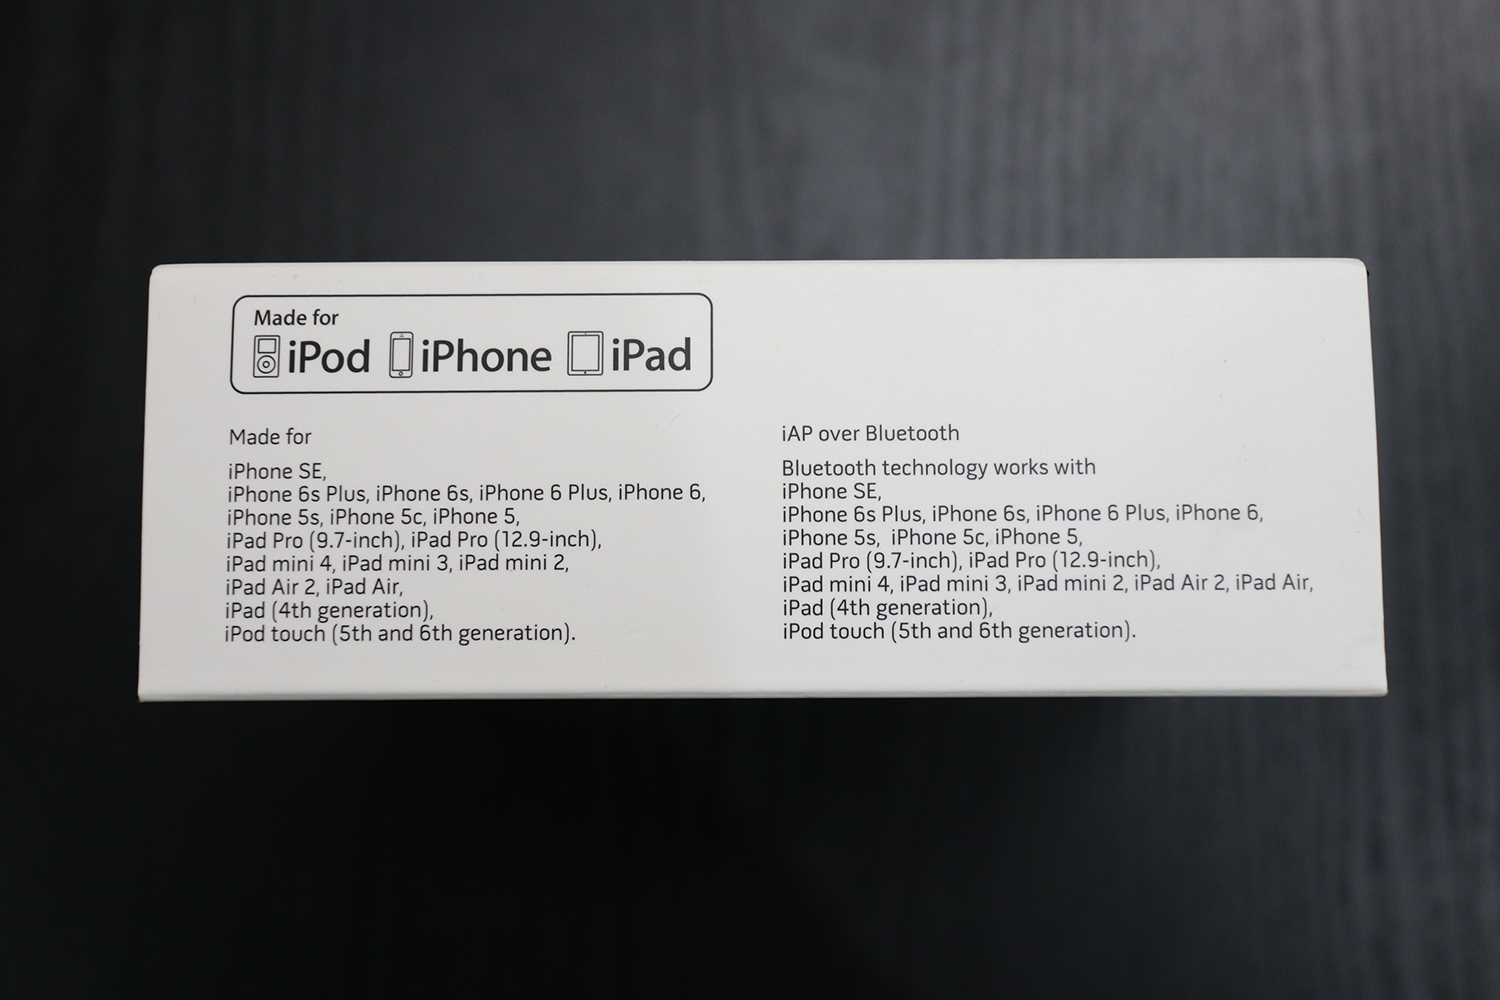
Left side of the box has a barcode with your serial number along with all the legal copyright information. Right side of the box lists all the item the Instamic is compatible with. Even though it lists only Apple products, it works with Android devices as well.
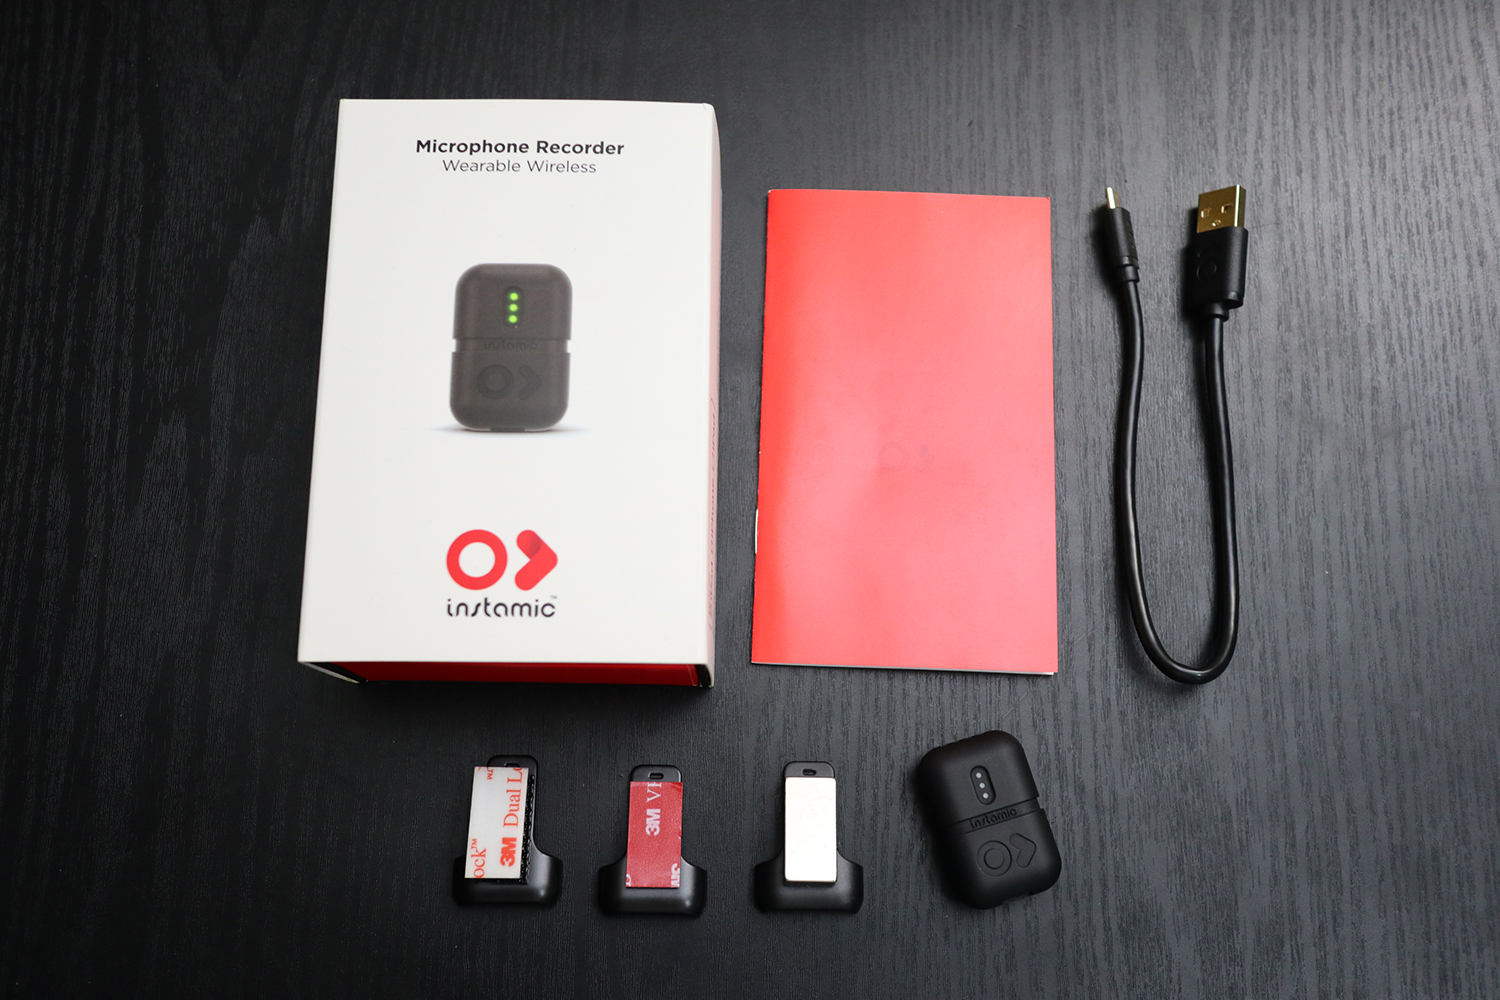
Instamic is available in three models: Instamic Basic (mono) in white and Instamic Pro (mono or stereo) in black. Both version includes three mounting options (magnet, tape and velcro) and a microUSB cable. The only difference other than color is that Basic is IP65 splash proof (rain or water spray) while Pro is waterproof up to 5 feet underwater.
There's 8GB of internal storage that holds all your audio and nothing is stored on your smartphone. It can record at 48/96khz, 24 bit recording, up to 16 hours of uncompressed WAV files and has a frequency response of 50-20,000Hz. On a full charge, you'll get roughly 3 hours of use.
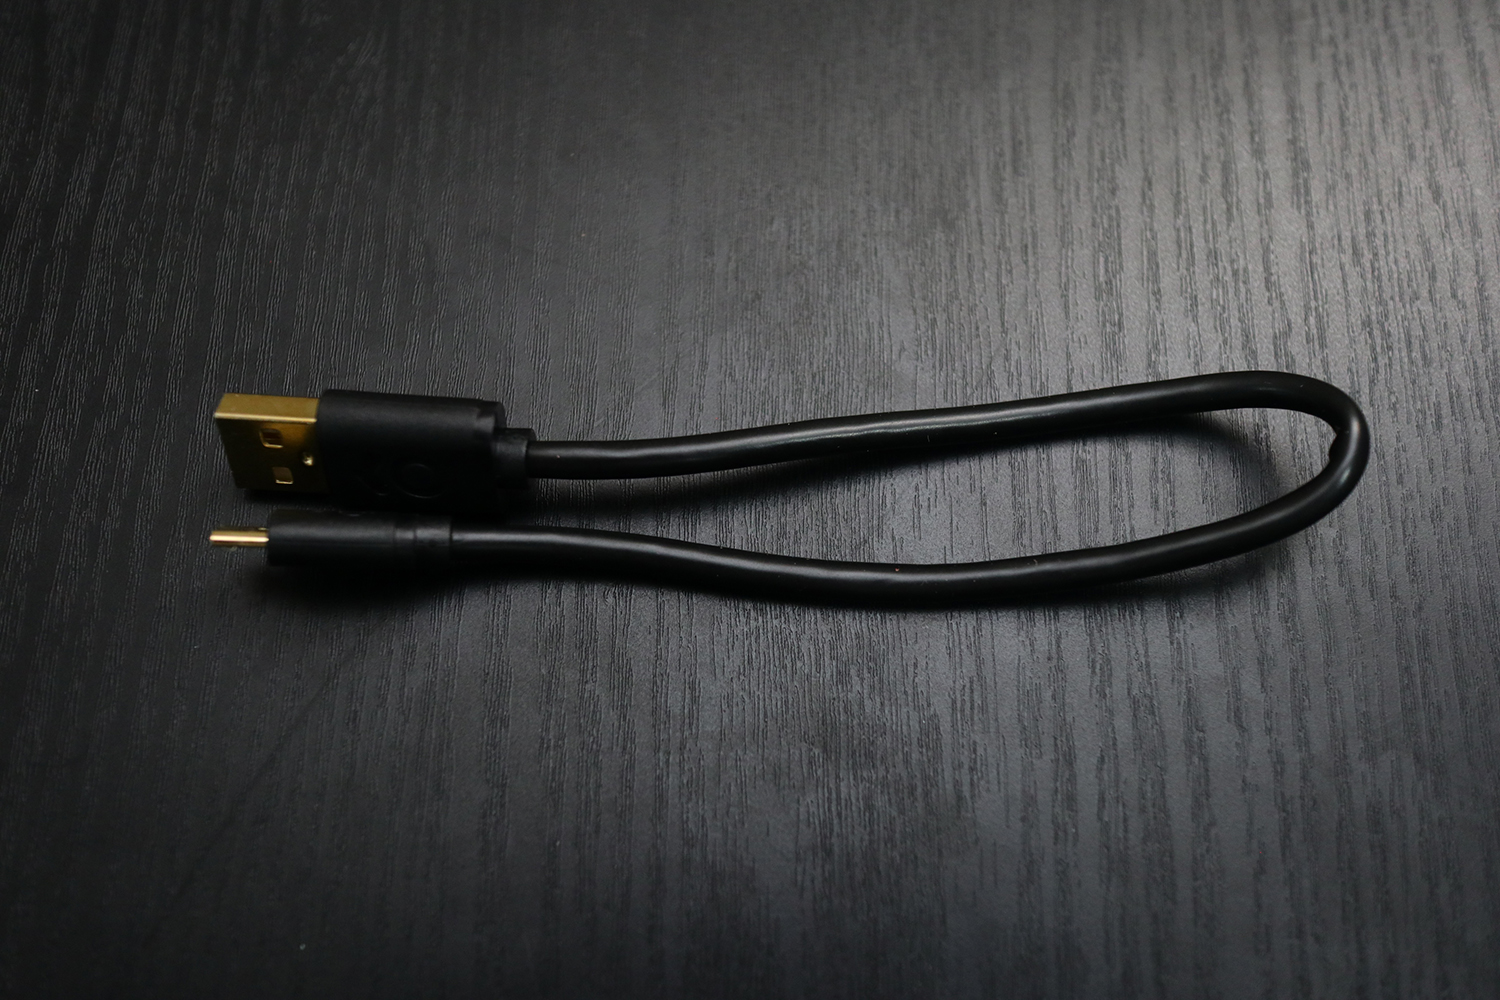
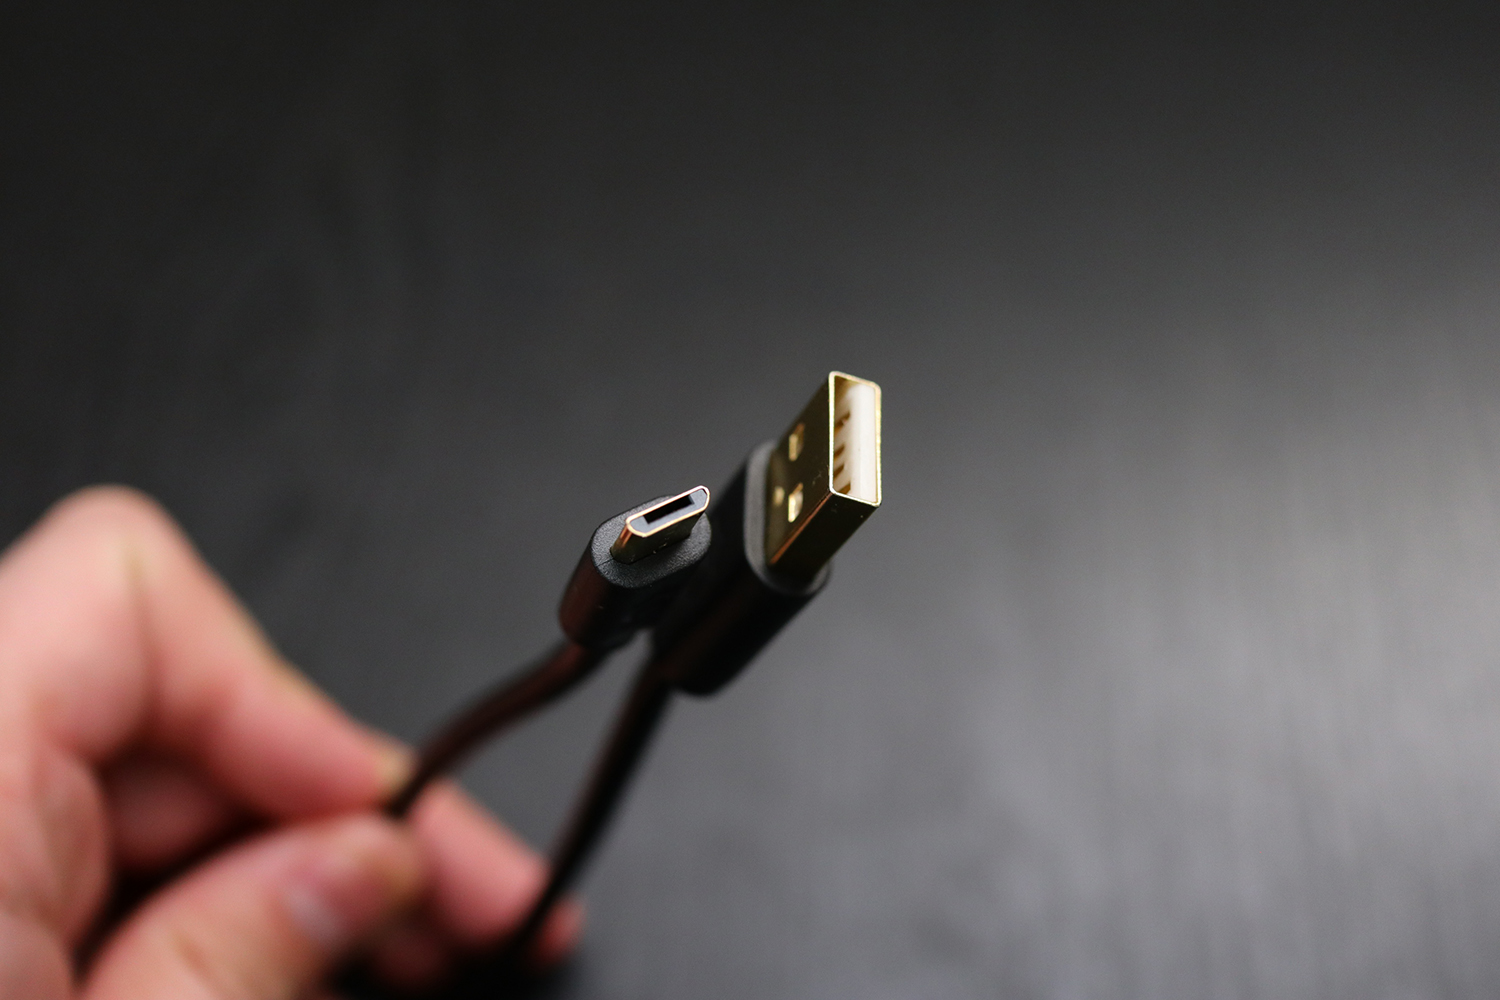
The microUSB cable isn't anything special. If you have other microUSB cables laying around that you use, you can use that if you want.
To charge the Instamic, simply plug in the USB cable to it and the other end to your computer or battery pack. When all LEDs are blinking, that means it is fully charged.
To transfer audio, simply plug a USB cable to it and the other end to your computer. The Instamic will show up as a separate drive. Once it is recognized, simply drag your files to your computer. When you're editing a video, all you'll do now is sync the audio to your video. You can use a clapboard or even just clap your hands.
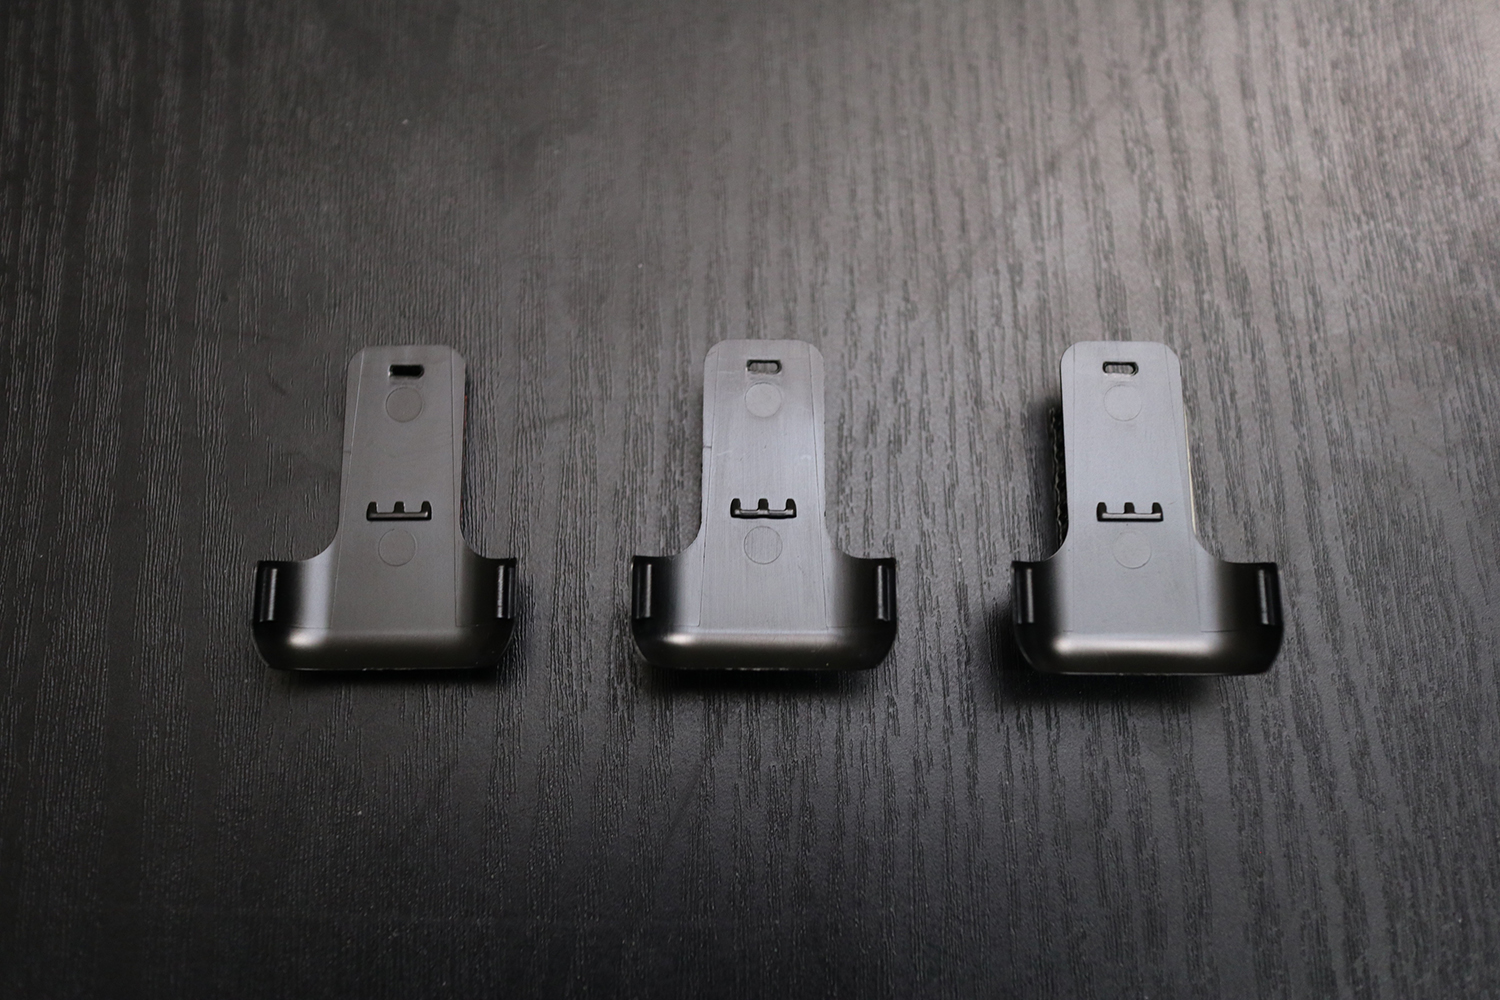
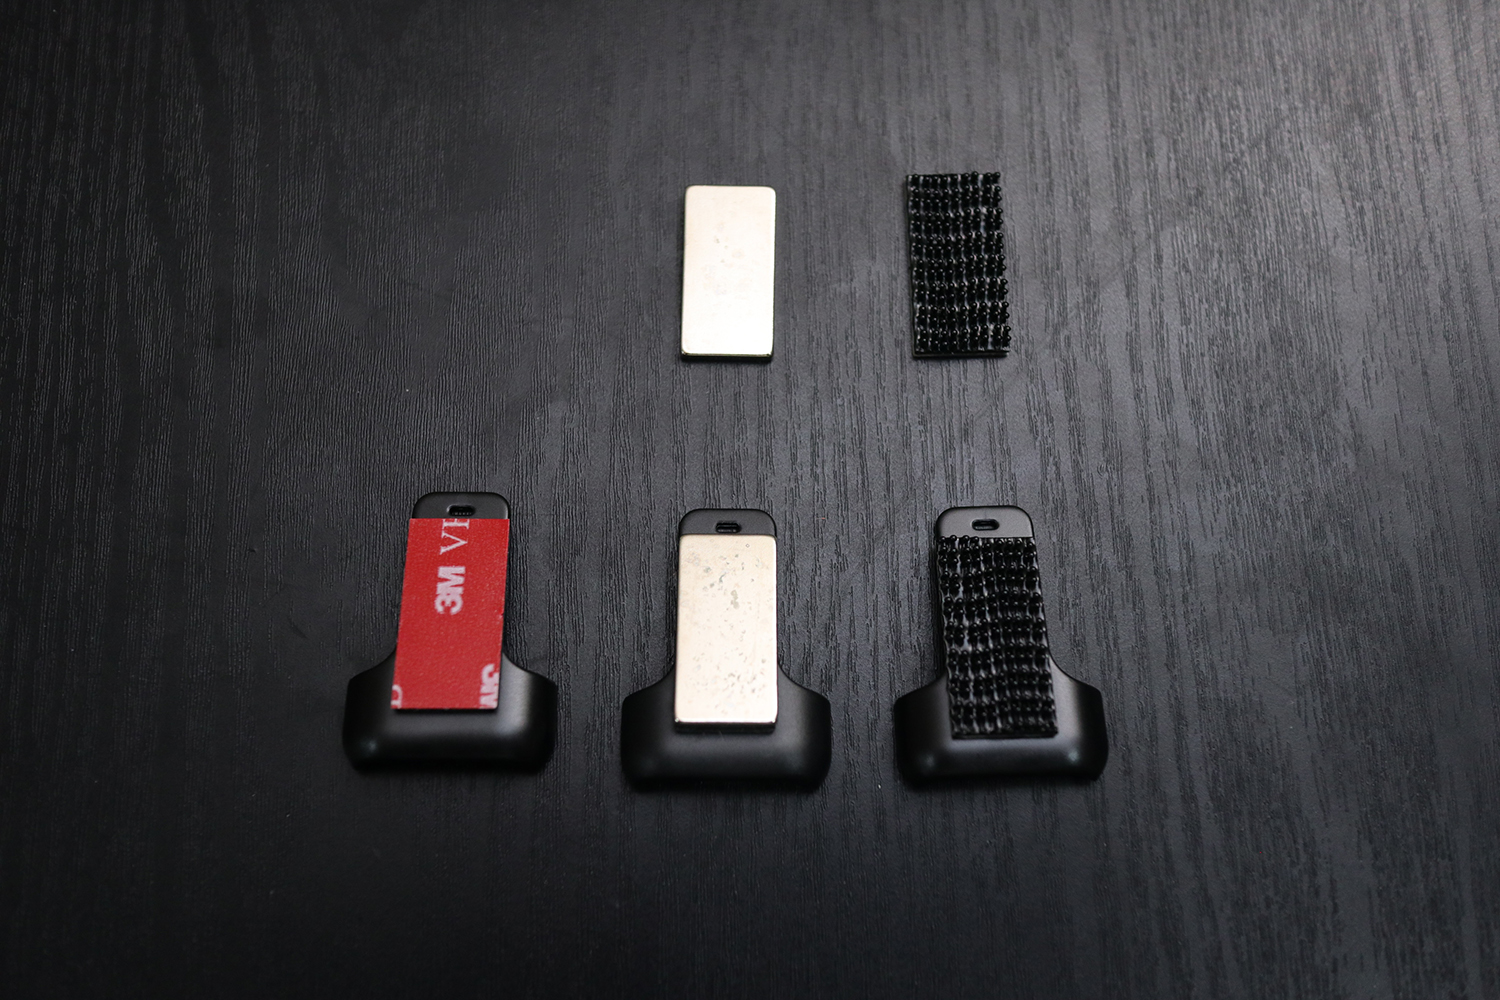
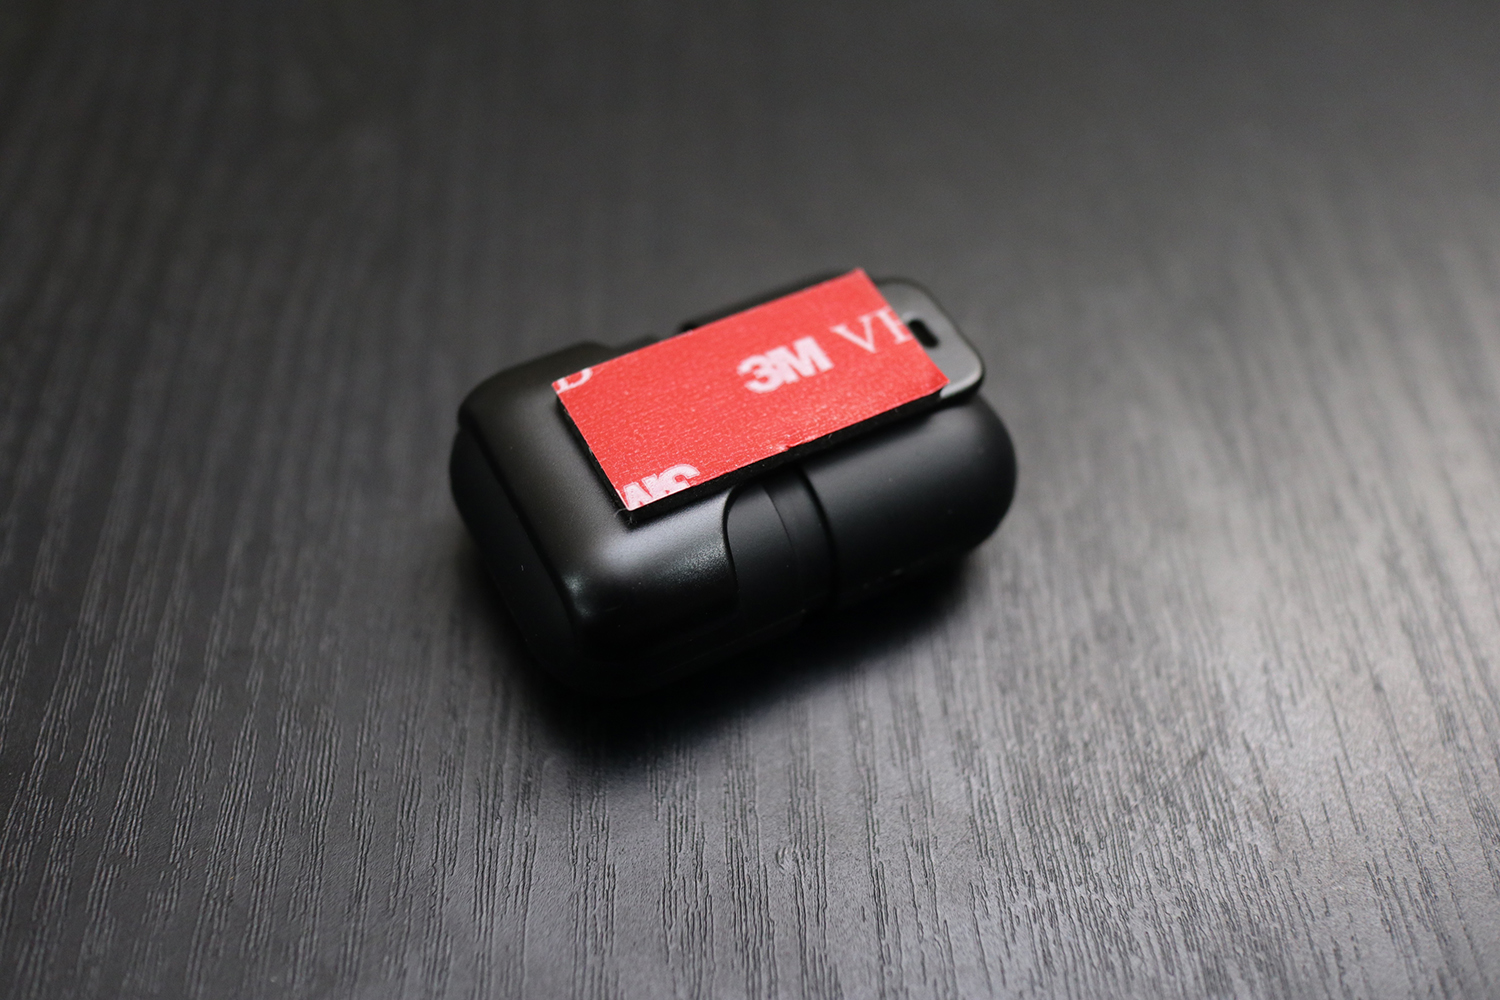
The tape option is basically a cradle with 3M tape on the backside. This is more for a permanent mounting solution and my least favorite.
The velcro mount is great if you want to keep the item close to you and for something that is a bit more semi-permanent. This is great if you want to attach the Instamic to the top of your camera to record the audio.
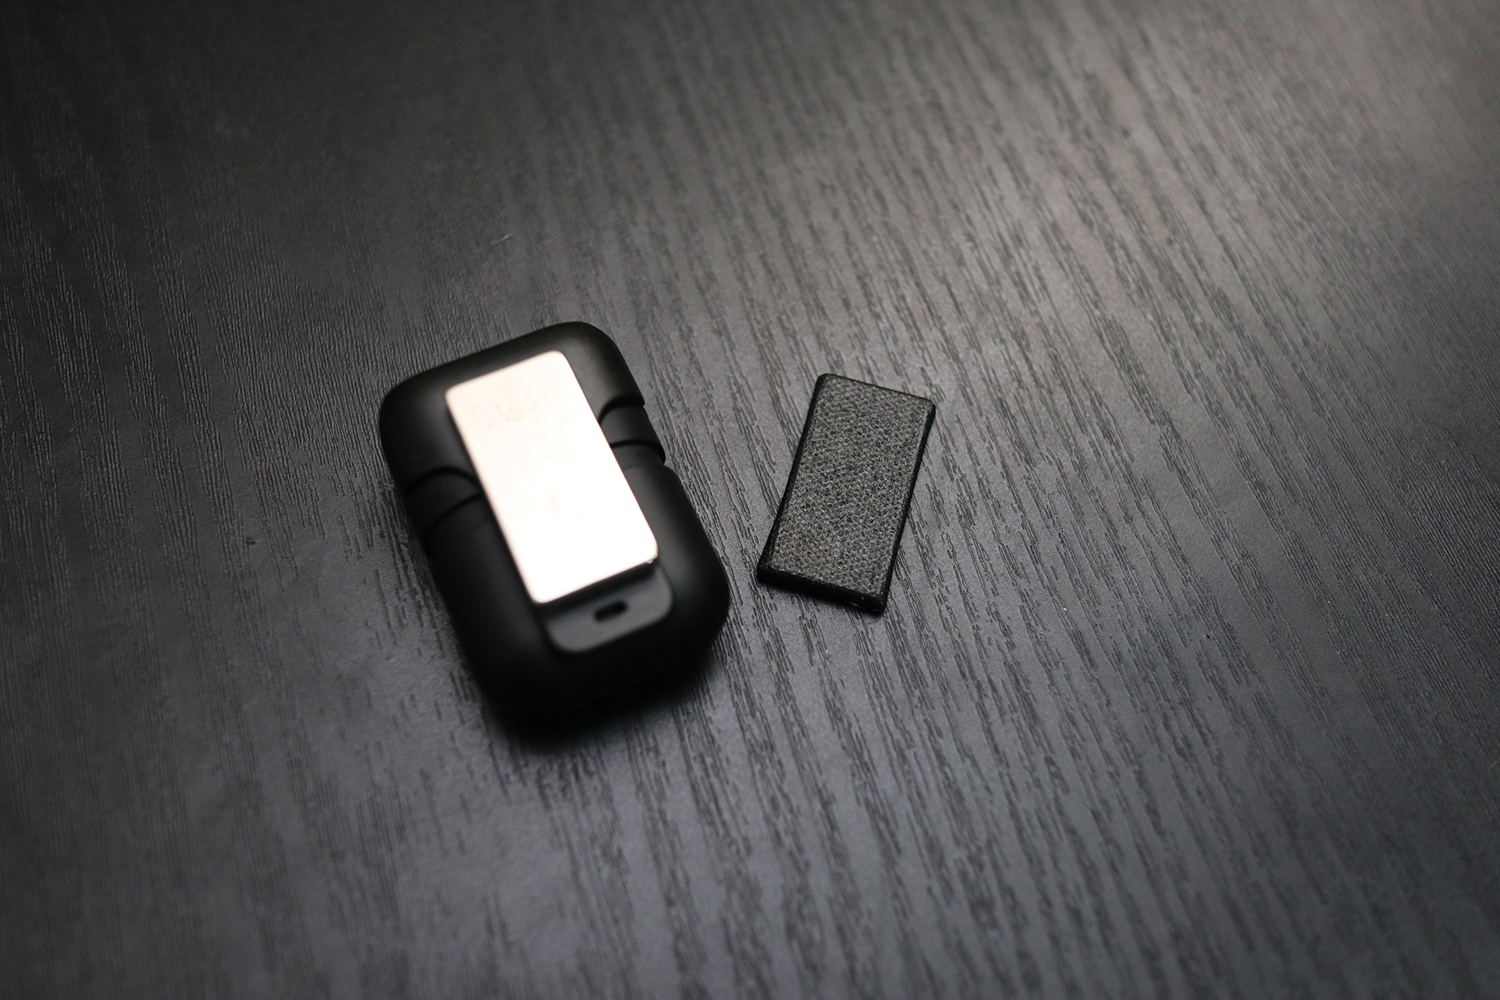
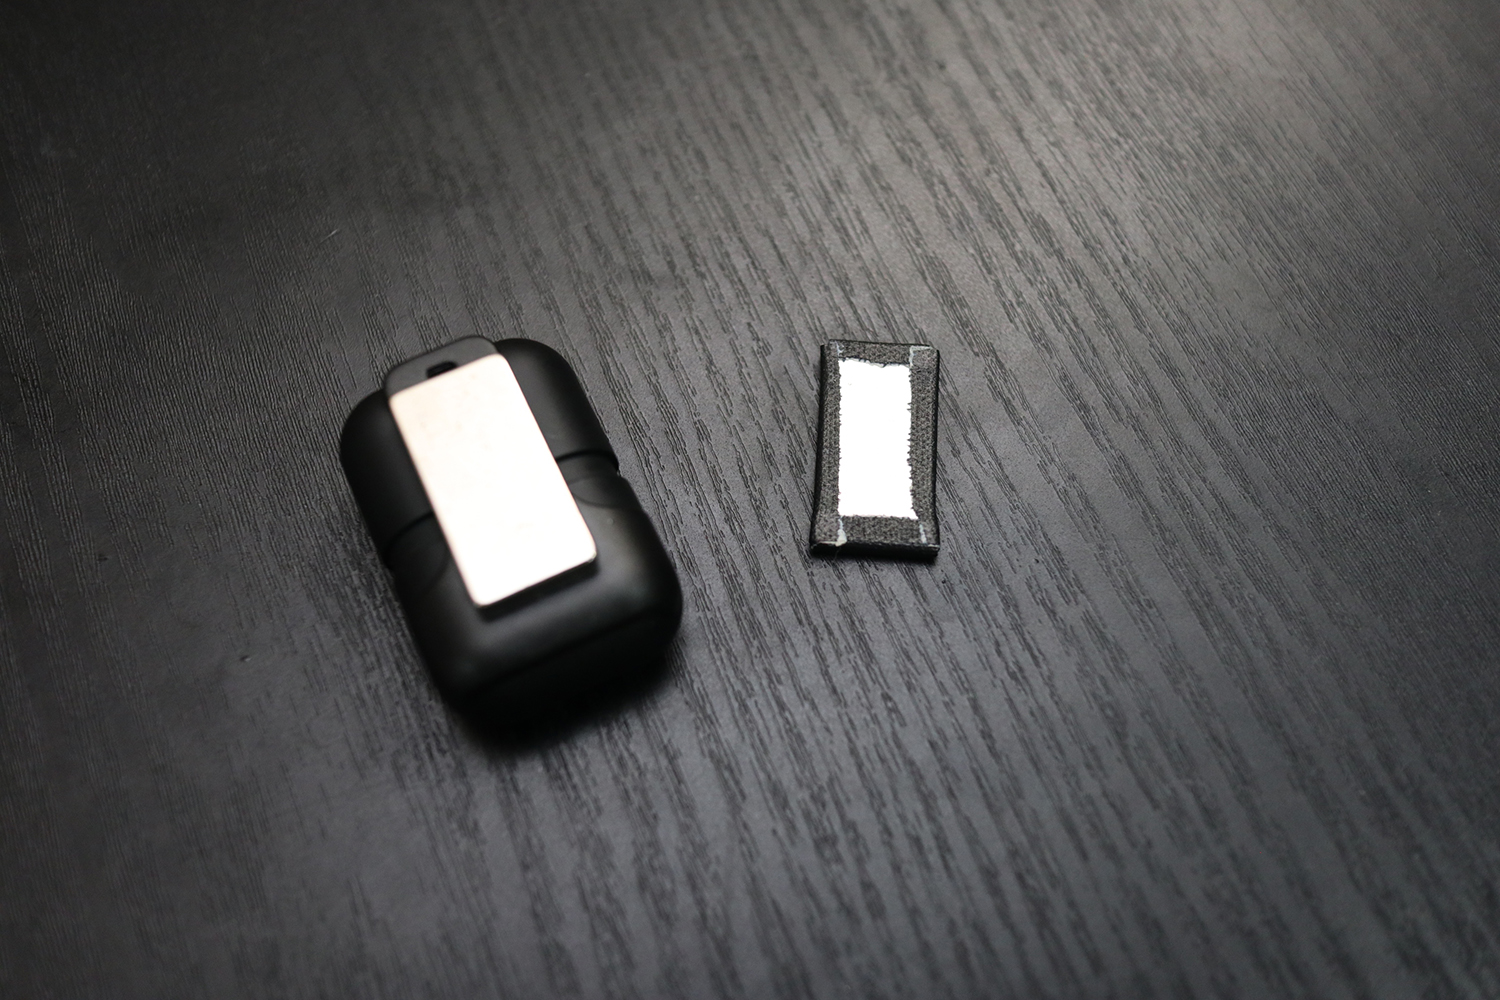
The magnetic mounting option is my preferred choice as it can be used like a lapel mic, microphone stand or even mounted onto a speaker stand. I put gaffers tape on the on the exposed side of the magnet. This hides the silver look.
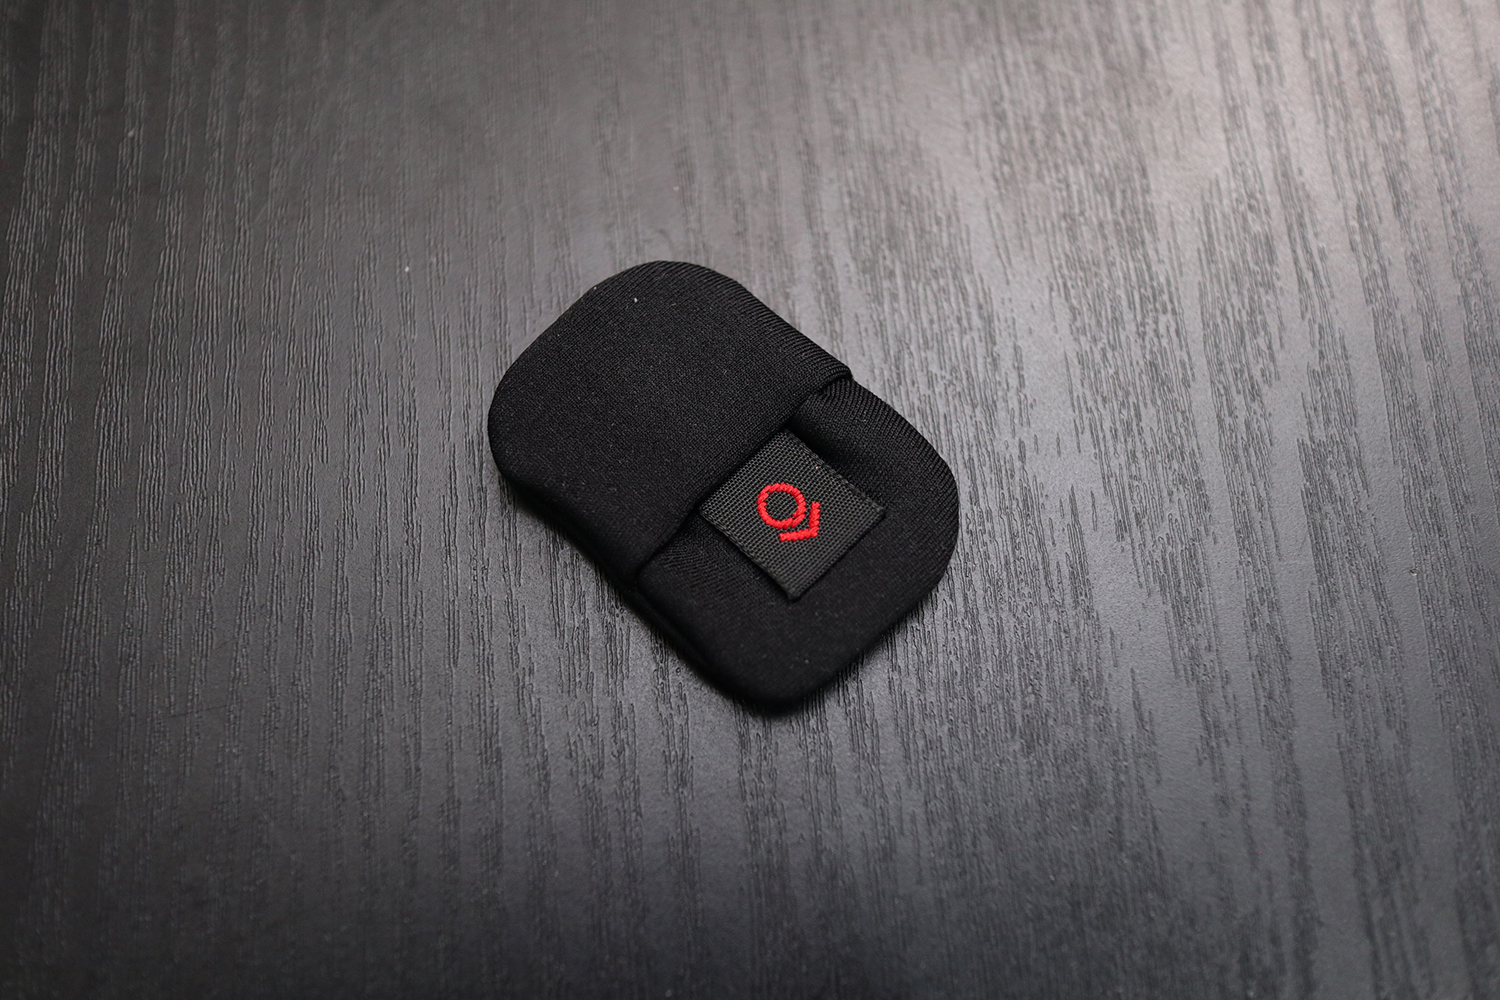

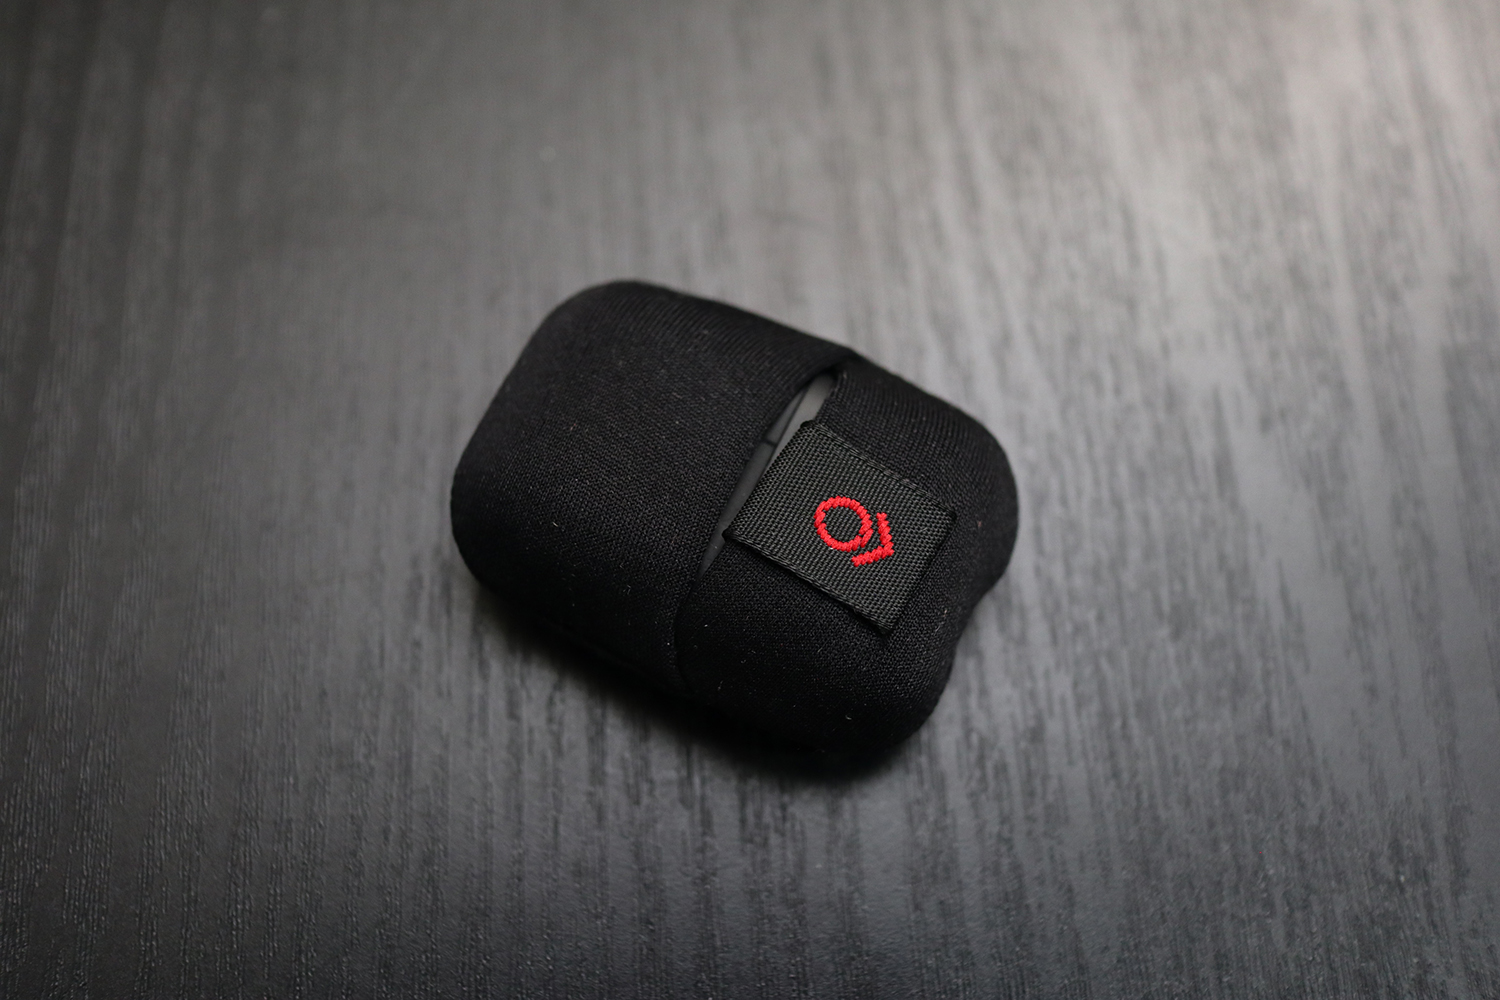
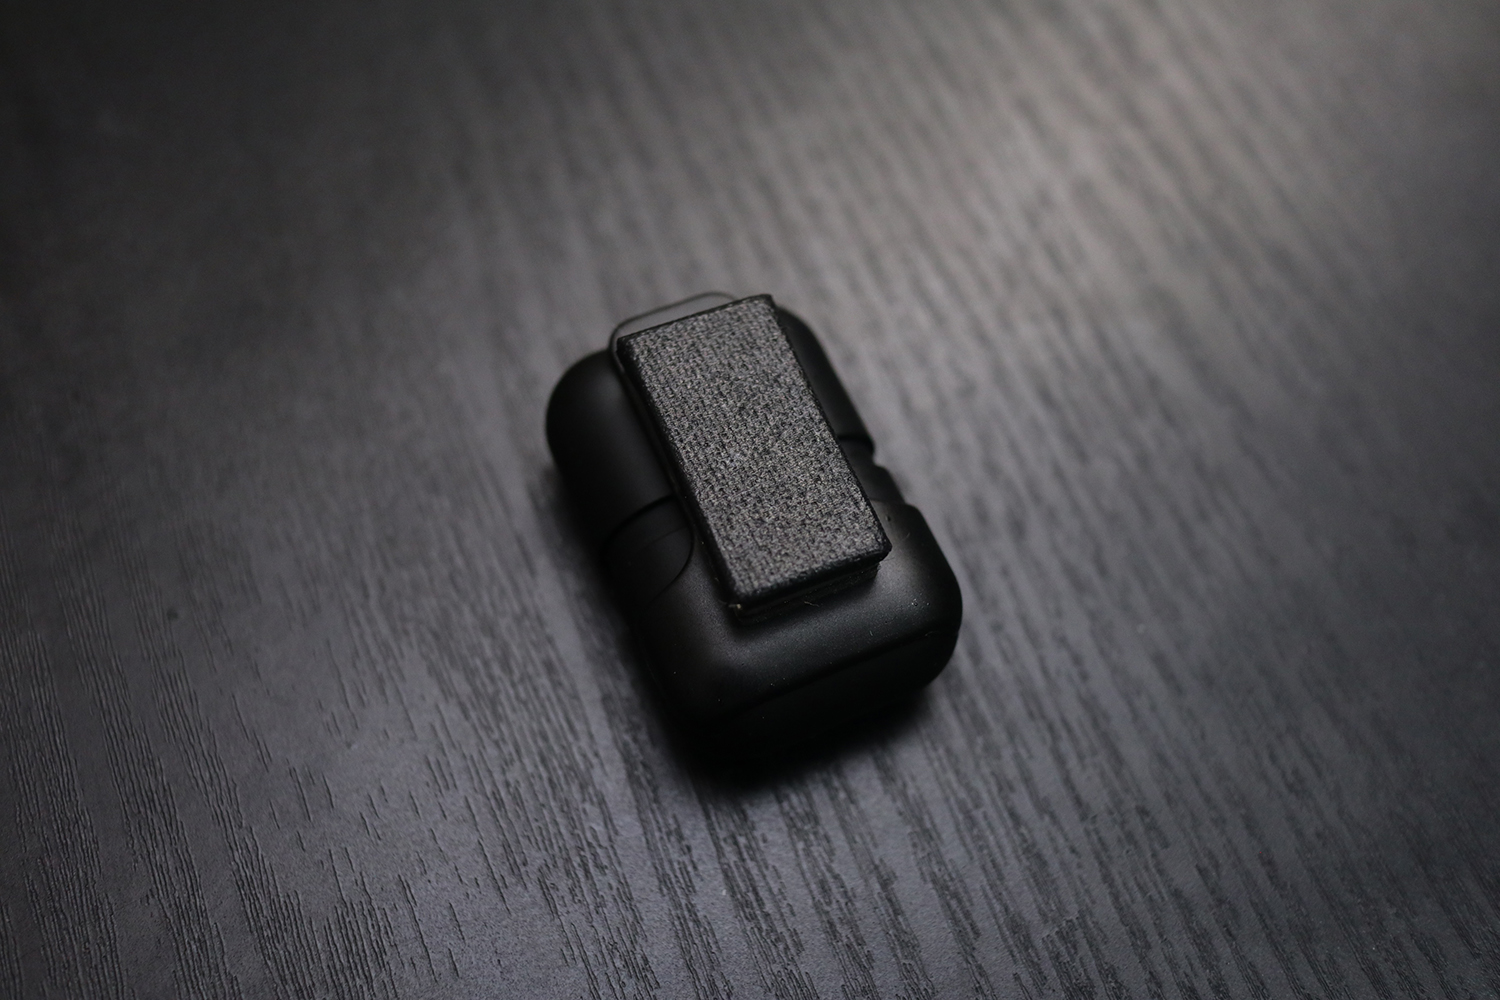
You also have the option of purchasing covers to help protect and camouflauging the Instamic ($16 each; available in 10 colors - White, Black, Dark Blue, Dark Green, Dark Grey, Light Grey, Light Blue, Light Green, Pink, Red). The cover is big enough just for the Instamic. You won't be able to use any of the cradle mounts.
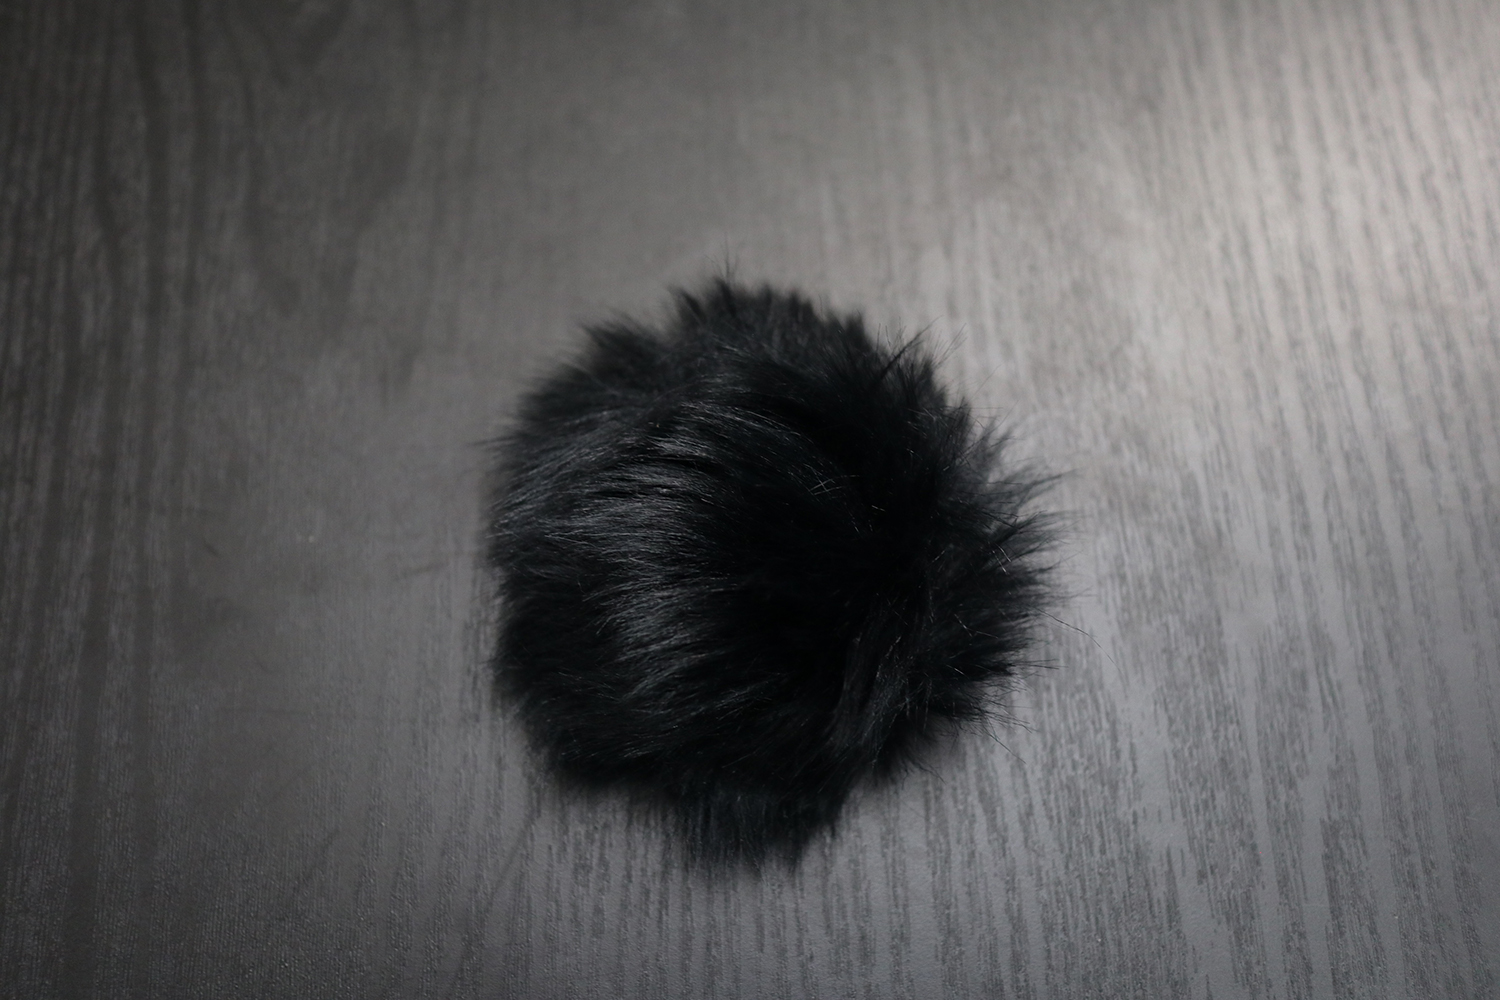
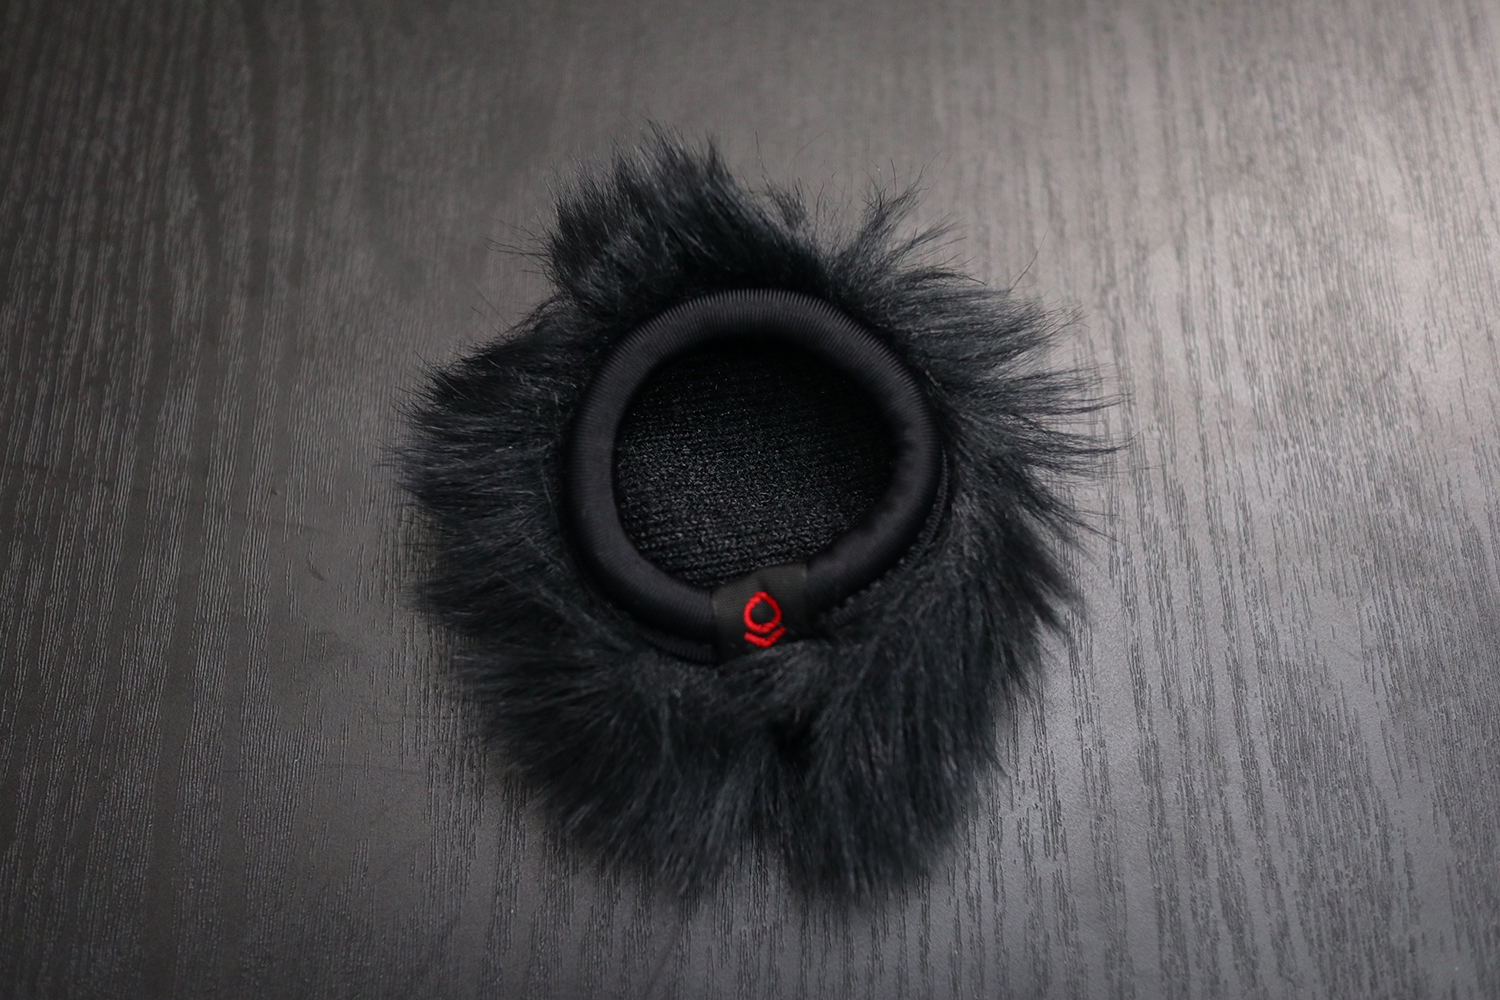
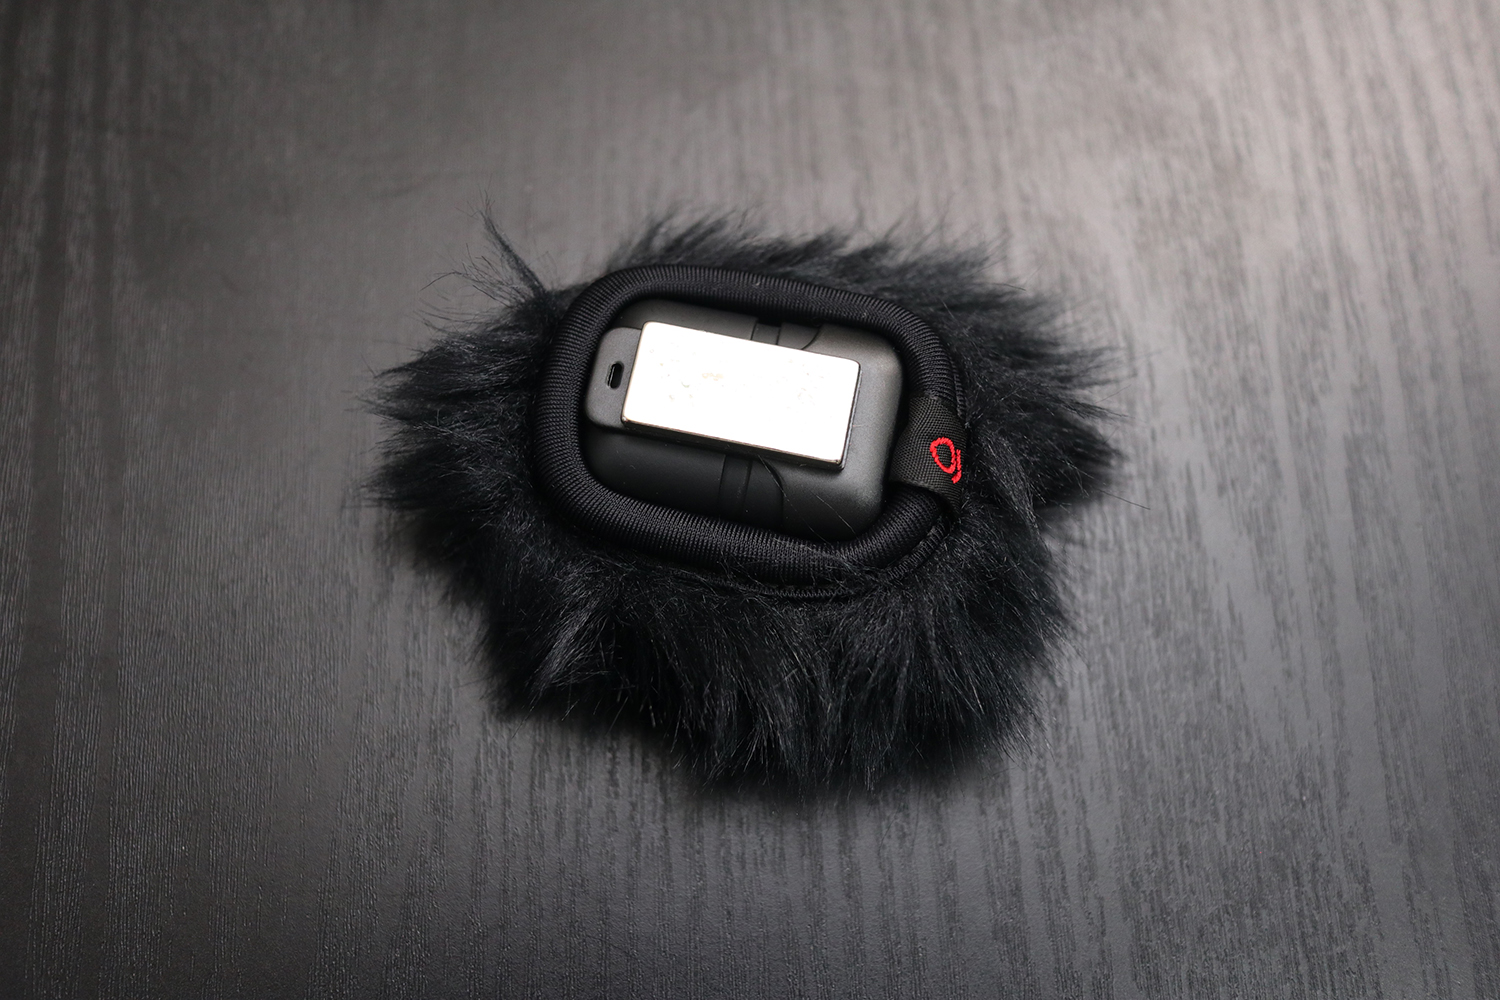
Windshields are also available ($20 each; available in black or white). They are essentially deadcats to help block wind from windy conditions. Since the windshields slip over the Instamic, you can use the cradles without any problems.
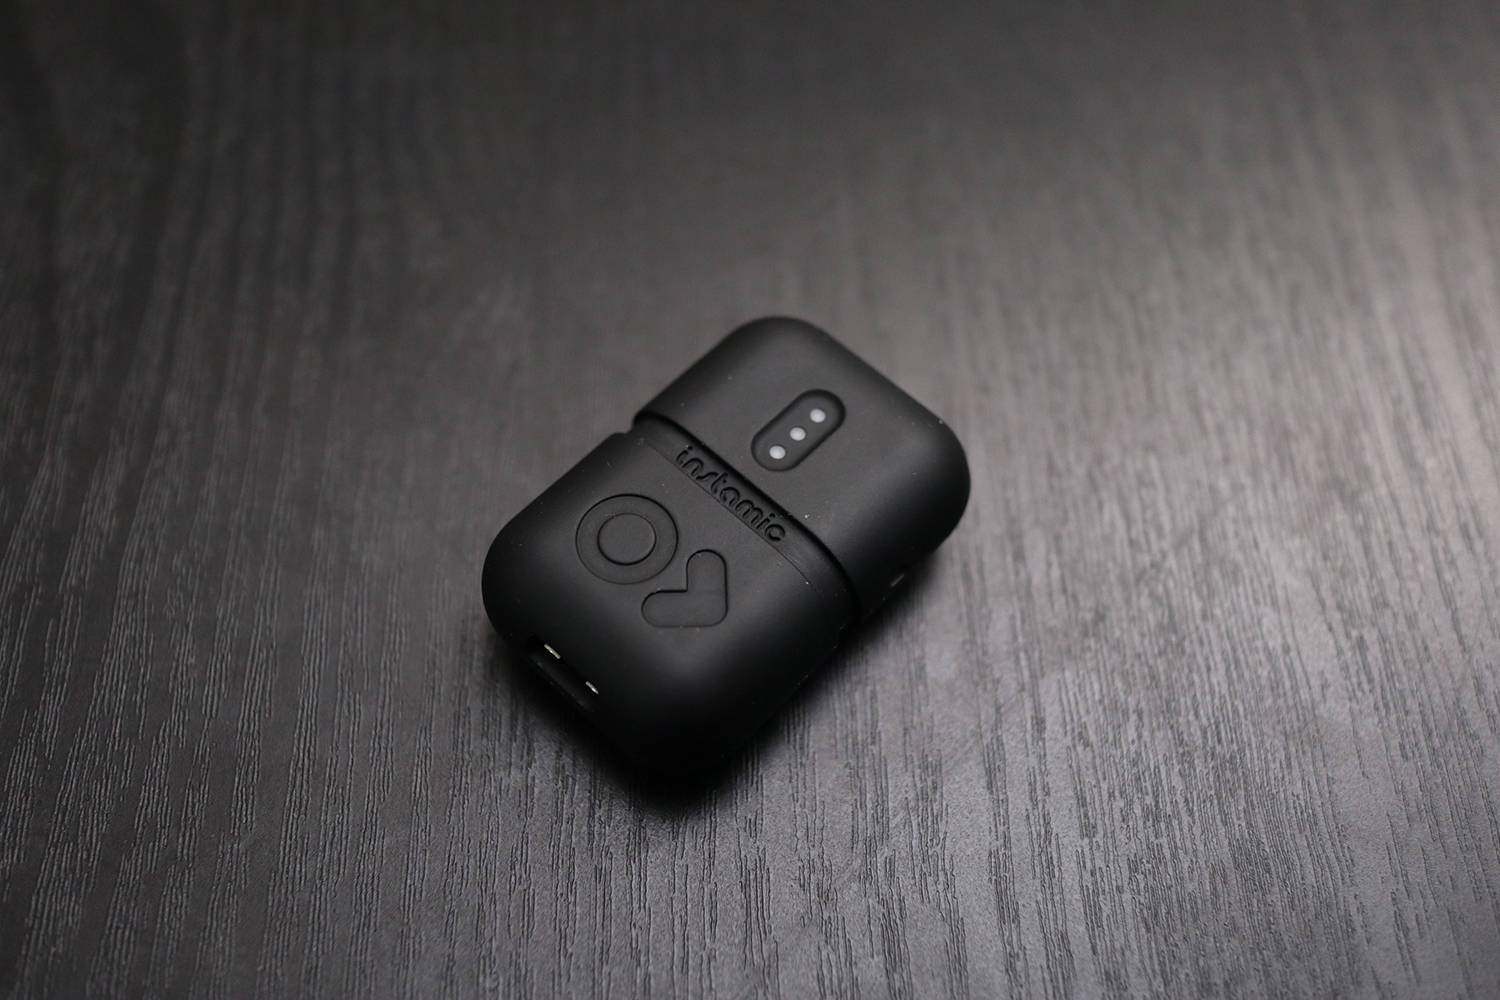
On the front of the Instamic, you have the Instamic logo that also acts as the power button and above it, you have three LED lights. The LEDs indicates the battery level, charging level and audio meter. You can use the Instamic without the app but you won't be able to control anything; simply Start and Stop.
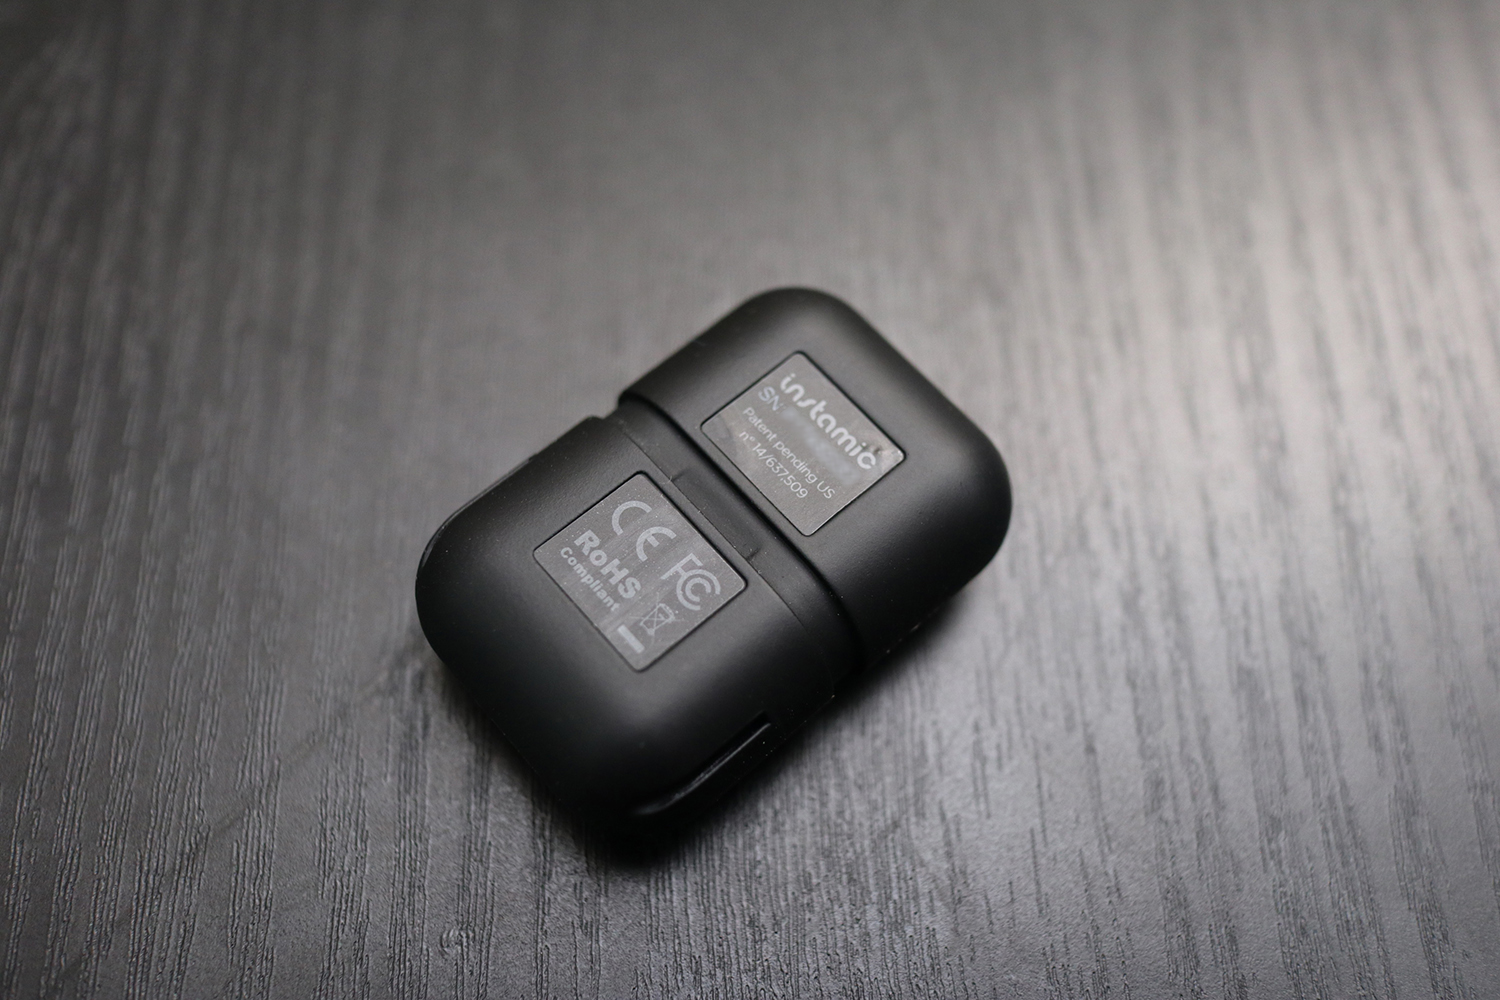
On the back, you'll find the serial number for your unit.
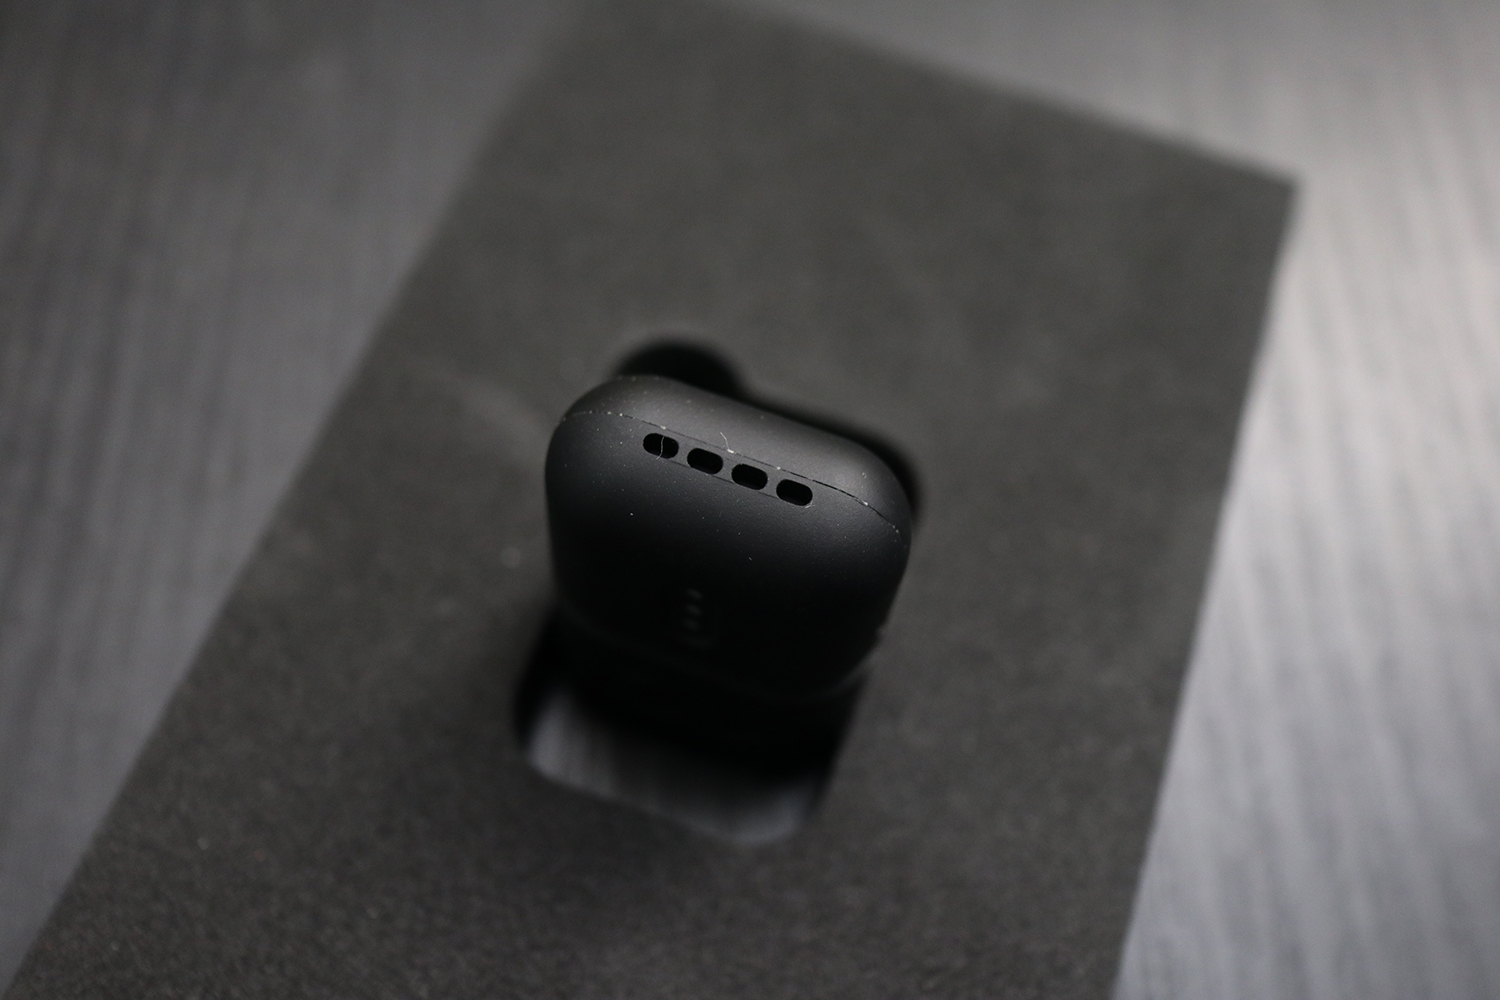
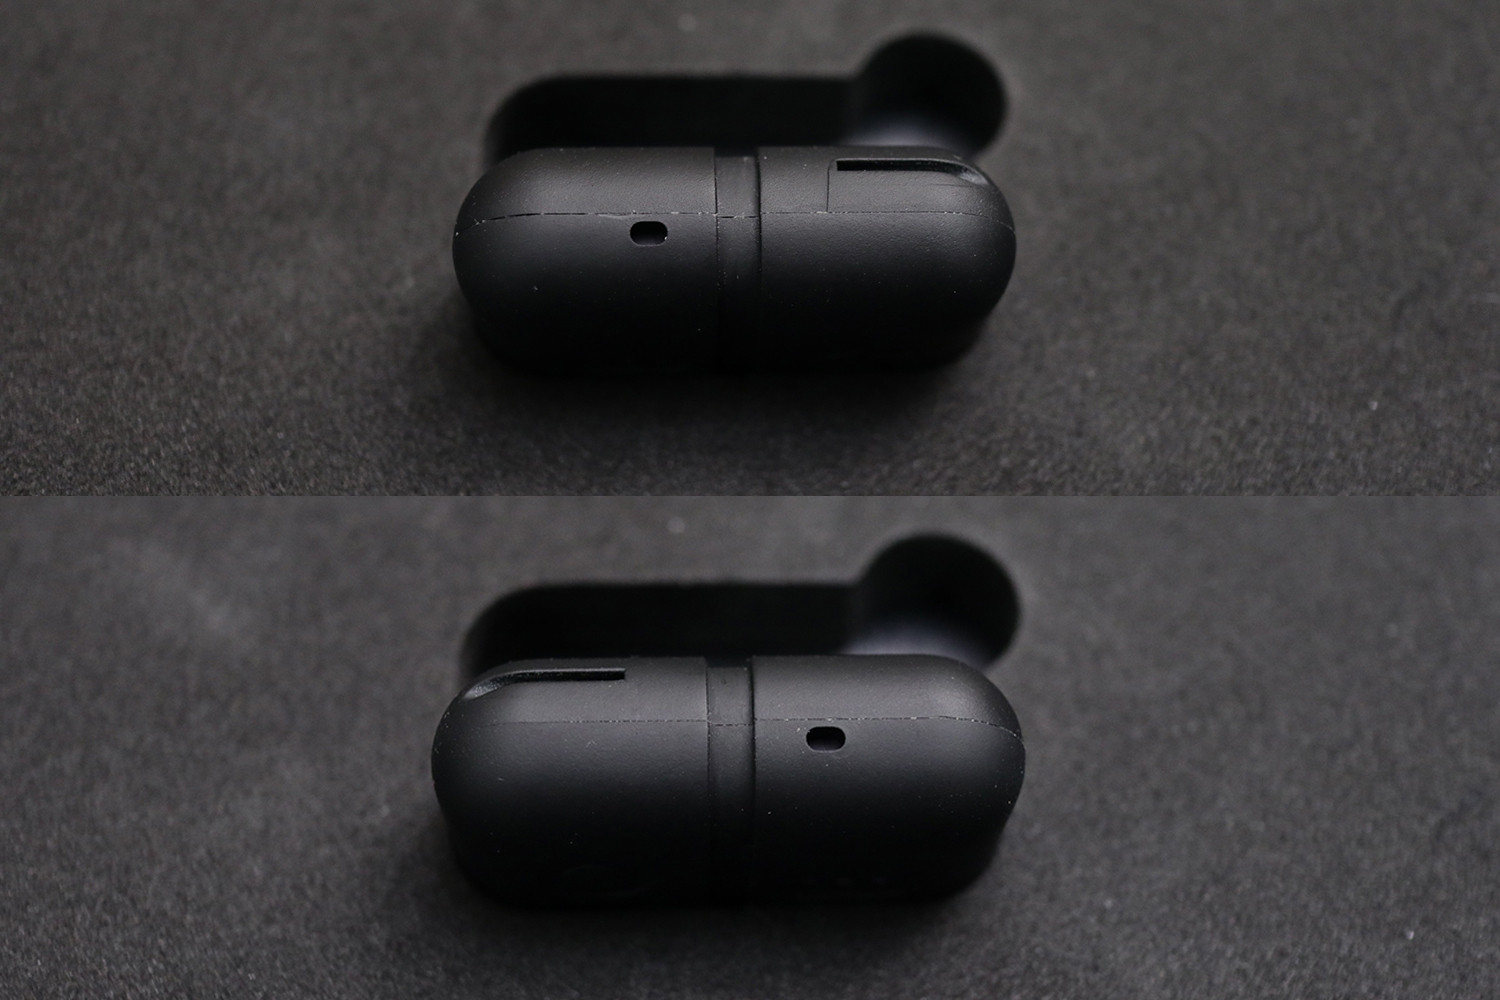
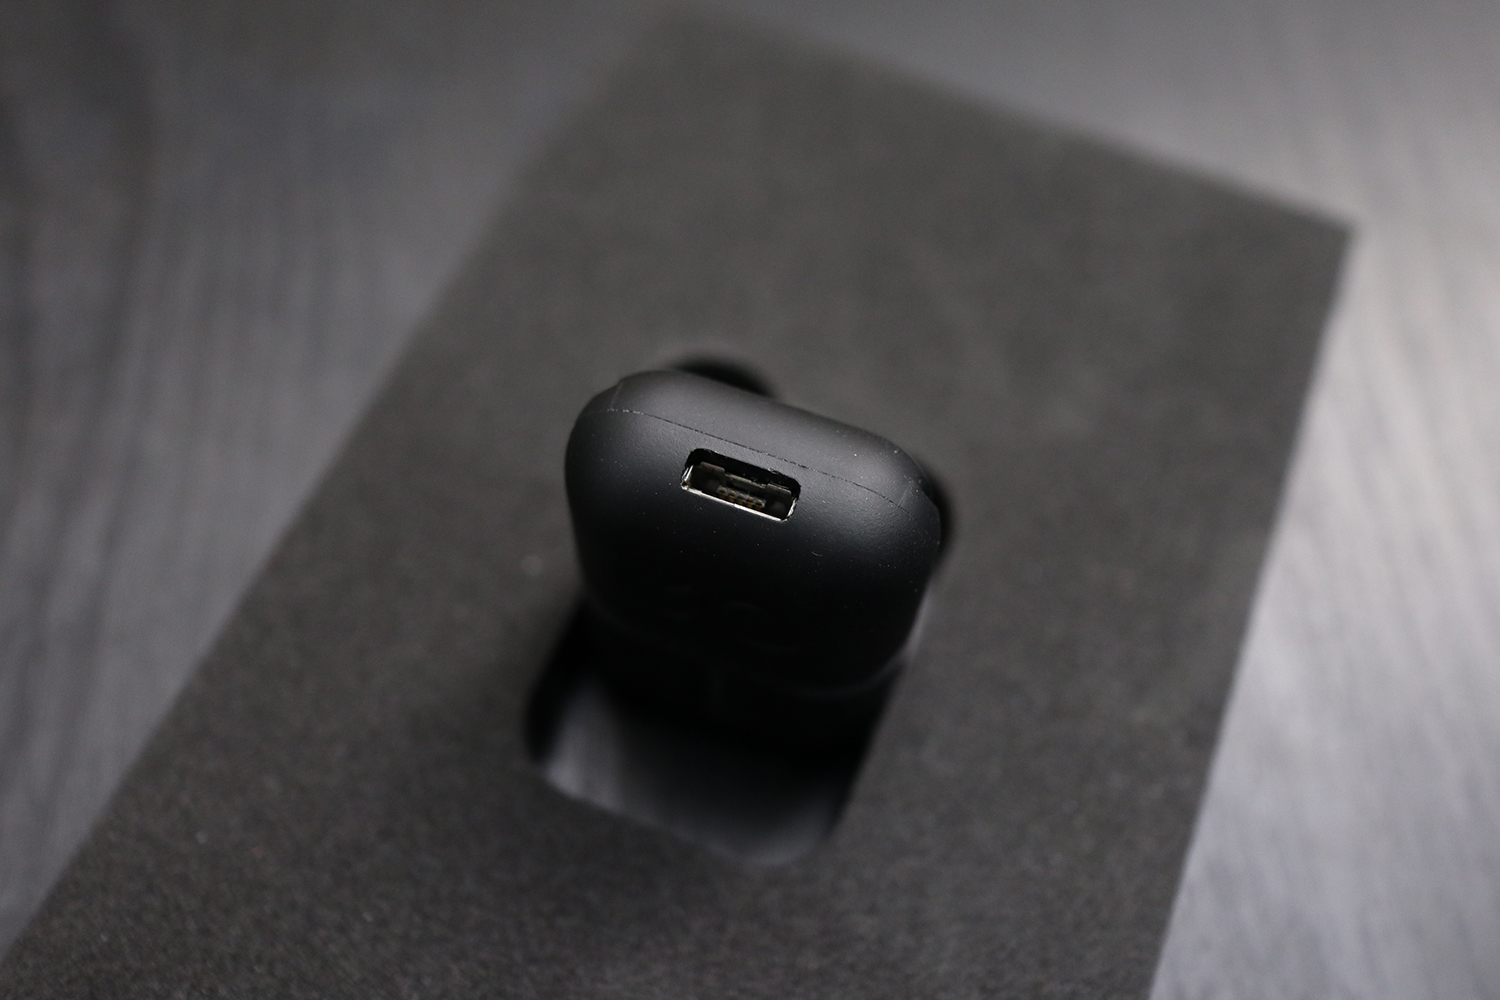
There are four mono microphones on top and if you get the Pro model, there are two stereo microphones on both sides. The bottom has the microUSB port for charging, transferring files and updating firmware.
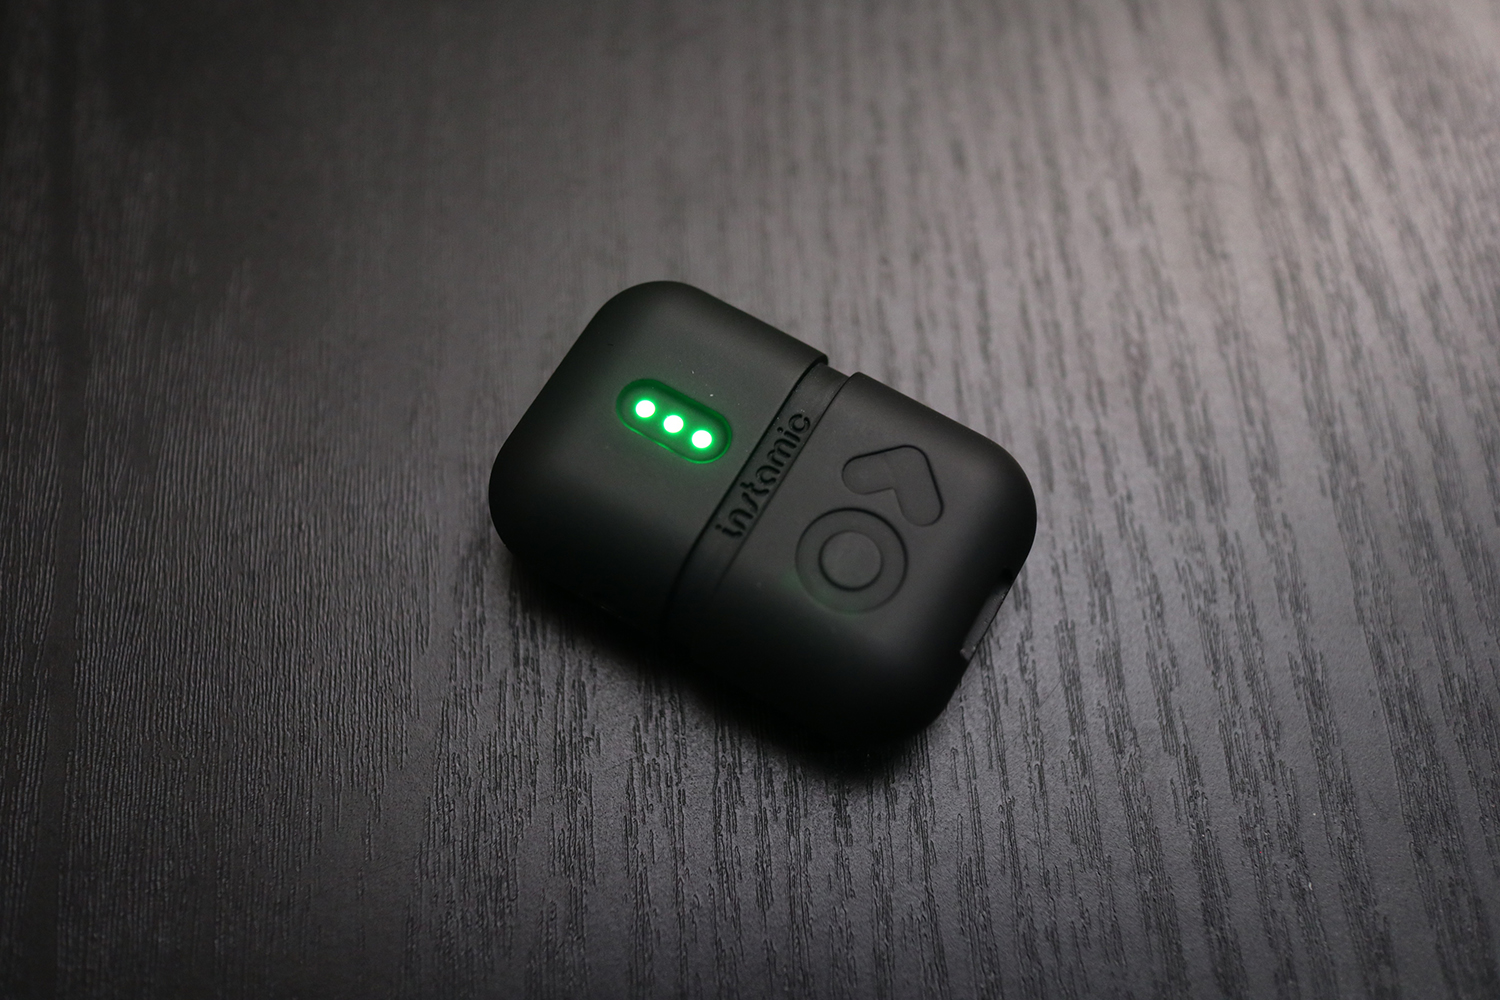
To turn on the Instamic, you simply press the power button one time to turn it on. Wait a few seconds (blinking LEDs) until the Instamic shows the battery level (steady LEDs). For standalone mode without the app, if you press the button one more time, the recording will start. The LEDs will not only blink but also give you audio level. To stop the recording, just press the button again. And to turn it off, just press and hold the button until the first LED is turned off. You can also turn off the device via the app.
On my unit crowdfunding unit, the button didn't have that tactile feel where it felt like a click whenever you pressed the button. I was told that from feedback from users, the retail units have the feel of pressing a button.
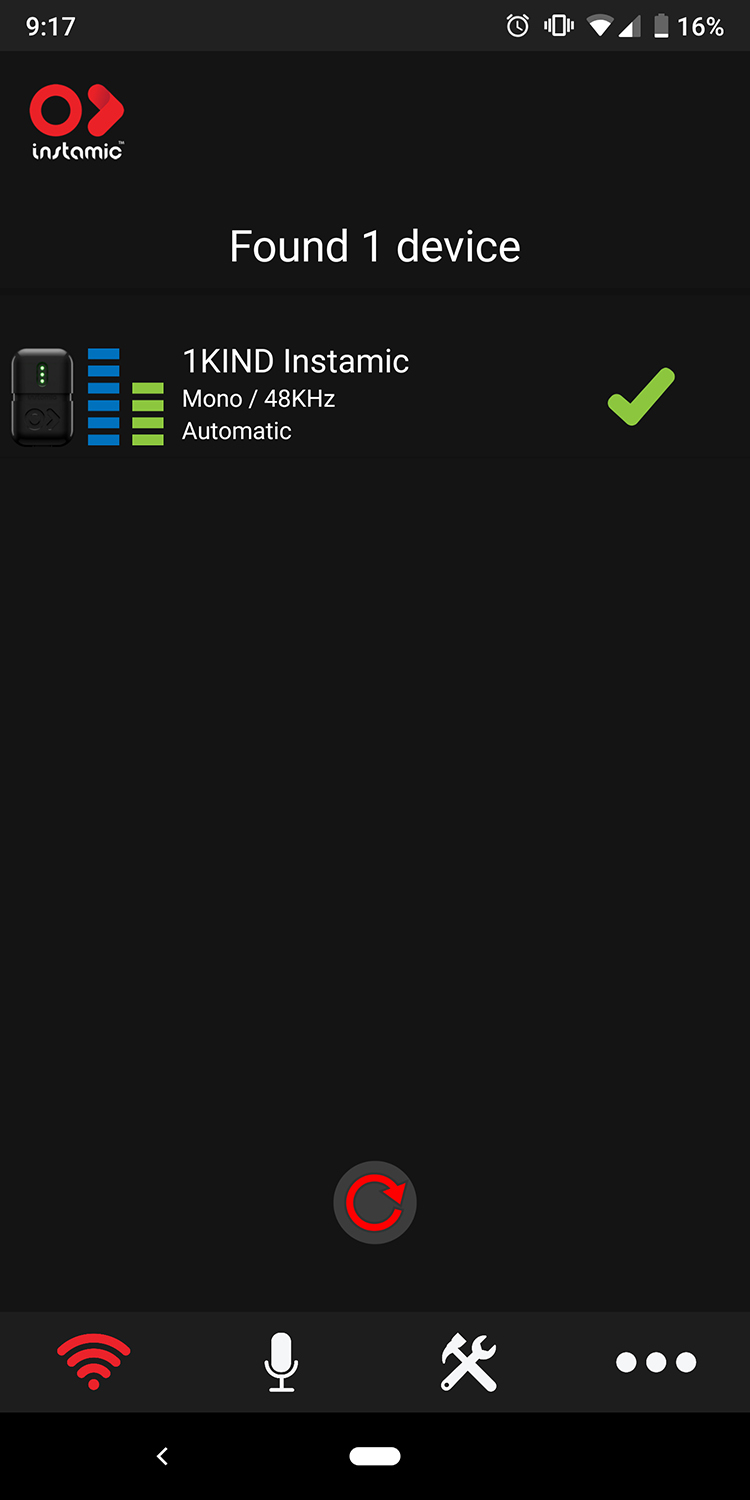
To connect your Instamic to your mobile app for iOS or Android, simply have Instamic on and load up the app on your electronic device. The Instamic app will automatically search for any available Instamic. Select the one you want to use by click on it and a green checkmark will appear next to it and will be paired. Your devices can be found under the WiFi signal icon.
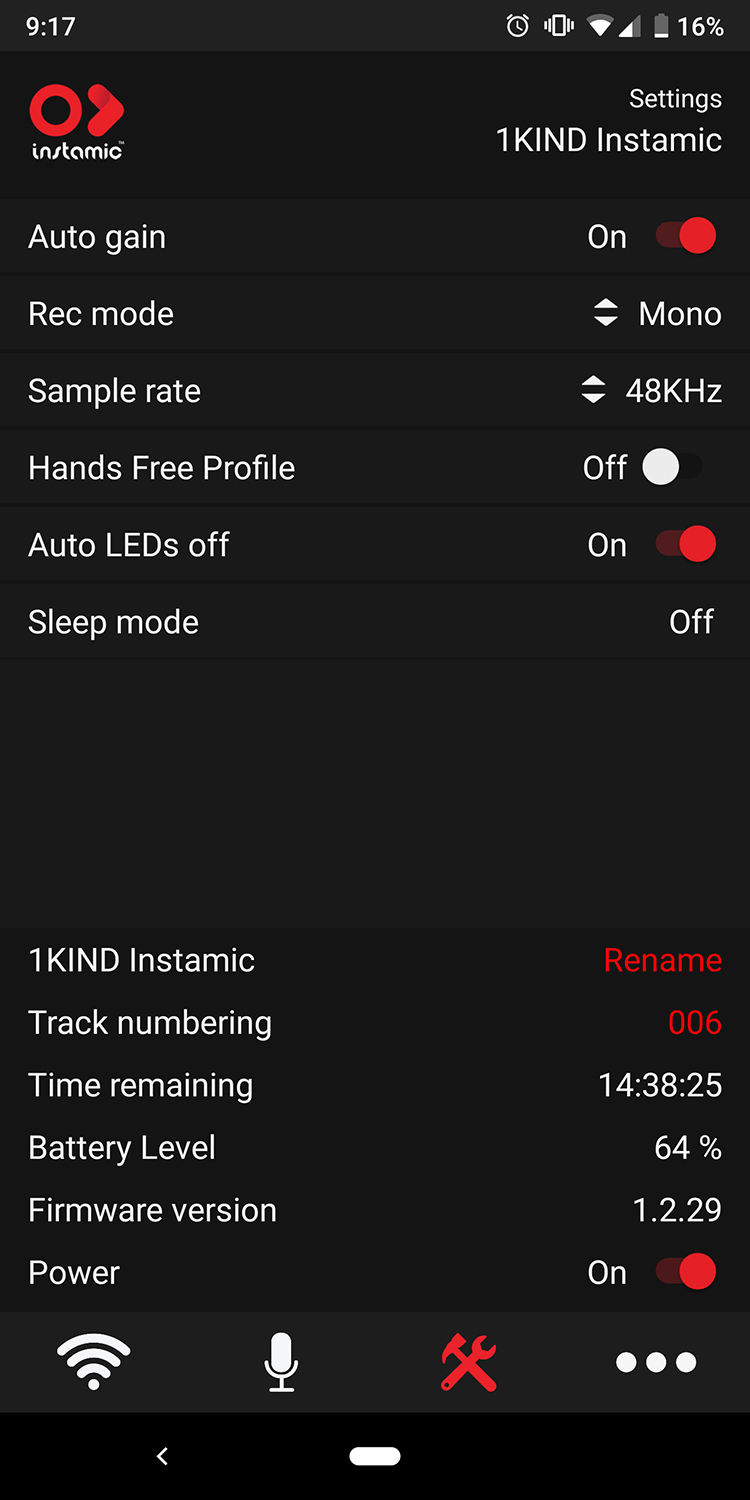
In the app, you can change settings (Tool icon) such as Auto Gain, Record Mode and Sample Rate. You can also rename the Instamic if you have multiple units. This lets you easily track them and know which one you're changing settings to.
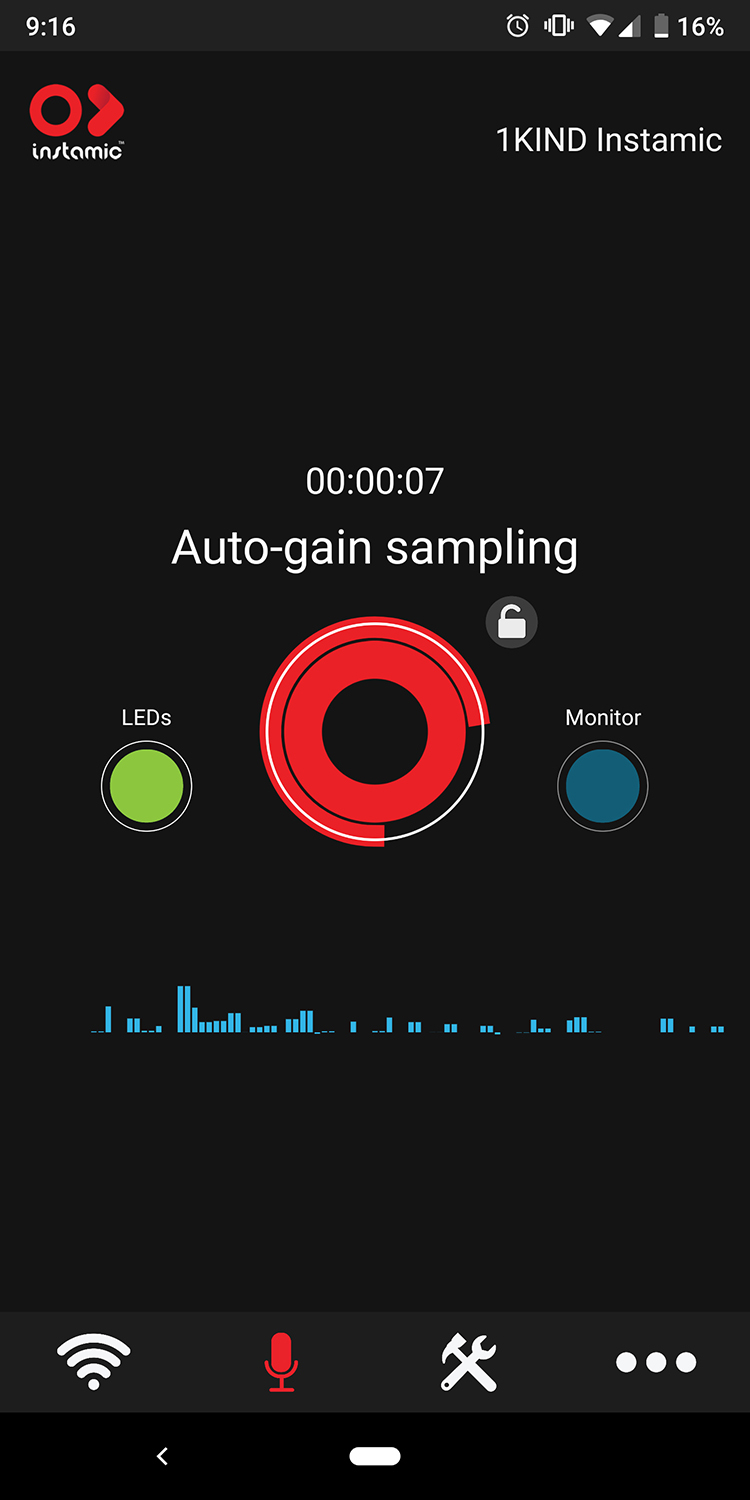
What's nice about the Instamic is that you can set Auto Gain. While you're doing a test talk, it will listen to the volume of the voice and set the levels accordingly and will automatically start recording.
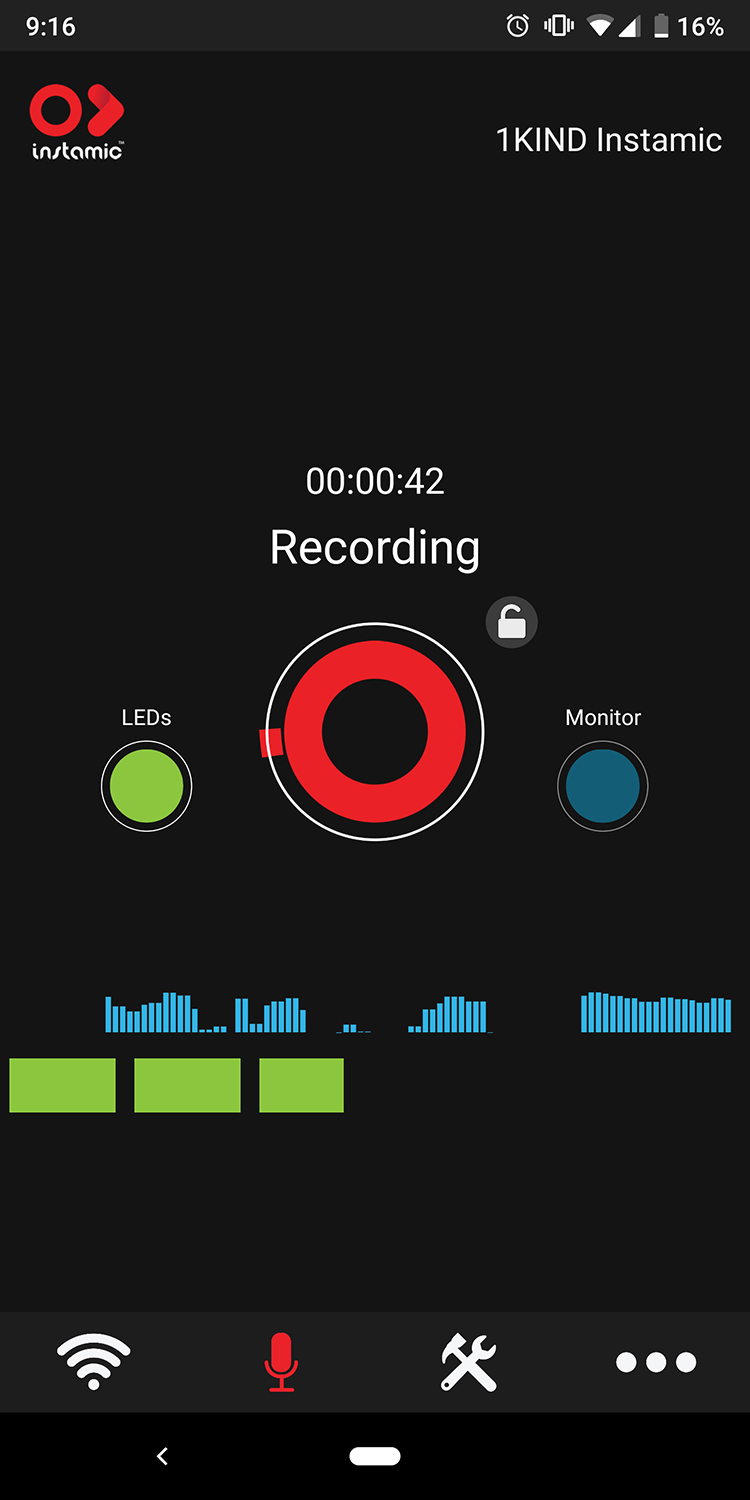
If you have Auto Gain turned off and to start recording, simply press on the Microphone icon. Here, you'll have big red round button to start recording and a big red square button to stop recording. You'll also be able to change the decibel in real time by moving the slider or press on the number to the left to select preset values. You can also turn ON/OFF the LEDs so its not a distraction when in use. You can also do a sound check and monitor the audio by pressing the "Monitor" button.
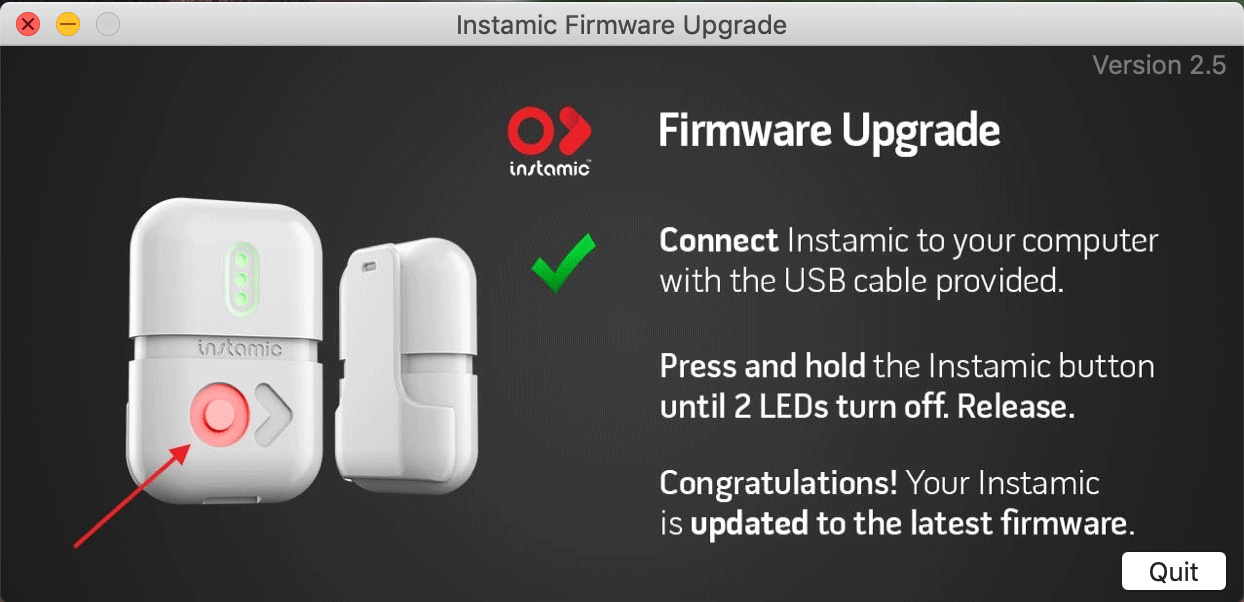
Firmware updates are fairly easy to perform as well. Simply plug in the microUSB to the computer and to the Instamic. Once the Instamic is connected, it will show up on your Desktop. Double click it and the "Instamic Firmware Upgrade" software will pop up. From here, you'll just follow the instructions to upgrade the Instamic's firmware.
As of April 2019, the latest firmware is 1.2.29 and it enables any Instamic to read the TIMECODE out of the Tentacle Sync E.
Take a look at our full video unboxing, overview, Instamic app and audio samplings. We compared the Canon M5 built-in microphone, Rode Filmmaker Kit [Amazon | B&H Photo | Adorama] and Instamic Pro.
Conclusion : Overall, the Instamic Pro Stereo Microphone and Audio Recorder is a very nice small compact audio recorder. There are a lot of settings to choose from that benefits beginners and advanced users. The audio quality is actually pretty good.
Since it's an audio recorder, you can use this for music recording or even podcasts which makes it very versatile. This is great as a main audio source or as a backup.
Which one do you think sounds better?

Manufacturer: Instamic
Site: Buy from Instamic
Site: Buy from Instamic
