
Rollover image
We are going to go over how to customize the Identity Plate in Adobe Lightroom 3 with both a text based logo, as well as a graphical logo.
Adobe Lightroom allows you to customize the Identity Plate in order to create a seamless experience when it comes to your product branding. This is particularly useful if you are using Lightroom to present images to clients, that way they will get the impression that the software is customized and personalized, rather than just a normal off the shelf type product.
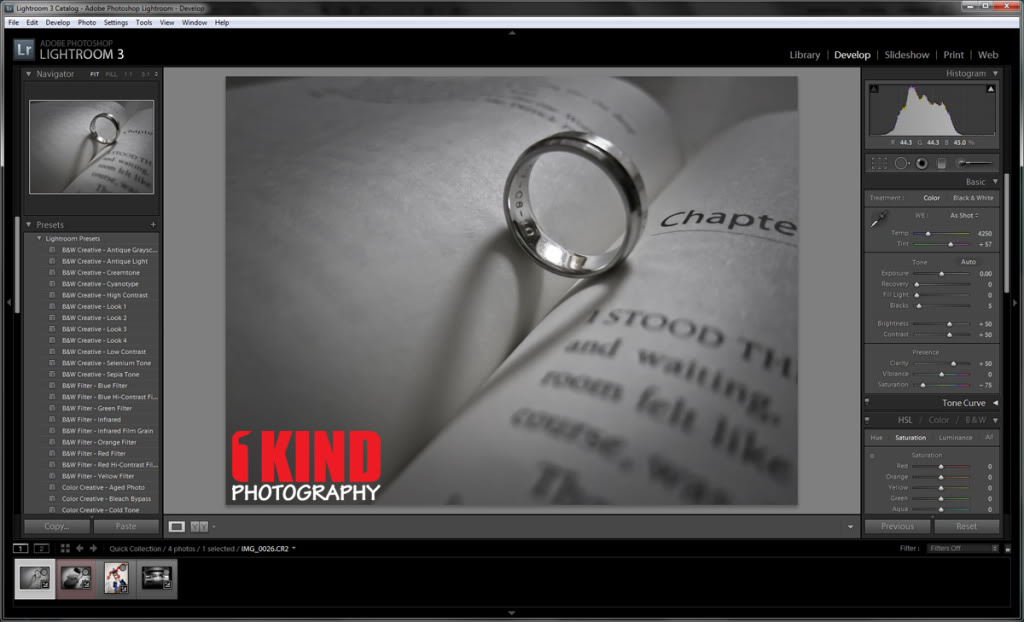
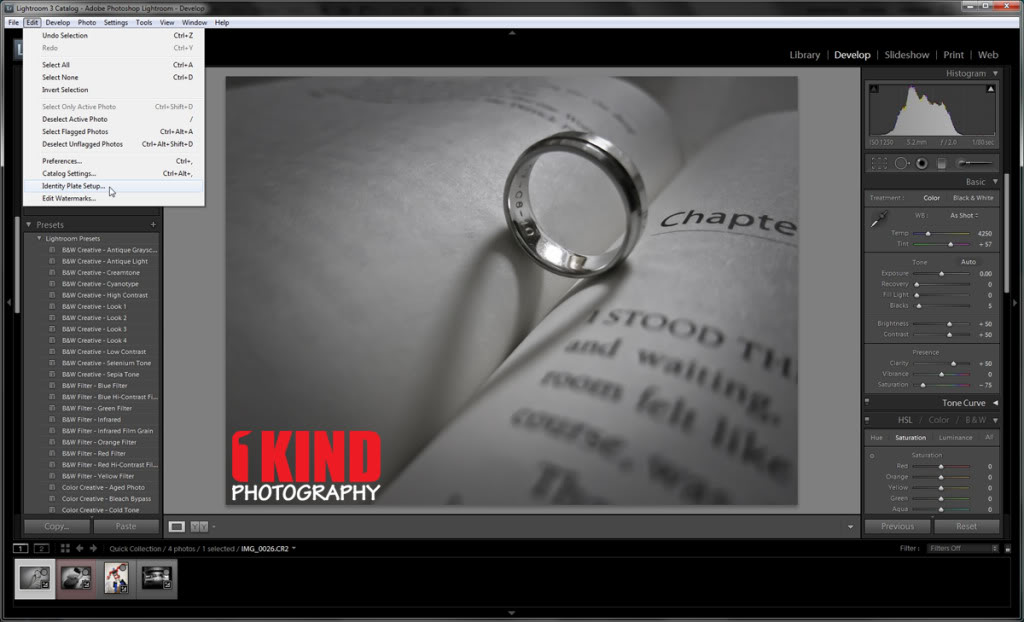
The Identity Plate that appears in the top left of the Lightroom screen is configured by selecting Edit > Identity Plate Setup on Windows.
If you're on a Mac OS, choose Lightroom > Identity Plate Setup).
 Rollover to zoom
 TEXT LOGO IDENTITY PLATE:
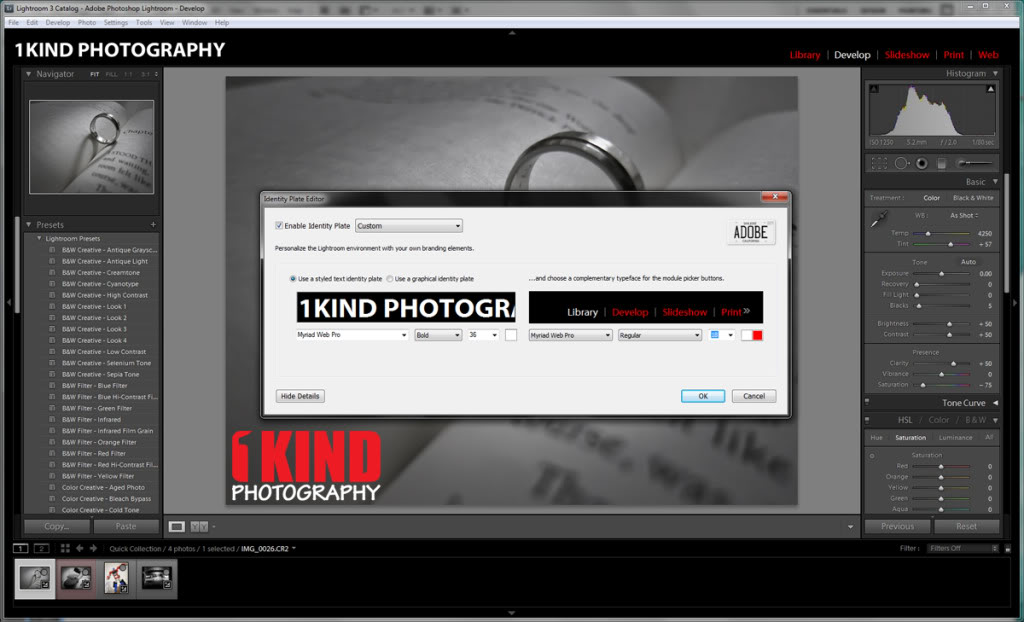
To create a simple text logo Identity Plate, choose Use a stylized text identity plate and type the text into the text area. You can select and format the text in the font, font size and color of your choice. Click the Enable Identity Plate checkbox and the changes you make will appear in place so you can check how they look. You may need to size the text to fit the space. Unfortunately, Lightroom won’t scale it to fit automatically.You can also change the text style, size and color of the module picker. The module picker is the tabs located on the top right of the program that have the Library, Develop, Slideshow, Print and Web buttons.
 Rollover to zoom
To save the Identity Plate, choose Save As from the dropdown list and type a name for the Identity Plate.
GRAPHIC LOGO IDENTITY PLATE:
If you prefer to use graphics in your design such as your signature or a graphical design element, you can create a graphical Identity Plate in another application such as Photoshop. The file you create should be no more than 46 pixels in height (Windows) and 57 pixels (Mac OS), so it fits in the space available. Anything higher will get cut off. There is also no option to scale it to a smaller size in Lightroom. So if the image is too big, you have to go back to your program such as Photoshop, resize and re-save the image. As for the width, it can be as long as 1200px. Of course, the wider it is, the more space it will take up. The module picker on the right will overlap your logo. The width size will vary depending if you have your Lightroom in full view, screen resolution and how big your display monitor is.When creating your Identity Plate in an application like Photoshop, build it in a layered file and make sure the bottom layer is black. This will match the Lightroom interface. The reason for this is so that you can see how it will look when placed into Lightroom. When you are satisfied with the graphic, turn off the visibility of the black background layer and save the file as a .png, .psd or another format that maintains transparency (not jpg). If you save as a .jpg image, the transparent background will be white.
Back in Lightroom, open the Identity Plate Editor and choose Use a graphical identity plate, click Locate File and browse to find the file on disk. You can also change the module picker if you want to.
 Rollover to zoom
Save this Identity Plate so you can always reuse it if you change the Identity Plate in the future.
You now have a personalized Lightroom with your brand logo or name of your company that is unique. If you haven't purchased Adobe Lightroom yet, you can purchase the software from Amazon, B&H Photo or Adorama.
