
I'm sure most have heard of the Westcott Ice Light (Amazon / B&H Photo / Adorama) or seen something similar. If not, the Ice Light is a handheld LED daylight light source that offers the ability to shoot and light in tandem without the need of heavy light stands or additional mounting systems.
The biggest issue is that the Ice Light is very expensive...$500 expensive! But what if you can get an Ice Light without burning a hole in your wallet? We have a cost-effective Do-It-Yourself (DIY) alternative that would serve the same purpose as the Ice Light but at a much more affordable price.
Below is a comparison between the Westcott Ice Light and DIY Ice Light:
| WESTCOTT ICE LIGHT | DIY ICE LIGHT | |
|---|---|---|
Price
|
$500
|
$25+
|
Lamp Type
|
LED Array (dimmable)
|
CREE LED T6 (High, Medium, Low, Strobe, SOS)
|
Lumens
|
1,160
|
Approx. 1,000
|
Color Temperature
|
5200~5400K
|
6200~6500K
|
Beam Angle
|
72.6 degrees
|
up to 360 degrees
|
Power
|
Built-In Lithium Ion 7.4v Battery or Input 100-240v AC/DC Power
|
Removable Lithium Ion 18650 3.7v 3000mAh Battery
|
Battery Life
|
60 mins at full power
|
6+ hours on full brightness
|
Battery Charge Time
|
2.5 hours
|
4-6 hours
|
Mount
|
Handheld with 1/4-20 inch thread (both ends)
|
Handheld with 1/4-20 inch thread (one end only - optional)
|
Lifespan
|
50,000+ hours
|
100,000 hours (replaceable)
|
Item Diameter
|
1.75"
|
1.5"
|
Item Length
|
20.25"
|
17.5" (18.5" with flashlight protruding)
|
Item Weight
|
1.3 lbs.
|
1 lbs. (including flashlight)
|
As you can see, both has its pros and cons. Plus, if you're not using or ever decide you don't need the DIY Ice Light anymore, you can still use the flashlight.
Continue reading for a list of what you'll need and instructions on how to make your own DIY Ice Light. We also list some optional modifications as well as other Ice Light alternatives that we thought about.
Time to Complete: 10-15 minutes
Skill Required: Beginner
Approximate Cost: $25+
You'll need the following items: (There is another DIY on the web that uses the same parts but uses electrical tape and doesn't provide the full list of items needed - this tutorial is a complete and detailed version)
- UltraFire WF-502b 1000 Lumen CREE LED XM-L T6 Flashlight (WF-501b or other similar brands will also work)
- UltraFire 18650 3.7v 3000mAh Rechargeable Batteries (only if you want spares or if it doesn't come with flashlight)
- 1-1/2 inch x 12 inch Polypropylene PVC Schedule 1120 Slip Joint Tailpiece Extension*
- 1-1/2 inch x 6 inch Polypropylene PVC Schedule 1120 Flanged Strainer Tailpiece*
- 1 inch PVC Slip Cap
- (2) 1 inch x 3/4 inch PVC Schedule 40 Pressure Spigot x Slip Reducer Bushing*
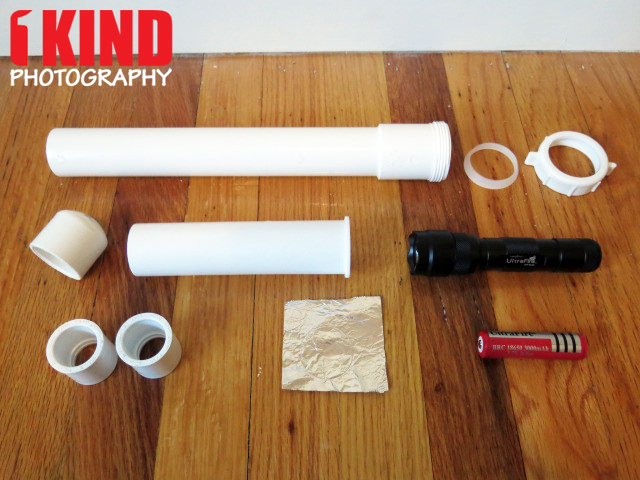
- 1 Piece of Aluminum Foil
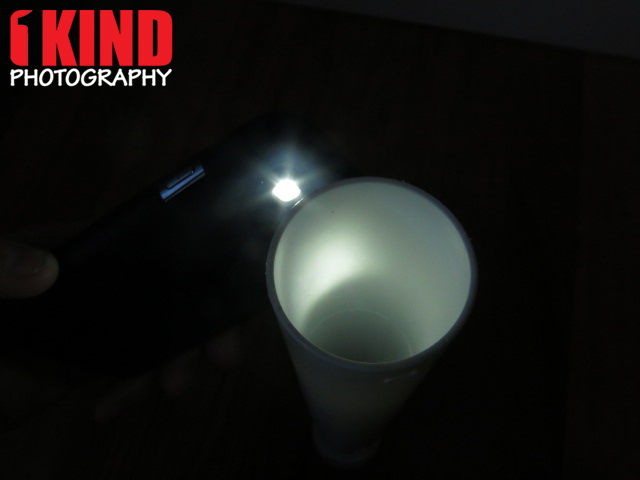
Tip: If you can't find the 12 inch tailpiece extension but have an alternative PVC pipe, test the transparency of the pipe with a flashlight or light from your cellphone before purchasing. This is to make sure light passes through.
Every household has aluminum foil so that will cost you nothing. All the PVC parts listed above costs about $8.00 plus tax and can be purchased at your local Home Depot, Lowes or other local hardware stores that sell plumbing materials. Everything will connect to each other without the need for glue or tape but you can use them if you want for added security. There's also no need to do any cutting or buying of tools. That's the beauty of this DIY.
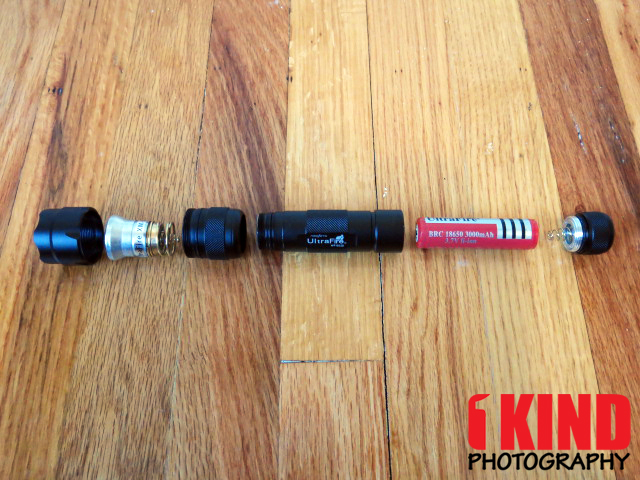
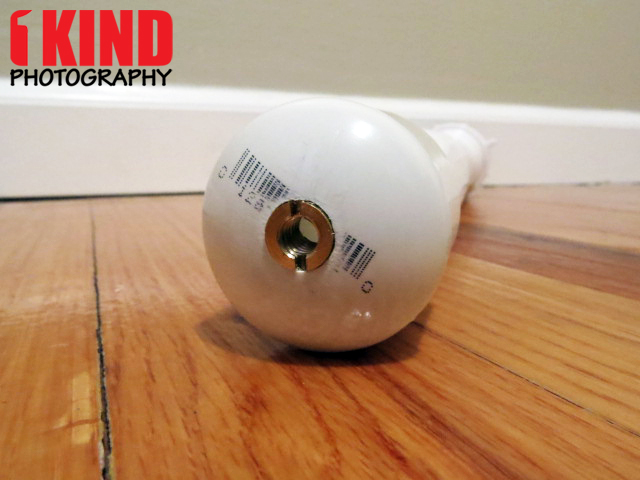
The most expensive part of this DIY is the flashlight as prices vary online because some sellers sell only the flashlight and some sell the flashlight with batteries and charger. The image above shows the UltraFire WF-502b taken apart and laid out.
Different flashlights vary in length as well as flashlight head diameter. You don't want to purchase a flashlight that is too long where it sticks out too much from the PVC tube or too short where it's too far in and you can't reach it. Most importantly, you don't want the diameter of the flashlight than 1.5" wide) where it won't fit inside the tube or too small (no smaller than 1.25") where it bounces around.
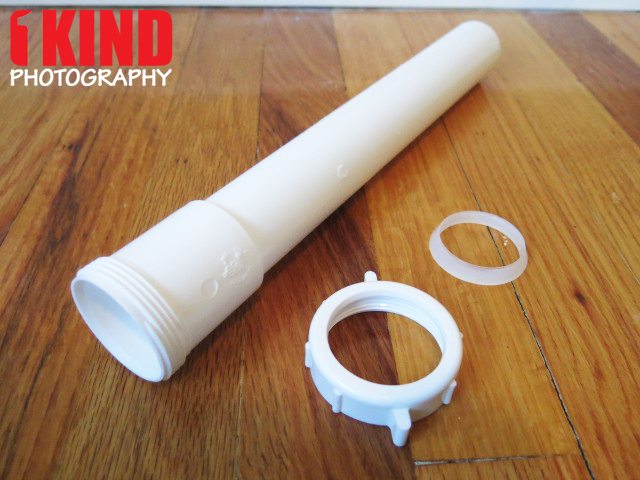
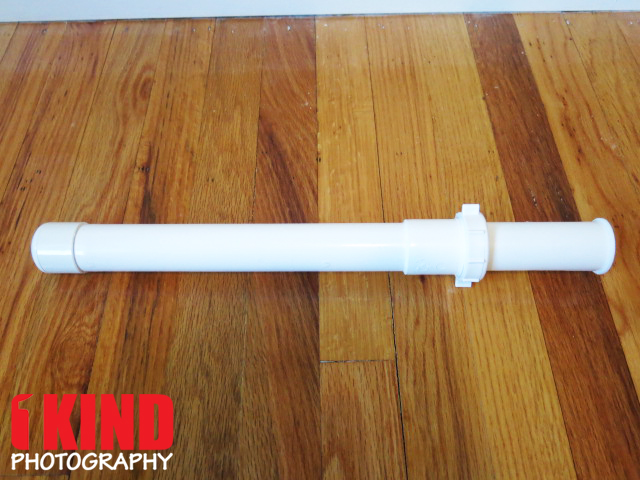
The 1-1/2 inch x 12 inch Polypropylene PVC Schedule 1120 Slip Joint Tailpiece Extension is where the light disperses. It includes a slip joint nut and washer. This will also help hold the 6 in. flanged strainer tailpiece in place. If it doesn't, we'll give you options below.
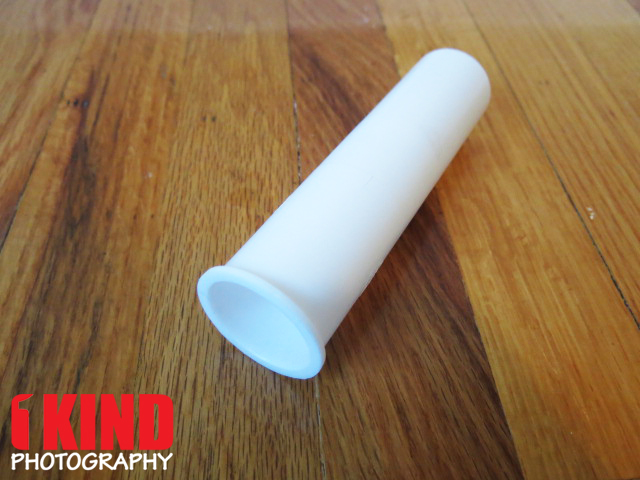
The 1-1/2 inch x 6 inch Polypropylene PVC Schedule 1120 Flanged Strainer Tailpiece would become the handle and where the flashlight would be inserted into.
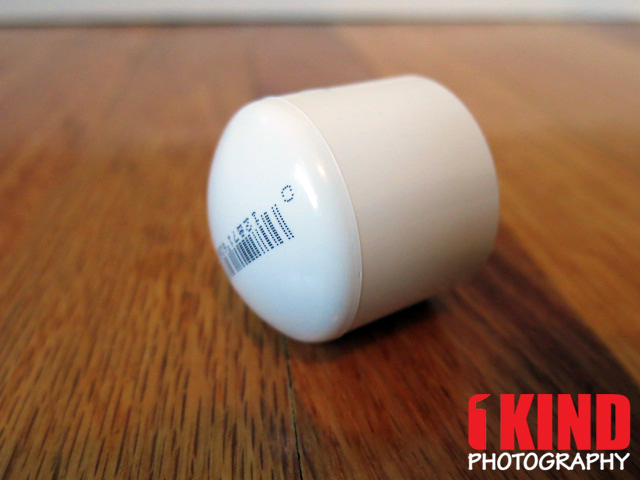
The 1 inch PVC Slip Cap is what will hold the foil and cap the end of the 12 inch tailpiece extension.
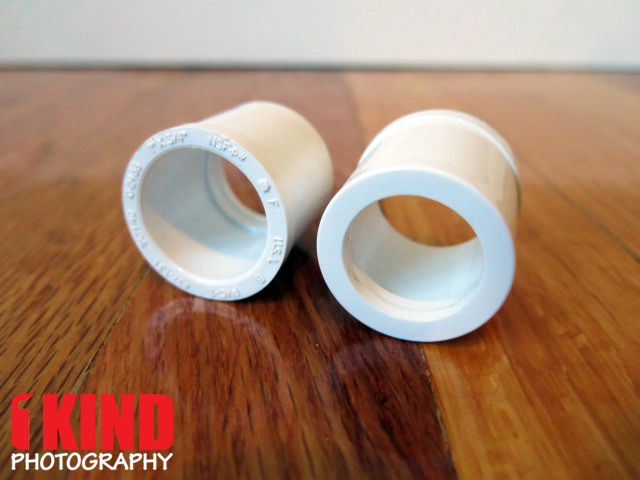
The 1 inch x 3/4 inch PVC Schedule 40 Pressure Spigot x Slip Reducer Bushing is what will hold the foil in place and secure the slip cap to the 12 inch tailpiece extension.
The second spigot plug is placed on to the flashlight which will hold it in place inside the 6" tailpiece and to prevent the flashlight from falling out.
So lets get started.
INSTRUCTIONS
1. You'll want to remove the slip joint nut and washer from the 12 inch tailpiece. If yours does not come with the joint nut and washer, you can purchase both for under $1 or skip to 5a for an alternative option.
2. Take the slip joint nut and washer and place it onto the the 6 inch tailpiece (slip join nut first followed by washer).
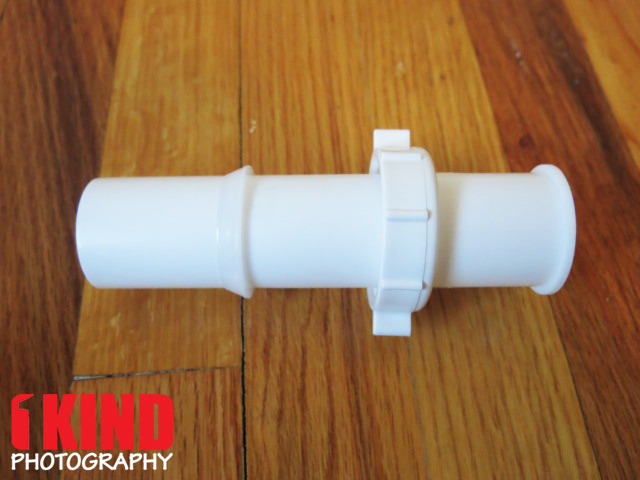
3. Insert the 6 inch tailpiece into the 12 inch tailpiece. The 6 inch should stop at a certain point.
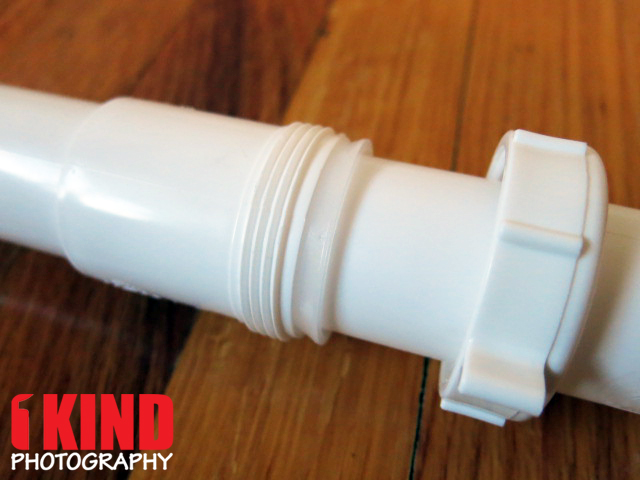
4. Slide the washer down to prevent the 6 inch tailpiece from moving.
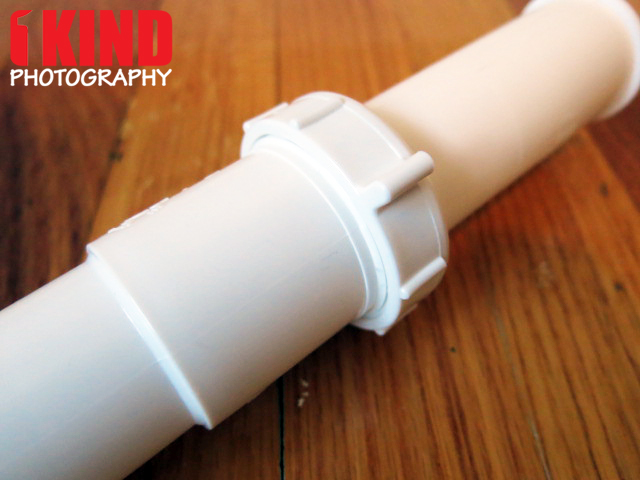
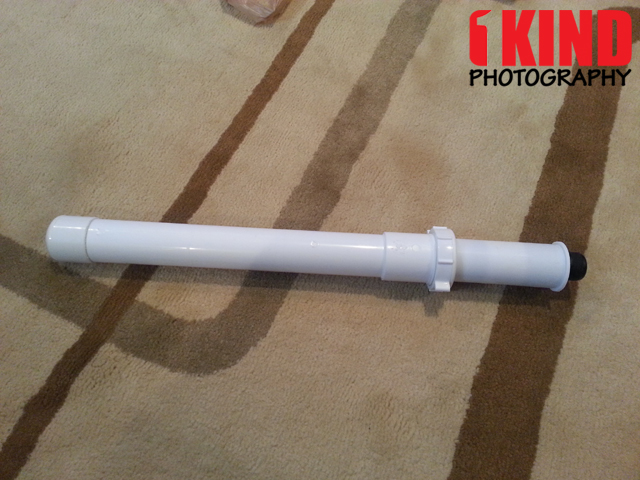
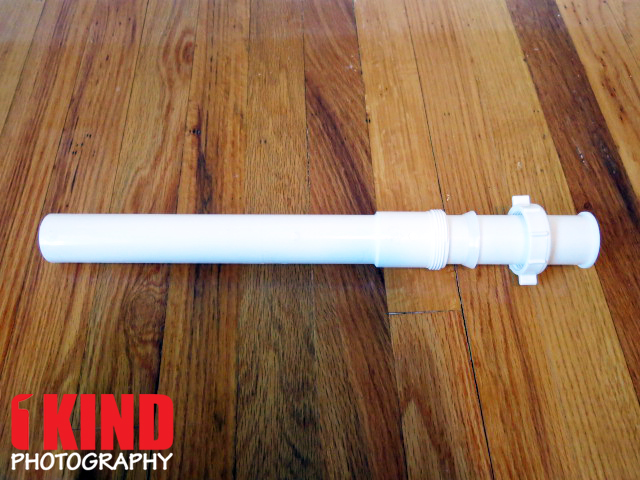
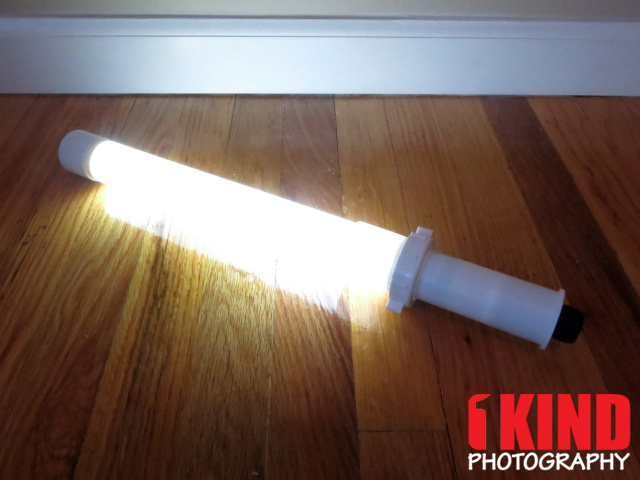
5. Slide the slip joint nut down and screw it back onto the 12 inch tailpiece. This will join both 12 inch and 6 inch together. It should look like a light saber/sword.
5a. If yours does not come with the washer and nut and don't want to buy it, you can securely join both tubes by wrapping the tubes with tape or glue.
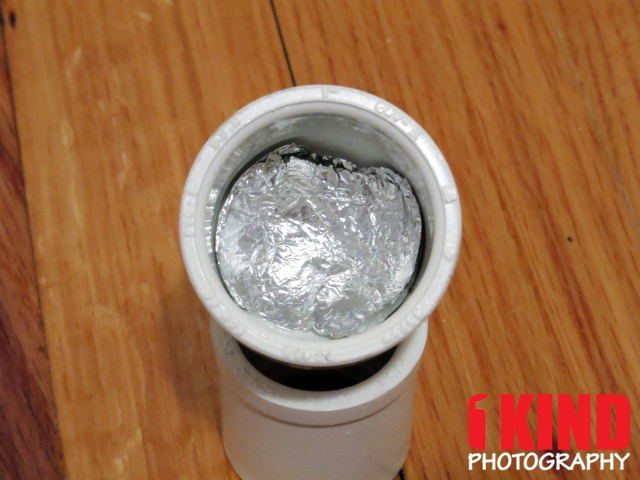
6. Take a piece of aluminum foil and place it inside the 1 inch slip cap. The foil will reflect the light. There's no specific size or way of doing but you can line the inside with foil. Only issue I saw with this was that. I opted to just fold the foil down into a rectangular shape because when .
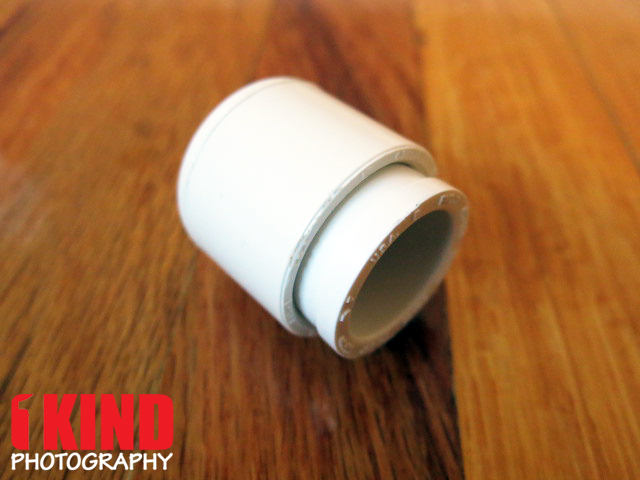
7. Take one of the 1 inch x 3/4 inch reducer bushing and slide it into slip cap. This will prevent the foil from falling out as well as attach the cap to the 12 inch tailpiece. If you want added security to ensure that it won't fall out, you can use a hot glue gun, crazy glue or tape.
8. Take the new cap and insert it into the 12 inch tailpiece end. This will complete the exterior component of the DIY Ice Light.
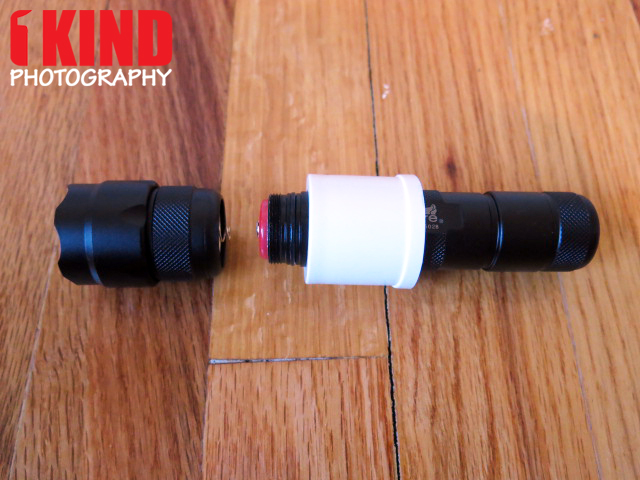
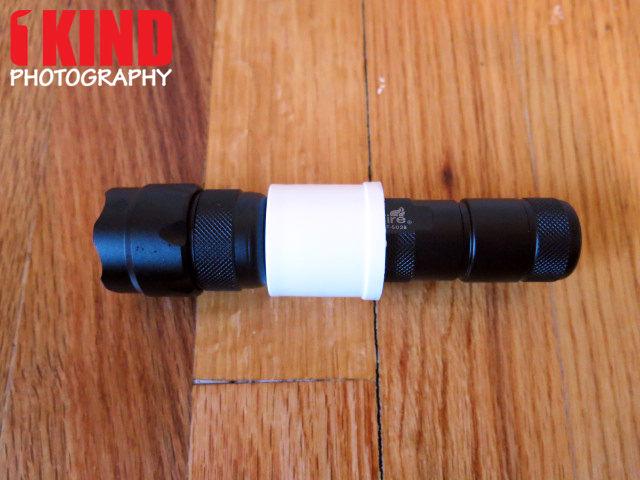
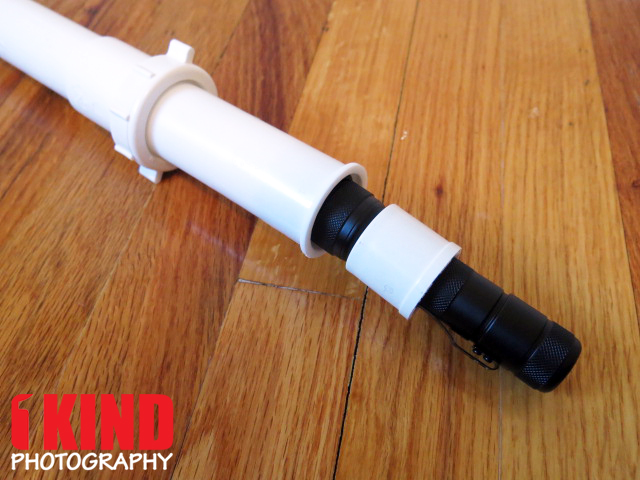

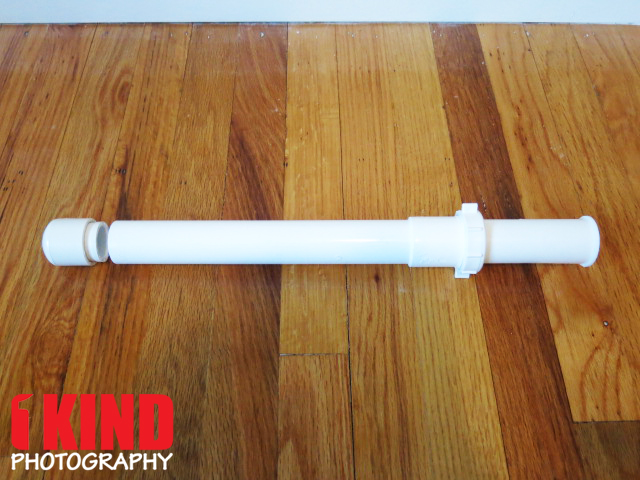
9. A second reducer bushing will prevent the UltraFire WF-502b CREE LED XM-L T6 Flashlight from falling out accidentally at the bottom and will keep it inside the handle. You'll want to remove the head of the flashlight and slide the flashlight through the reducer. Screw the flashlight head back on. Now slide the reducer and flashlight into the 6 inch tailpiece.
If you get the recommended model, the bottom of the flashlight will protrude a little allowing you to turn on/off the flashlight, change the battery without taking out the entire flashlight and enough to pull it out if needed.
*NOTE: Make sure you purchase the flashlight that has 5 modes: High, Medium, Low, Strobe and SOS. A slight press of the button will toggle through each setting. A full press will turn the light on/off while still keeping its previous setting. It's not a dimmer but it offers different power settings. You can also purchase a separate CREE T6 drop-in bulb that has 3 modes (High, Medium, Low) or 1 mode (High) and swap out the current bulb — make sure they're 1000 lumen. There's tutorials on the web that shows you how to modify the 5 mode circuitry if you're knowledgeable with electronics.
You can also change the click button that is on the bottom and relocate it to the handle for easy access by replacing it with a corded tailcap pressure switch.

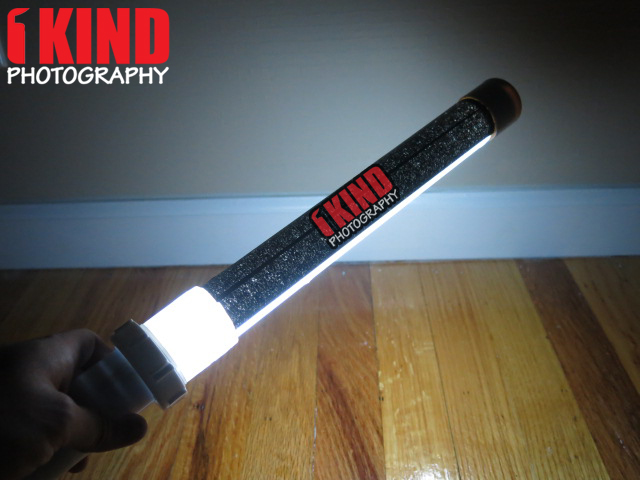
10. COMPLETED! You now have your own Ice Light for a fraction of the cost
Here are some sample shots from a pitch black room with only the DIY Ice Light as the light source:
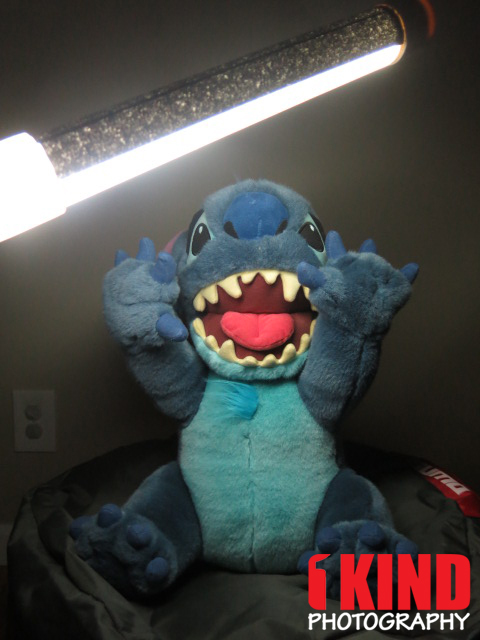
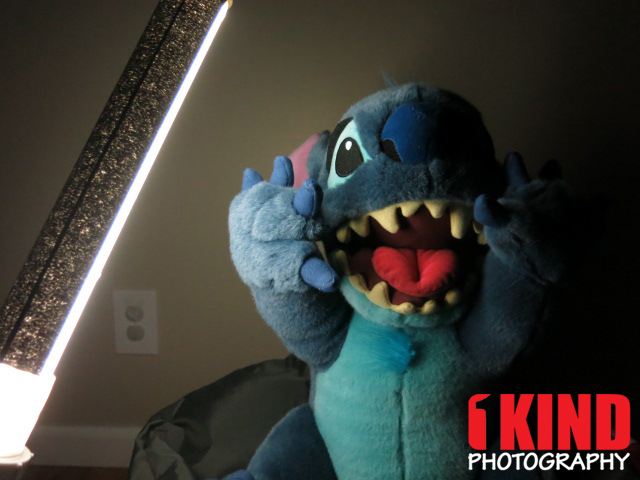
Canon G15
f1.8
1/20 sec
ISO 1250
OPTIONAL MODIFICATIONS
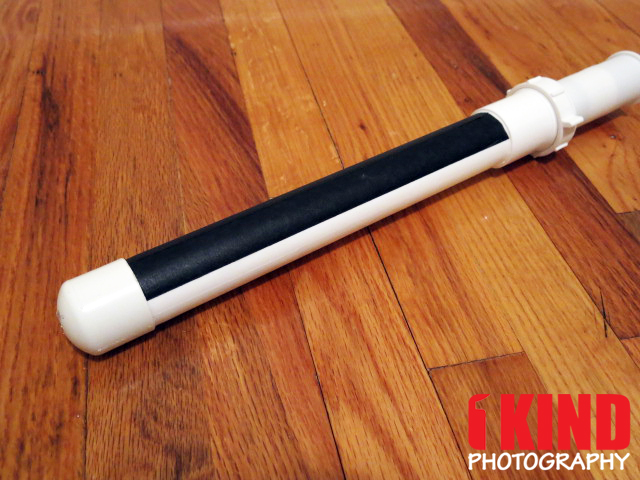
1. For the 12 inch tailpiece extension, you can cover half the width with black gaffers tape (Amazon / B&H Photo / Adorama) or black paper. This will prevent light spilling or lighting surrounding areas. If you wanted something that is removable, you can get another 12 inch tailpiece tube, cut it so that it snaps over the main tailpiece extension so that it snaps in place and remove it if it's not needed and cover it in black. The black tape I used is similar to painters tape (which will also work) and is a bit transparent but still blocks the light.
1a. You can use zip ties on each end and use it as a holder and find either paper or something sturdy that you can slip on and off.
If you wanted to take it one step forward in customization, you can glue/tape your printed logo and/or paint the 6 inch tailpiece (handle) and slip cap for a cleaner look.
2. If you want to connect your DIY Ice Light to a tripod or light stand that has a 1/4-20 inch thread, you can drill a hole into the top of the slip cap and screw in a 3/8-16 inch male to 1/4-20 inch female thread reducing bushing adapter for tripod (Amazon / B&H Photo / Adorama). Use hot glue or crazy glue to secure it in place.
If you want to have it on the other end, you'll have to buy a slightly bigger slip cap to go over the 6" tailpiece. My only concern is that it might not be strong enough to hold the weight because you'll need to gain access to the flash light
*NOTE: Always drill a small hole first and work your way bigger until the hole is just big enough to screw the adapter in. It's best to have the hole smaller than the adapter because it will be harder for it to fall off.
OTHER ICE LIGHT ALTERNATIVES
1. RECHARGEABLE LED WORK LIGHTSkill Required: Beginner
Approximate Cost: $20+
This is potentially the cheapest option and requires the least amount of work out of all that is listed in this tutorial. It all depends on how great of a deal you can get a handheld rechargeable LED work light. Depending on the quality, sometimes these are not as bright. Also, if the battery dies, you'll have to stop your photo shoot, recharge and once its charged, begin where you left off (unless you buy more than one). For a diffuser, you can use wax paper and tape the outside with white masking tape, a fluorescent light cover (requires cutting) or frosted glass spray paint.
PROS: affordable; very easy; no major modding required
CONS: may not be as bright; battery not swappable; battery life may be an issue
—————————
2. FLUORESCENT TUBE PROTECTOR
Skill Required: Beginner
Approximate Cost: $25+
If you can't find the parts we used, you can purchase a 4 ft. T12 Polycarbonate Fluorescent Tube Protector and cut it to your preferred length. You can make 2-4 Ice Lights depending on the length you cut it. For a diffuser, you can use wax paper, tape the outside with white masking tape, fluorescent light cover or frosted glass spray paint.
This was our first option but the tube can bend and break because the thickness of the tube was too thin. We also couldn't find the proper sized PVC piece to hold the flashlight that would fit the tube protector. That is why we decided not to go this route.
PROS: affordable; very easy; you can make 2-4 Ice Lights depending on the length you want it
CONS: easy to bend and break; hard to find compatible parts (at least for us) or may require additional time and research
—————————
3. LED LIGHT STRIPS OR BARS
Skill Required: Advanced
Approximate Cost: $45+
If you're knowledgeable with electrical and wiring, you can purchase LED strips/bars and connect a DC power supply or battery unit and place it into the PVC parts. This will require soldering (wire nuts if you don't know how to solder). This was another option that we looked into but couldn't find a suitable battery source that was portable and would power the LEDs for a long period of time. The cost for this alternative can be expensive. It all depends on the price of the LEDs and the quality of it.
If you would like to go this route or just looking for reliable LEDs for projects whether its for the home or vehicle, we highly recommend Oznium and Super Bright LEDs.
PROS: customizable; your preference of battery or DC power
CONS: soldering skills required; can be expensive; finding the right LEDs and batteries
