Overview : The Bebop Drone Quadcopter with 14 Megapixel Flight Camera from Parrot is a Wi-Fi-based, mobile device operated RC aircraft capable of capturing 1080p aerial video and taking 14 megapixel still photos. Avoiding the added weight and power consumption of a motorized gimbal, the camera - notably - features an electronic image stabilization system that relies on a 3-axis motion sensor and a 180° fisheye lens from which it crops an image.
The Bebop is controlled from an Android or iOS mobile device running the FreeFlight 3 App (see Parrot website for latest list of supported devices). In addition to letting you control the quadcopter, the app provides a real-time preview from the flight camera, and you can even record a low resolution feed directly on your device. For high res recording you can use the 8GB of built-in memory, or connect a USB storage device for increased capacity.
Two outdoor hulls are included, plus there is an "indoor hull" which is comprised of removable EPP prop guards. With the outdoor hull, the flight weight is reduced and the quadcopter is more aerodynamic. The Bebop Drone powers from a 1200mAh lithium-polymer (LiPo) battery, which is estimated to provide around 12 minutes of flying time. Two batteries and a charger are included in the box.
Features :
- Capture 1080p Video and 14MP Photos
- 3-Axis Sensor-Driven Image Stabilization
- Up to 984' Line-of-Sight Wi-Fi Range
- Linux-Based Flight Computer
- 8GB of On-Board Flash Memory
- Apps for iOS and Android Mobile Devices
- GPS-Enable Autopilot Functions
- Return Home and Emergency Landing Mode
- EPP Safety Hull Included for Indoor Use
- Compatible with Skycontroller System
Quality/Usability : Drones are becoming more and more popular everyday.
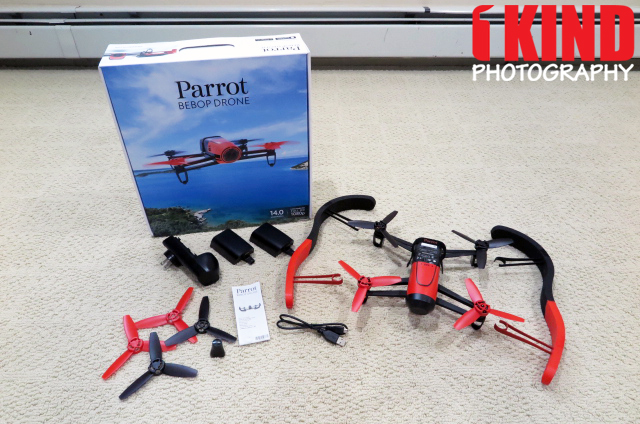
Included with the Parrot Bebop drone is the drone, lens cap, hull protectors, (4) extra propellers, propeller mounting tool, (2) batteries, battery charger, USB/MicroUSB cable and a quick start guide. The quick start guide is pretty useless since it doesn't give the much needed info. If you want the user guide, you'll have to download it.
A iOS, Android or Windows tablet/smartphone is required in order to fly the Bebop drone. You can also purchase the Bebop with a Skycontroller. This is essentially a physical remote control for the Bebop which gives you that piloting experience. It also features a docking station for your tablet/smartphone to it and increases the Bebop's range to over 1 mile with the WiFi extender.
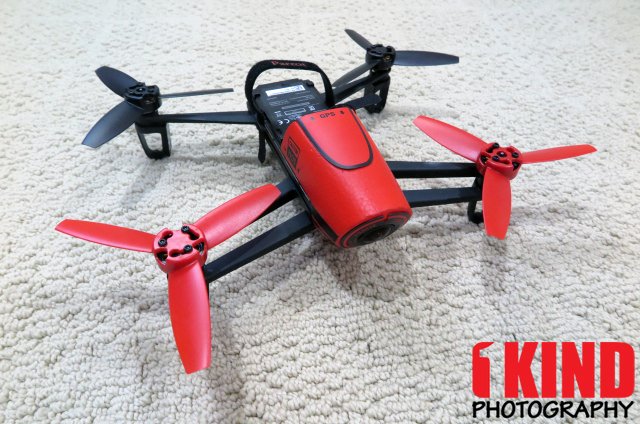
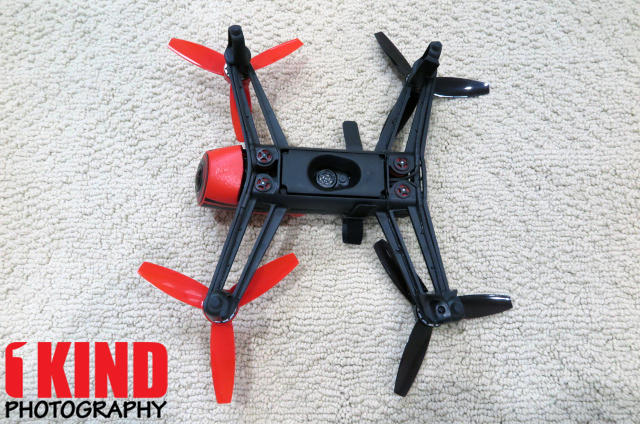
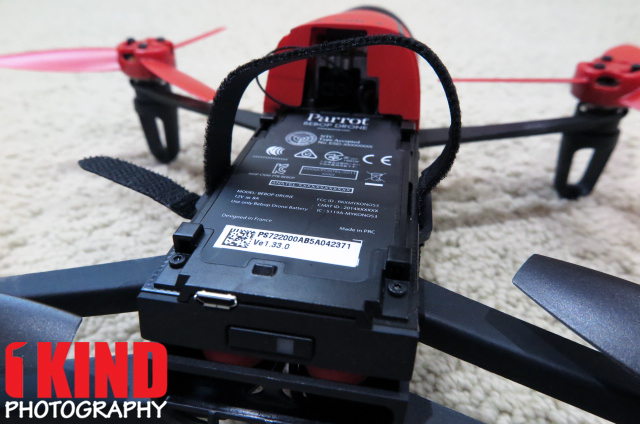
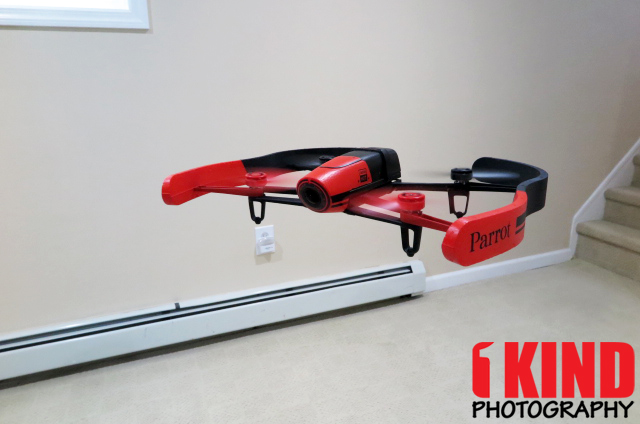
The Bebop drone comes in three different colors: red/black, blue/black and yellow/black. The drone is mostly made up of plastic with the top of the drone covered in foam to protect the camera and Parrot’s P7 dual-core CPU, a quad core GPU, and 8GB of internal flash memory. The back of the Bebop drone has a USB port to update the firmware (or can be done via the FreeFlight 3 application), transfer files as well as a on/off button.
Typically, there would be LEDs mounted to the bottom of the drone. There is none with the Bebop. So if you're looking to fly this at night, it will be difficult to locate where the drone is. Some Bebop owners actually went and did a DIY by adding their own LED lights to the bottom of the drone.

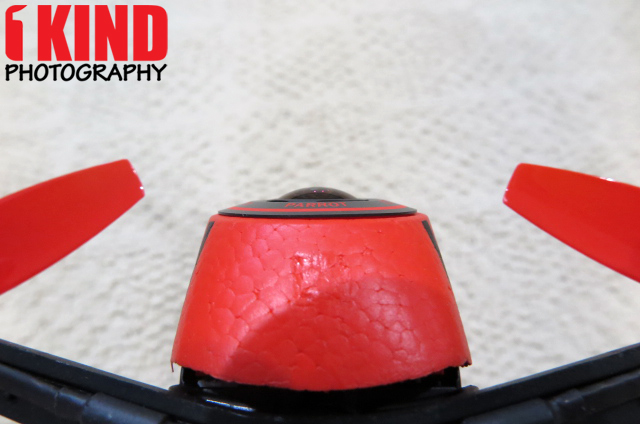

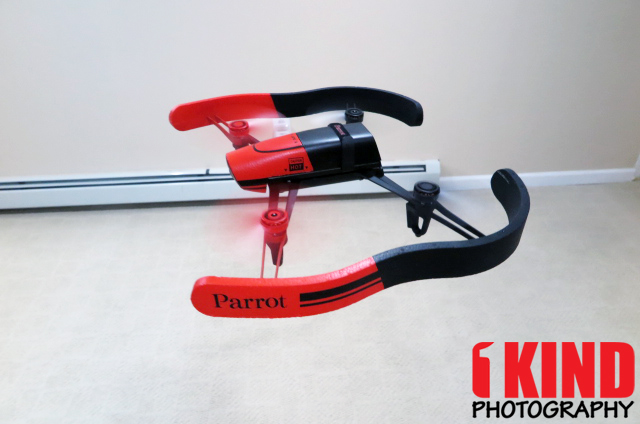
The lens is a 14 megapixel Full HD 1080p "fisheye" lens with 3-axes image stabilization. As you can see from the pictures, the front glass element protrudes from the drone. One drawback from this is that if the Bebop drone takes a nose dive or bounces and lands on the pavement, there is no protection for it. They include a lens cap but that is when it is not in use.
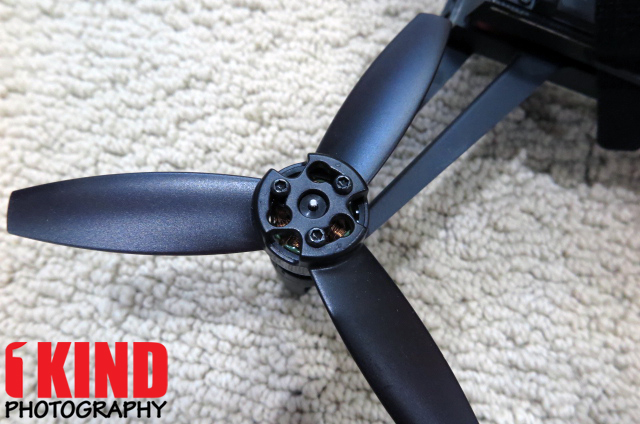
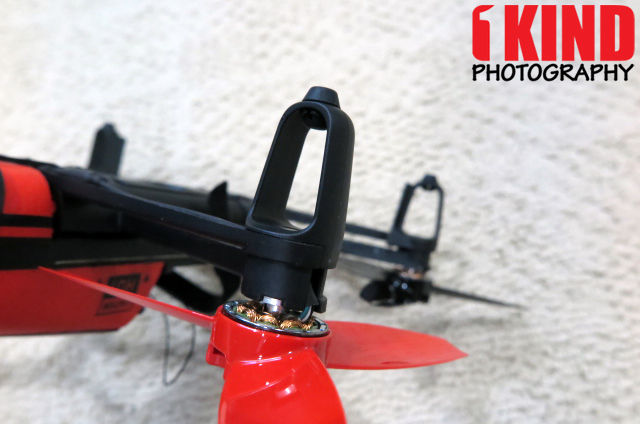
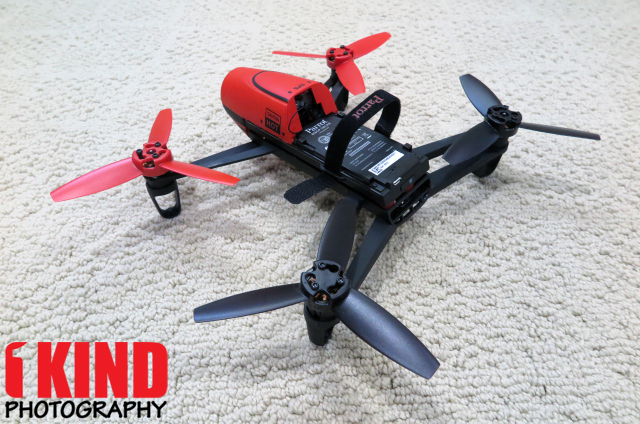
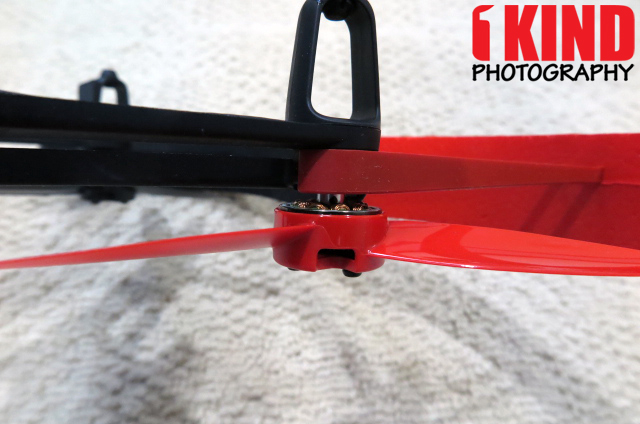
To change propellers, you'll need to use the propellers mounting tool to remove the old propellers and lock the new propellers. The "landing gear" is essentially plastic with little rubber nubs. When the Bebop drone lands, it will bounce. Don't expect a soft landing.
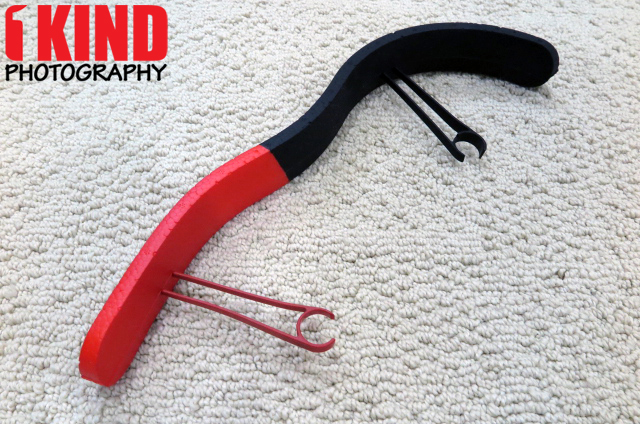
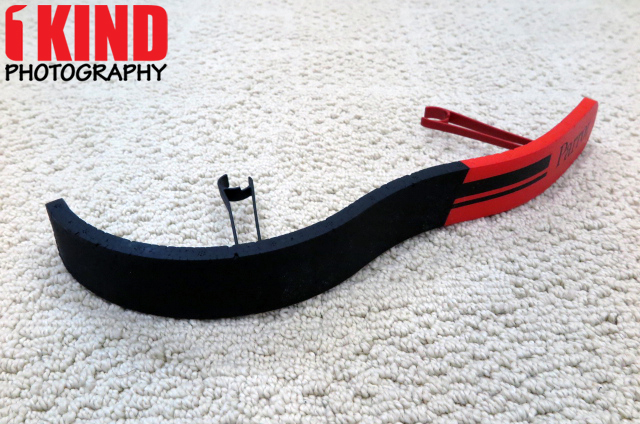
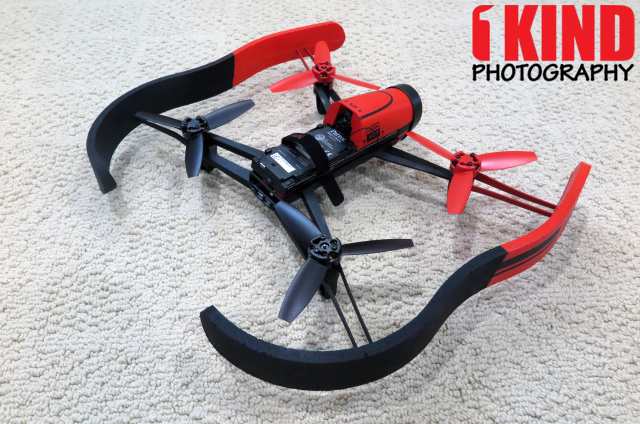
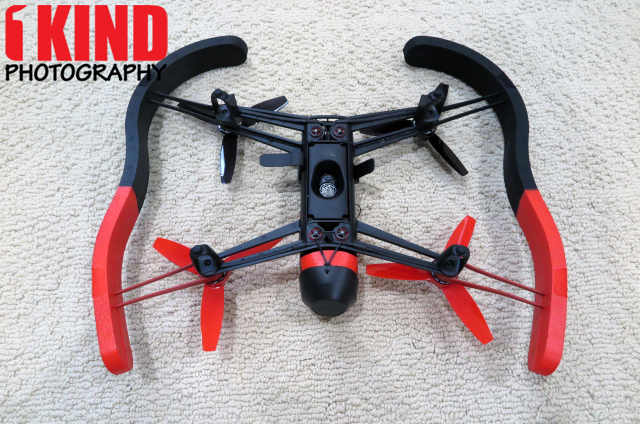
The hull protectors are essentially bumpers. They're used mainly when you're indoors and to protect your walls from getting scuffed or damaged from the propellers in case of collision. The hull protectors are made of foam and the brackets are made of plastic.
They're attached in between the propellers and landing gear. If for whatever reason and the Bebop takes a hard landing, the hull will come off. I guess this is good because it won't damage the drone but if the propellers are still spinning and the hull protectors come off during impact, it won't be protecting it anymore.
If you're using the hull protectors, in the FreeFlight app, press the gear icon and go to Flight Settings. Activate the Hull button. For outdoor flight, deactivate the Hull unless you're in an area that has objects near by.
During my review and tests, I smacked the walls of my housing while trying to control the Bebop and the propellers has left cut marks on the foam.
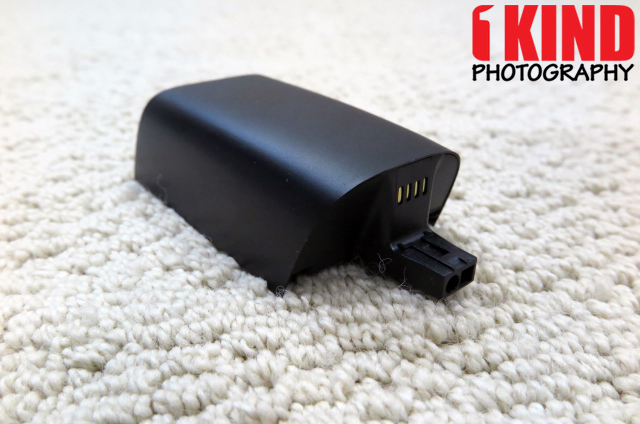
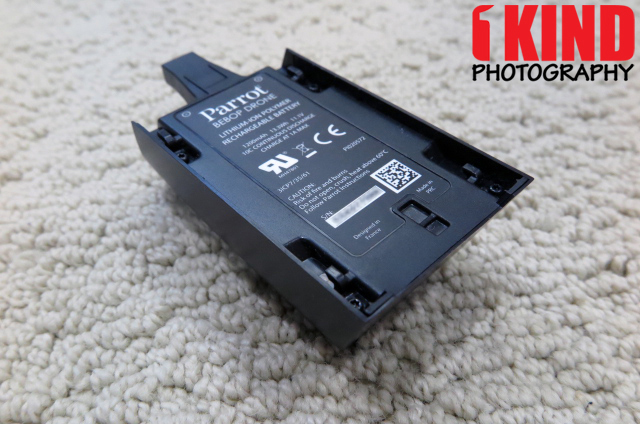
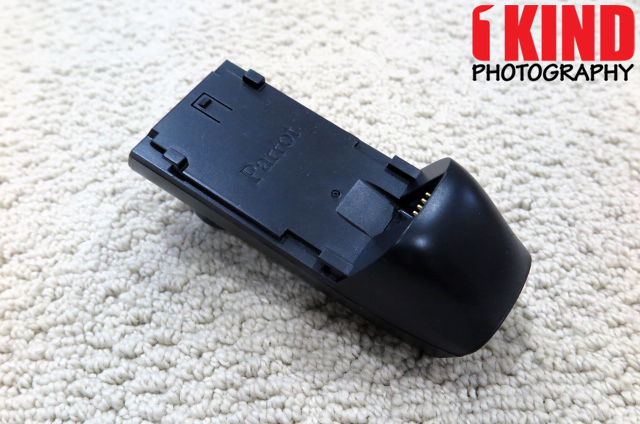
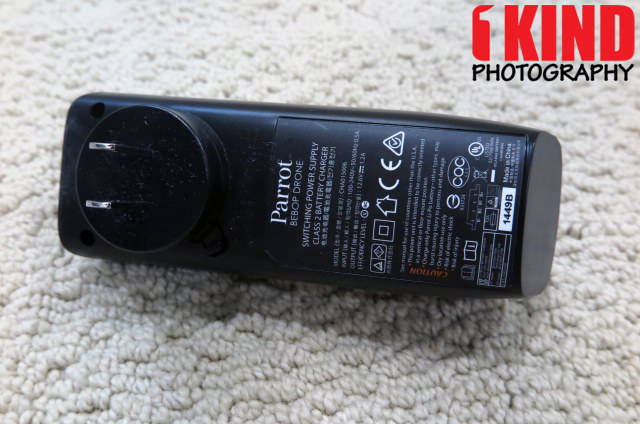
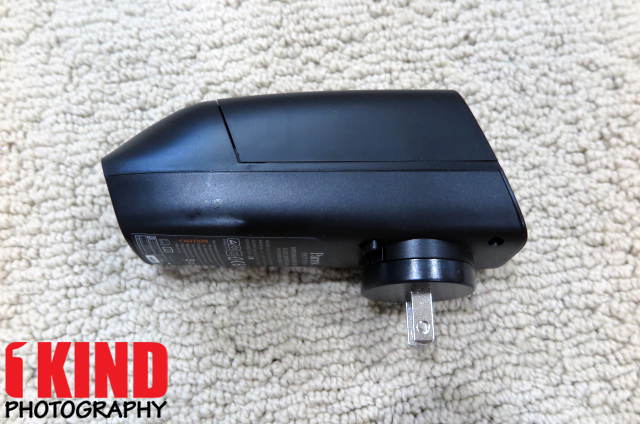
The battery is 1,200mAH lithium-polymer battery and retails for $30 if you want to buy extras. When you plug the charger into the outlet, the charger will light up red indicating that it is charging. Once the battery is fully charged, the led turns green. It takes about 1 hour to charge the battery.
On a full charge, flight time is approximately 10 minutes. Half the time of what the DJI would be (20 minutes).
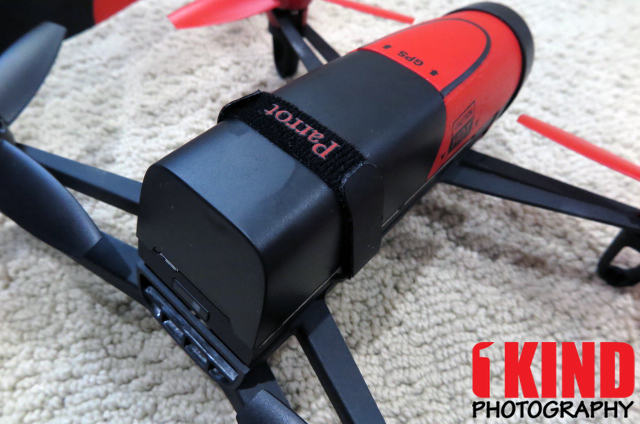
To install the battery, there is a string that you'll need to pull. This slides out the battery connection. Once it's visible, connect the battery to it and make sure that it is latched on. Once they're connected, slide the battery in while tucking in the cable and string at the same time so that is is hidden. When the battery is fully inserted into the drone, secure the battery with the velcro.
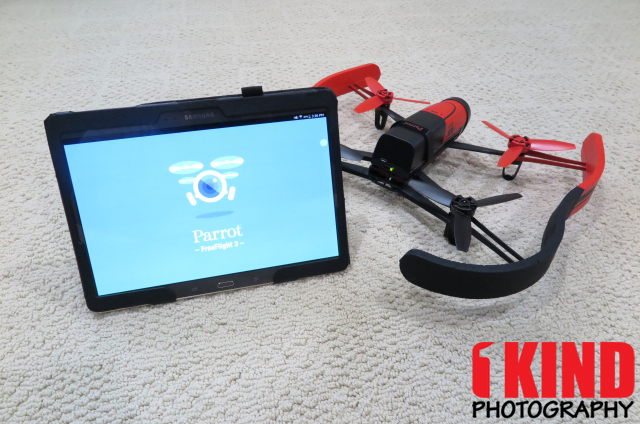

You can download the FreeFlight 3 application from iTunes, Google Play or Windows. This app is required in order to operate the Parrot Bebop drone. The app also works with other Parrot drones such as the Jumping Sumo (Amazon | B&H Photo | Adorama) and Rolling Spider (Amazon | B&H Photo | Adorama).
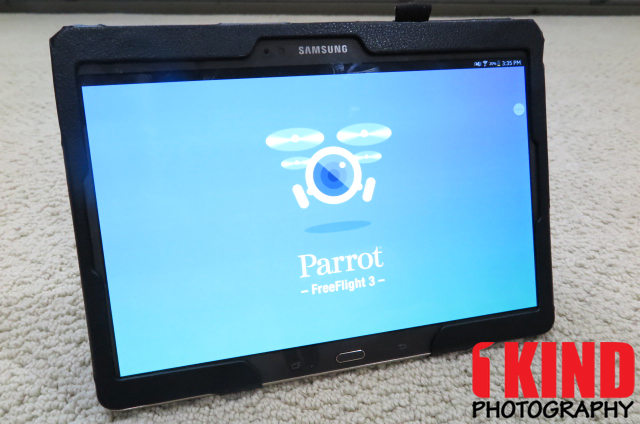
When you launch the app and it's not connected to the drone, you'll get a video to play to show you more about the Parrot drones. So how do you start using it?
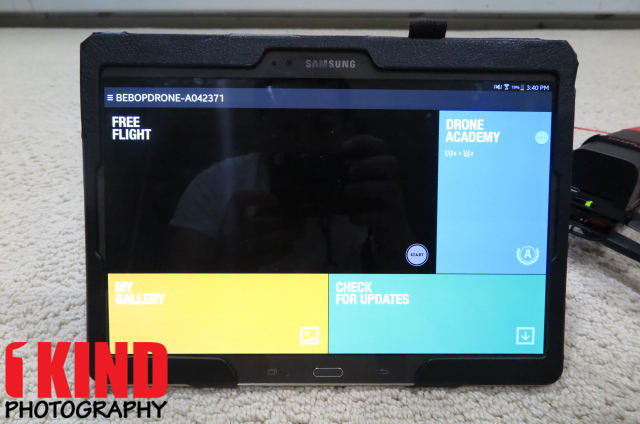
First, you'll need to your settings and go to WiFi. Here, you'll want to power up the Parrot drone and let your device find the WiFi that the Parrot gives out. Once you find it, you'll want to connect to it.
Once the app and drone has been successfully connected, the app will no longer make you watch videos but will have a button that says "START". Once you press that button, you're able to view and control your drone...after you calibrate the drone (x-axis, y-axis and z-axis), which it will show you what to do.
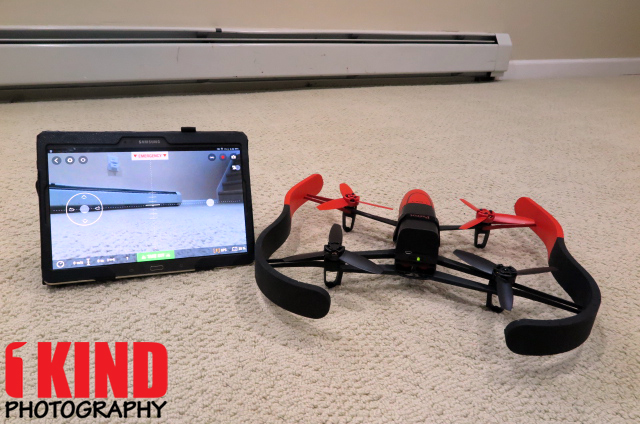
Here is the layout once you're in flight mode:
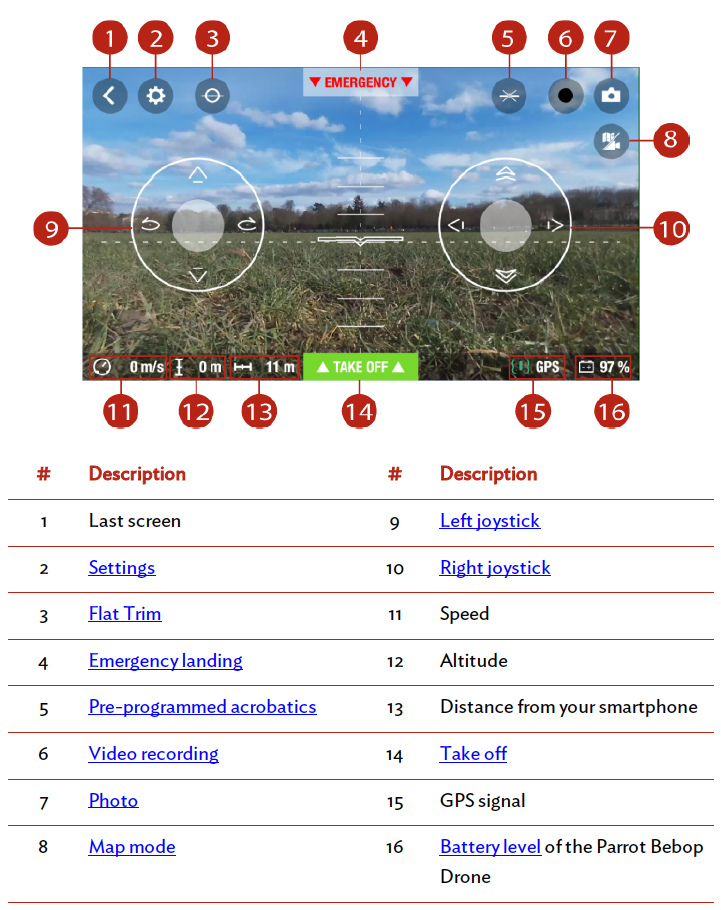
There's three ways to control the Bebop with the right joystick. You can either use an accelerometer by holding the right joystick and tilting your tablet/smartphone (Normal) or switching over to the joystick mode (Joypad - shown above) where if you press up, the drone flys forward, down for backwards and left and right to fly in those directions or the right joypad lets you orientate the camera regardless of the Parrot Bebop drone's position (Ace).
If you want to get even more fancy once you mastered the controls, you can do maneuvers and tricks with the Parrot Bebop by using the pre-programmed acrobatics (#5).
All video recording starts automatically when you press the "TAKE OFF" button. It would be nice if it let me start the recording once I have the drone positioned to where I want it. The record button (#6) blinks during recording. To stop video recording, press the record button. To take a photo, press the camera (#7).
Conclusion : Overall, the Parrot Bebop Drone Quadcopter is a nice drone at a fairly reasonable price. Like any drone, it will take some learning curve to get use to it. One of my biggest gripe with the Parrot Bebop is the front glass element being exposed. You can easily scratch the lens if it falls face first. Another is the lack of LED for night time flying. You'll have to go and mod it yourself or buy aftermarket parts.
It would have also been nice if it also gave owners the option to use memory cards such as a microSD or SD card to record on. With the built-in memory, I'm forced to hook a USB cable from the drone to my computer.