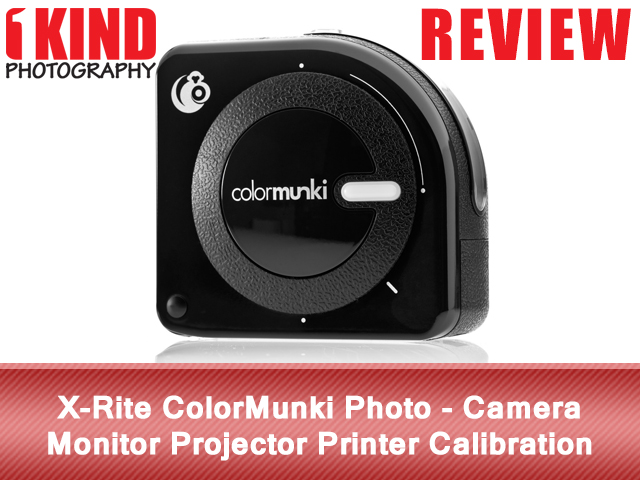
Overview : Designed specifically for photographers, the X-Rite ColorMunki Photo Color Management Solution provides display, projector and RGB/CMYK printer profiling in an easy-to-use all-in-one integrated solution with a streamlined interface, enabling photographers to easily, quickly and affordably match colors from display to print. The ColorMunki Photo software provides particular accuracy when profiling for FleshTones along with providing excellent grey balance for neutral Black & White output. Plus, you'll be able to send your images to your clients with a high level of confidence that they are viewed in a calibrated environment with the DigitalPouch communication tool.
Features :
- Camera, Monitor & Projector Profiling
- RGB & CMYK Printer Profiling
- Ambient Light Measurement
- Spot Color Measurement
- Built-in White Calibration
- No Cumbersome Accessories
- DigitalPouch Communication Tool
Quality/Usability : If you're a photographer and you print whether it's at home or by a lab, its crucial to have accurate color representation. There are many monitor calibration products on the market but X-Rite is known for its color management systems such as ColorChecker Passport.
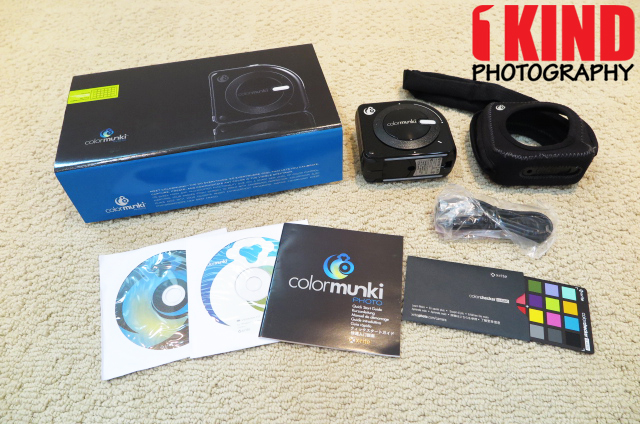
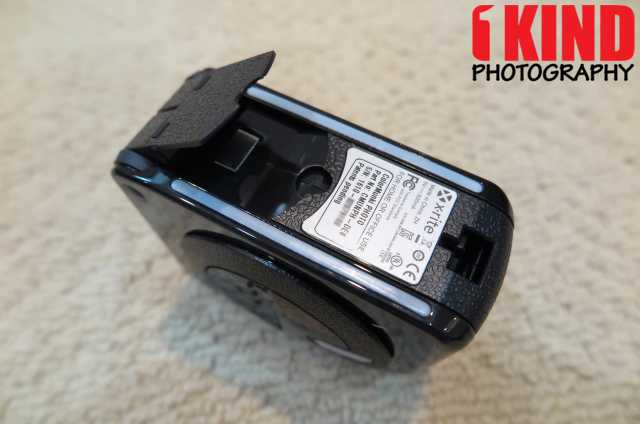
Included with the ColorMunki Photo is the unit, case with a weighted strap, USB cable, software CD, manual and a color checker.
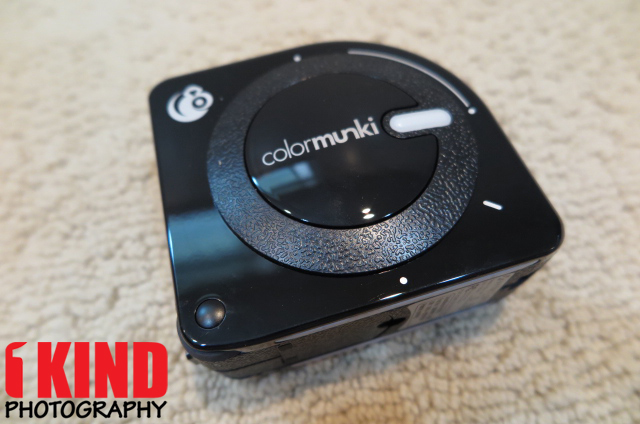
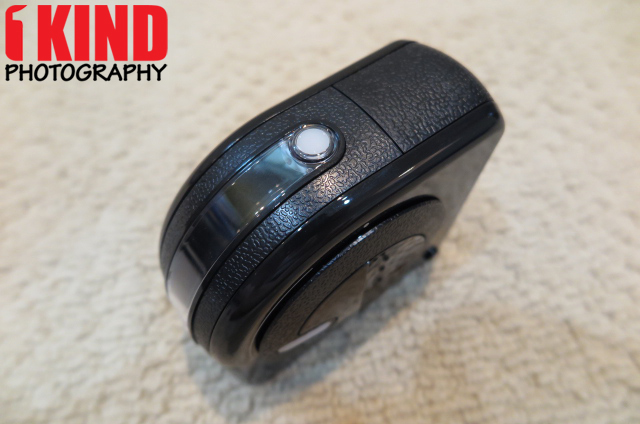
The ColorMunki Photo is pretty much a big box with a curve on the front and a rotating dial on the sides. The bottom opens up the spot measurement target.
In the image above, the rotating dial is currently set for projector profiling. Turn the dial one notch down (towards the bottom corner) and its set for calibration. If you turn the dial where its pointing up, its set for measuring ambient lighting.

The ColorMunki Photo needs to go inside its soft case for calibration. The long weighted strap once it is at full length is used to counter balance the weight of the sensor.
There is a small protective shutter in the case, which needs to be opened for taking any measurements.


You can use the included software CDs that is included but I usually prefer tow download the latest software from the manufacturers website. The latest software can be found on X-Rite's support page [PC / MAC].
Once the file is downloaded, extract the file and you'll be given a setup file and a few other files. Screenshots are from the PC version.
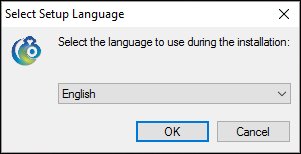
Once you double click the setup file, you're brought to a window asking you to select your language.
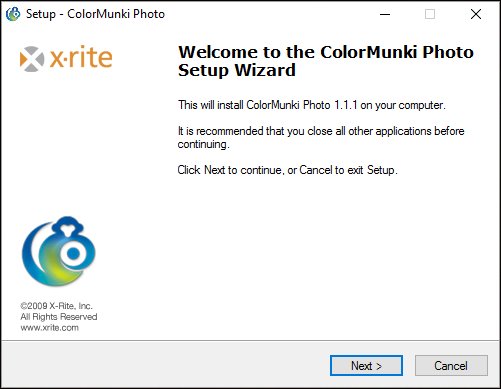
Once you've chosen your language, you're brought to the welcome setup wizard screen informing you that you'll be installing the ColorMunki Photo software on your computer.
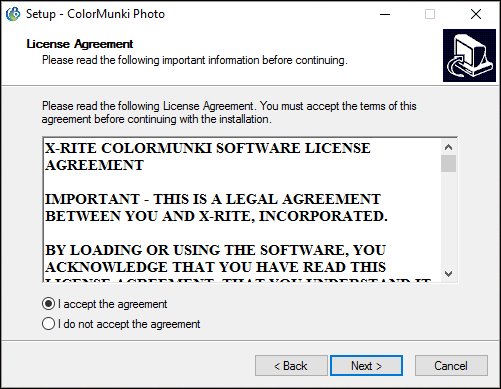
Like any software installation, you'll have to agree to the license agreement before you can continue.
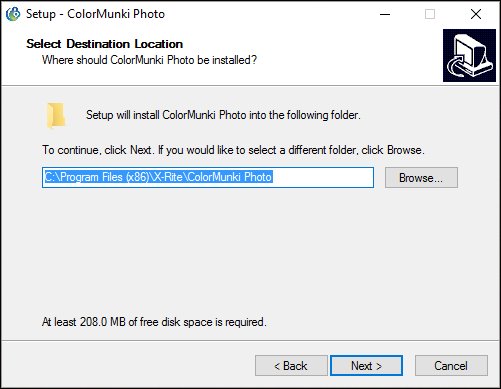
You can also select where you want to install the program to but usually that is all set by default.
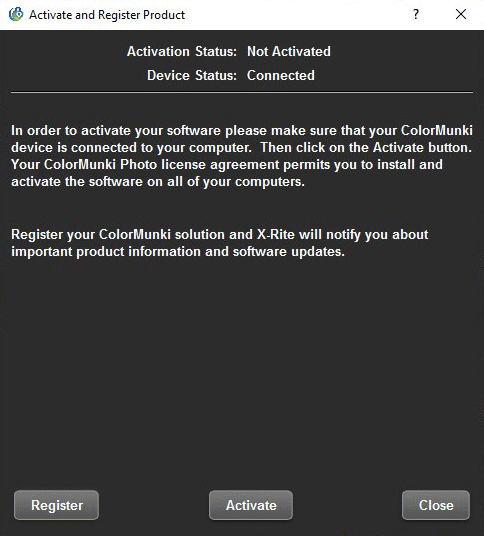
Before the device can be used, it will need to be activated and registered.
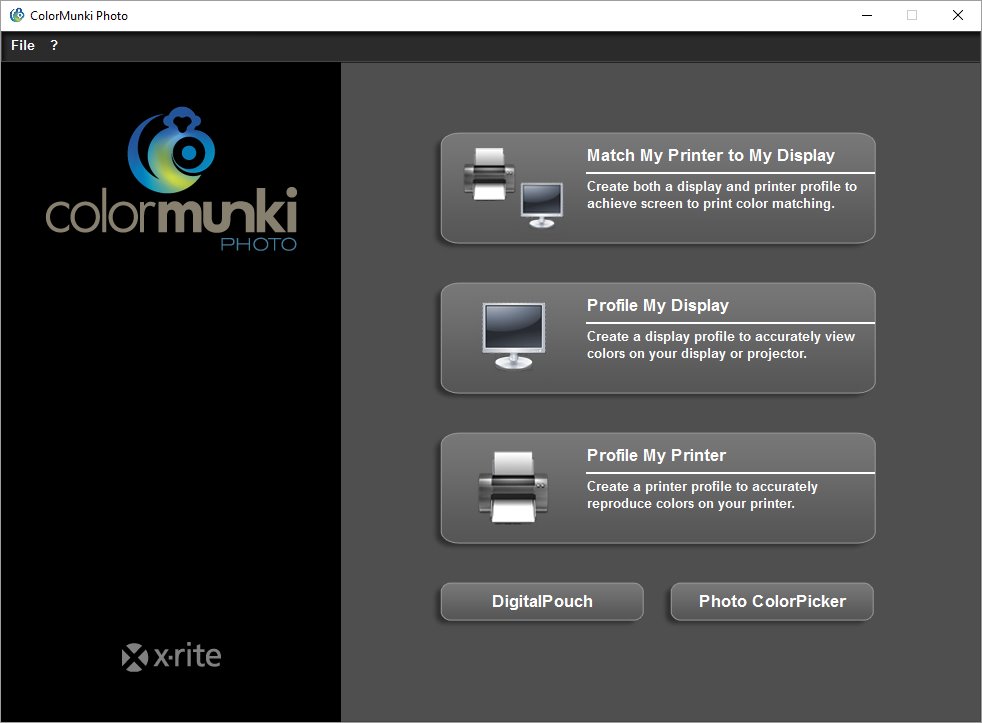
Once it's registered, it's time to start calibrating your monitor.
You have three options to choose from:
- Match My Printer to My Display - Create both a display and profile printer to achieve screen to print color matching.
- Profile My Display - Create a display profile to accurately view colors on your display or projector.
- Profile My Printer - Create a printer profile to accurately reproduce colors on your printer.
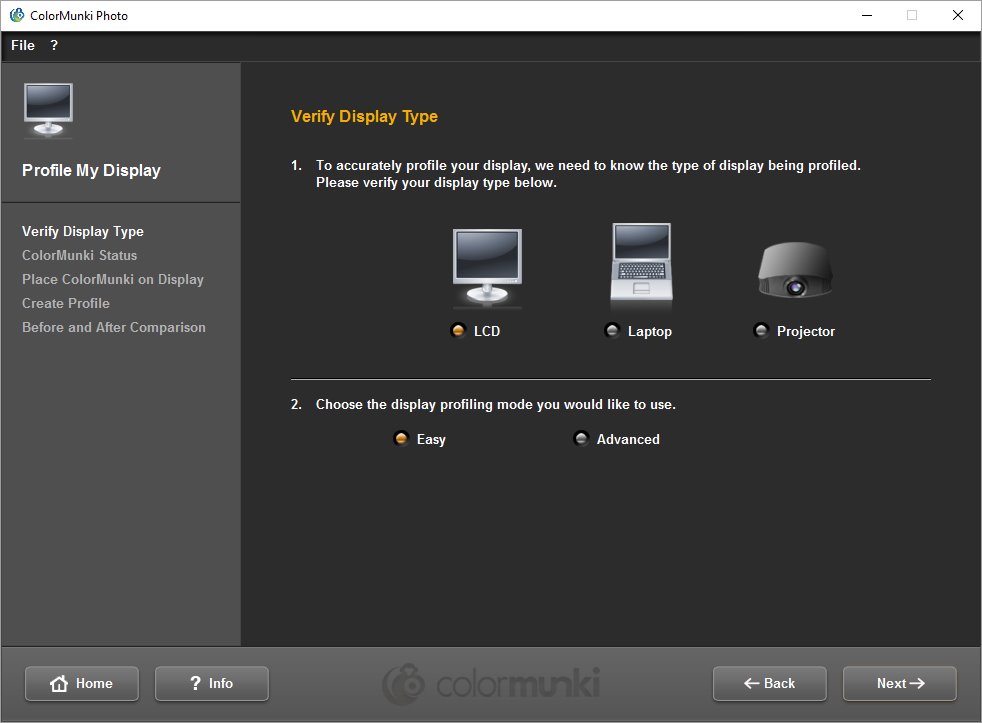
This setup is based on the "Profile My Display". You can choose from LCD, Laptop or Projector.
The Easy mode will calibrate your monitor to 6500K and a gamma of 2.2. Advanced mode offers various settings in relation to whitepoint, gamma, ambient compensation and pre-calibration.

You'll be asked to connect the ColorMunki Photo to your computer via USB. Once it's connected, the software will instruct you to turn the rotating dial to calibrate the device and begin measuring the monitor.
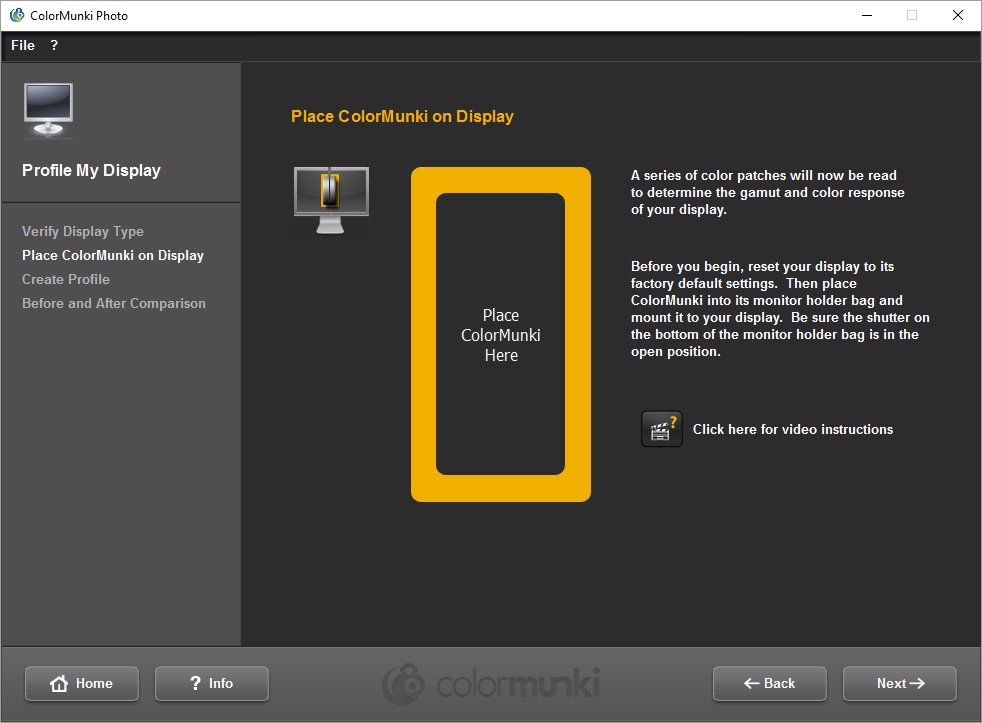
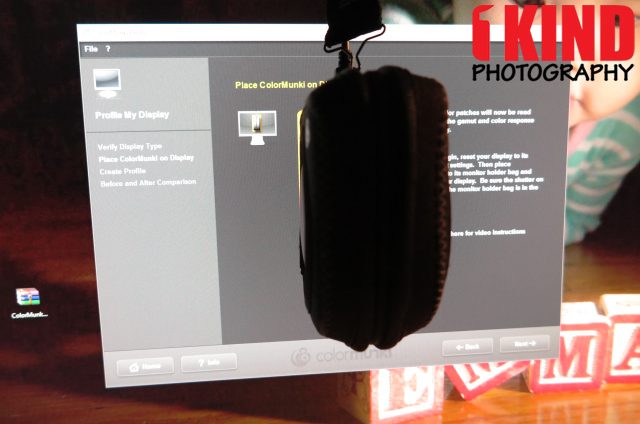
The software will tell you where to place the ColorMunki on the monitor.
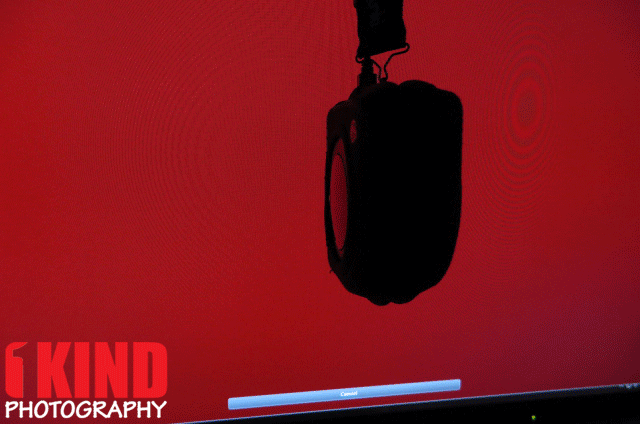
The device is hung over your monitor so that the sensor can measure what colors your screen produces. The software goes through a series of different shades of red, green, blue, white and black.

Once the ColorMunk Photo has collected all the necessary information to build the new display profile, you can give it a name and save it. I personally leave it the same name but add a date to it to let me know when it was created i.e. "DISPLAY1_D65_09242016.icm".
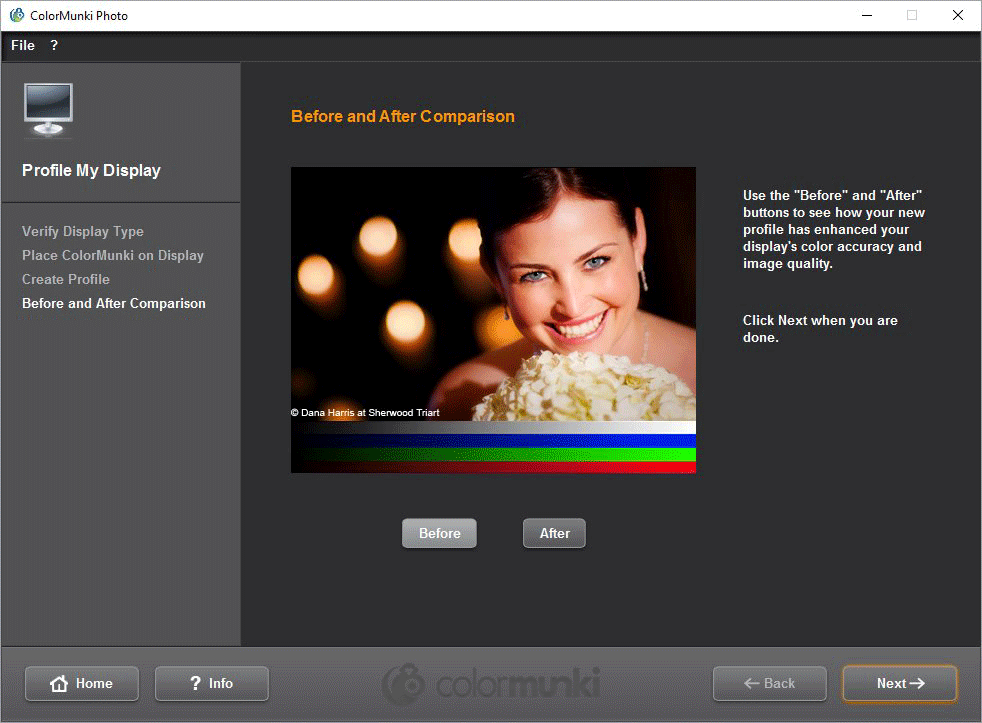
Once it's saved, the software will give you a before and after comparison of what your monitor will look like.
Printer Profiling
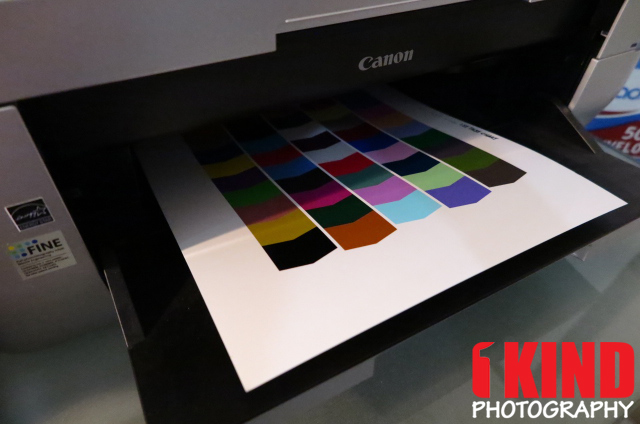
If you print at home, you'll need to print out a color test chart with lots of colors on it and use the ColorMunki Photo to measure the colors simply by sliding it over the print out. During the measurement process, it may require you to do multiple passes over the strip if a strip is not correctly read in. You'll need to print out the second color test chart and perform the same procedure.
Once you've scanned the second test chart, the software will create a icc profile for you. The software also allows the option of setting various applications on your computer (Photoshop CS for example) to use this profile by default.
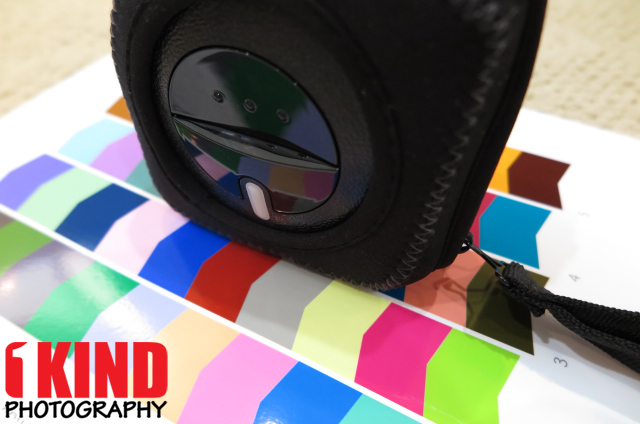
Spot Color Measurement
The ColorMunki also has the ability to make 'spot' measurements of colors and allows you to make use of these measurements in building up palettes and color schemes.
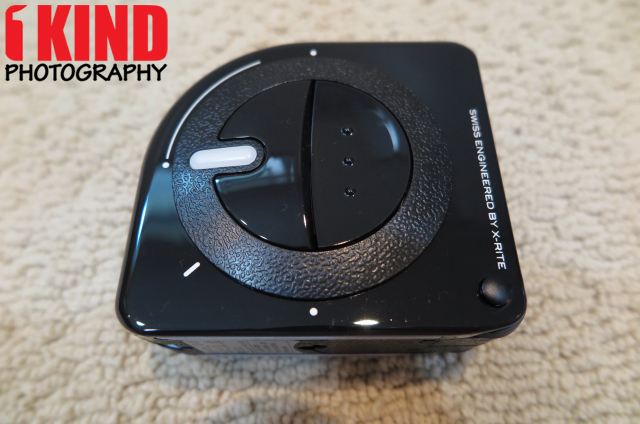
The rotating dial has three bumps on it which is the button you press for making measurements.
Conclusion : Overall, the X-Rite ColorMunki Photo - Camera Monitor Projector Printer Calibration is a must have for anyone who requires accurate color reproduction. The color reproduction between monitor and printing is fairly accurate on both my PIXMA MX series printer and PRO-1.